The Complete Guide To Authorify Email Campaigns
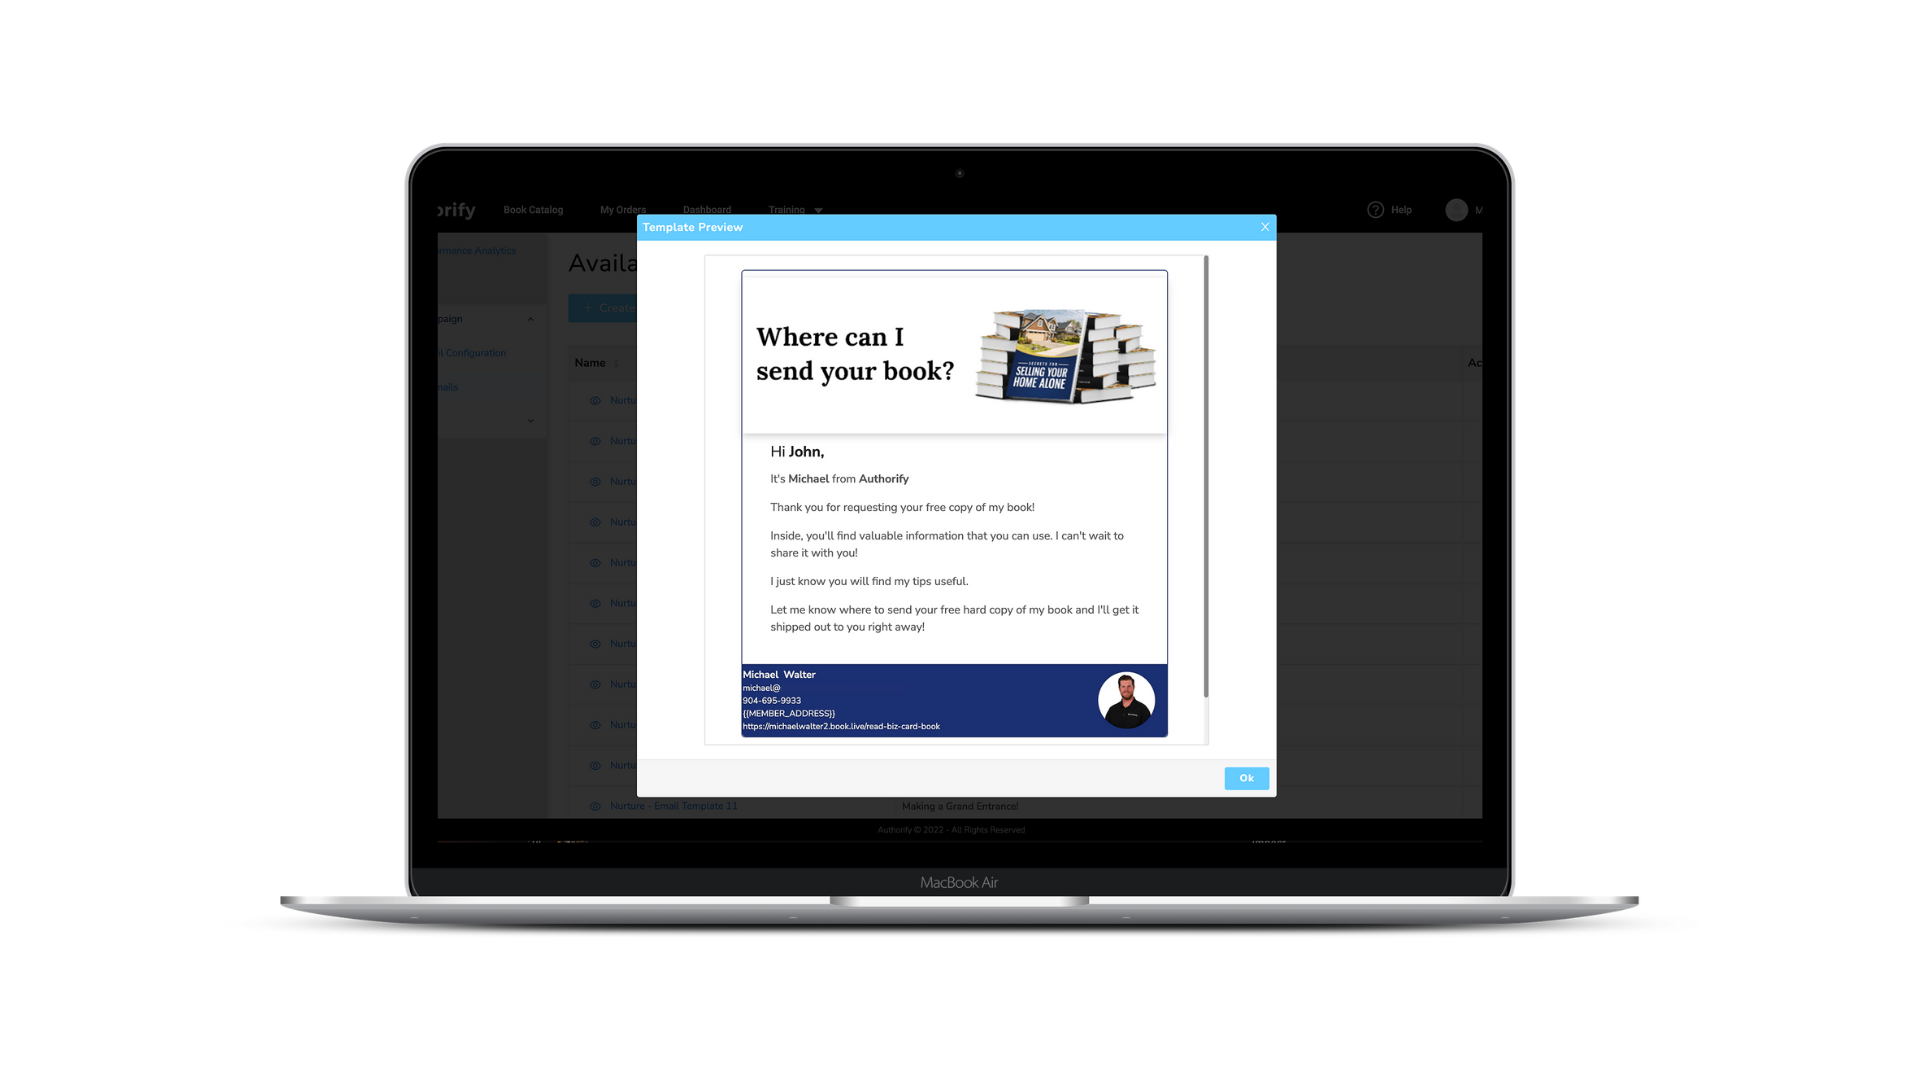
Using the Email Campaign feature of the Authorify Digital Marketing platform, members have the ability to launch automated email drip campaigns, chose from more than 50 templates to send on demand emails and even create custom emails.
In the modules below we will walk you through everything from gaining access to the email campaign feature, batch loading leads and ultimately sending emails.
Before you can begin sending emails through the Authorify Digital Marketing Platform there are a few steps you need to take in order grant our system access to send emails on your behalf.
Watch the video above for step-by-step instructions.
The recipients of emails sent through the Digital Marketing Platform will be the leads that you have either acquired via your landing pages or leads manually added.
Watch the video above for step-by-steps instructions to import and manage leads.
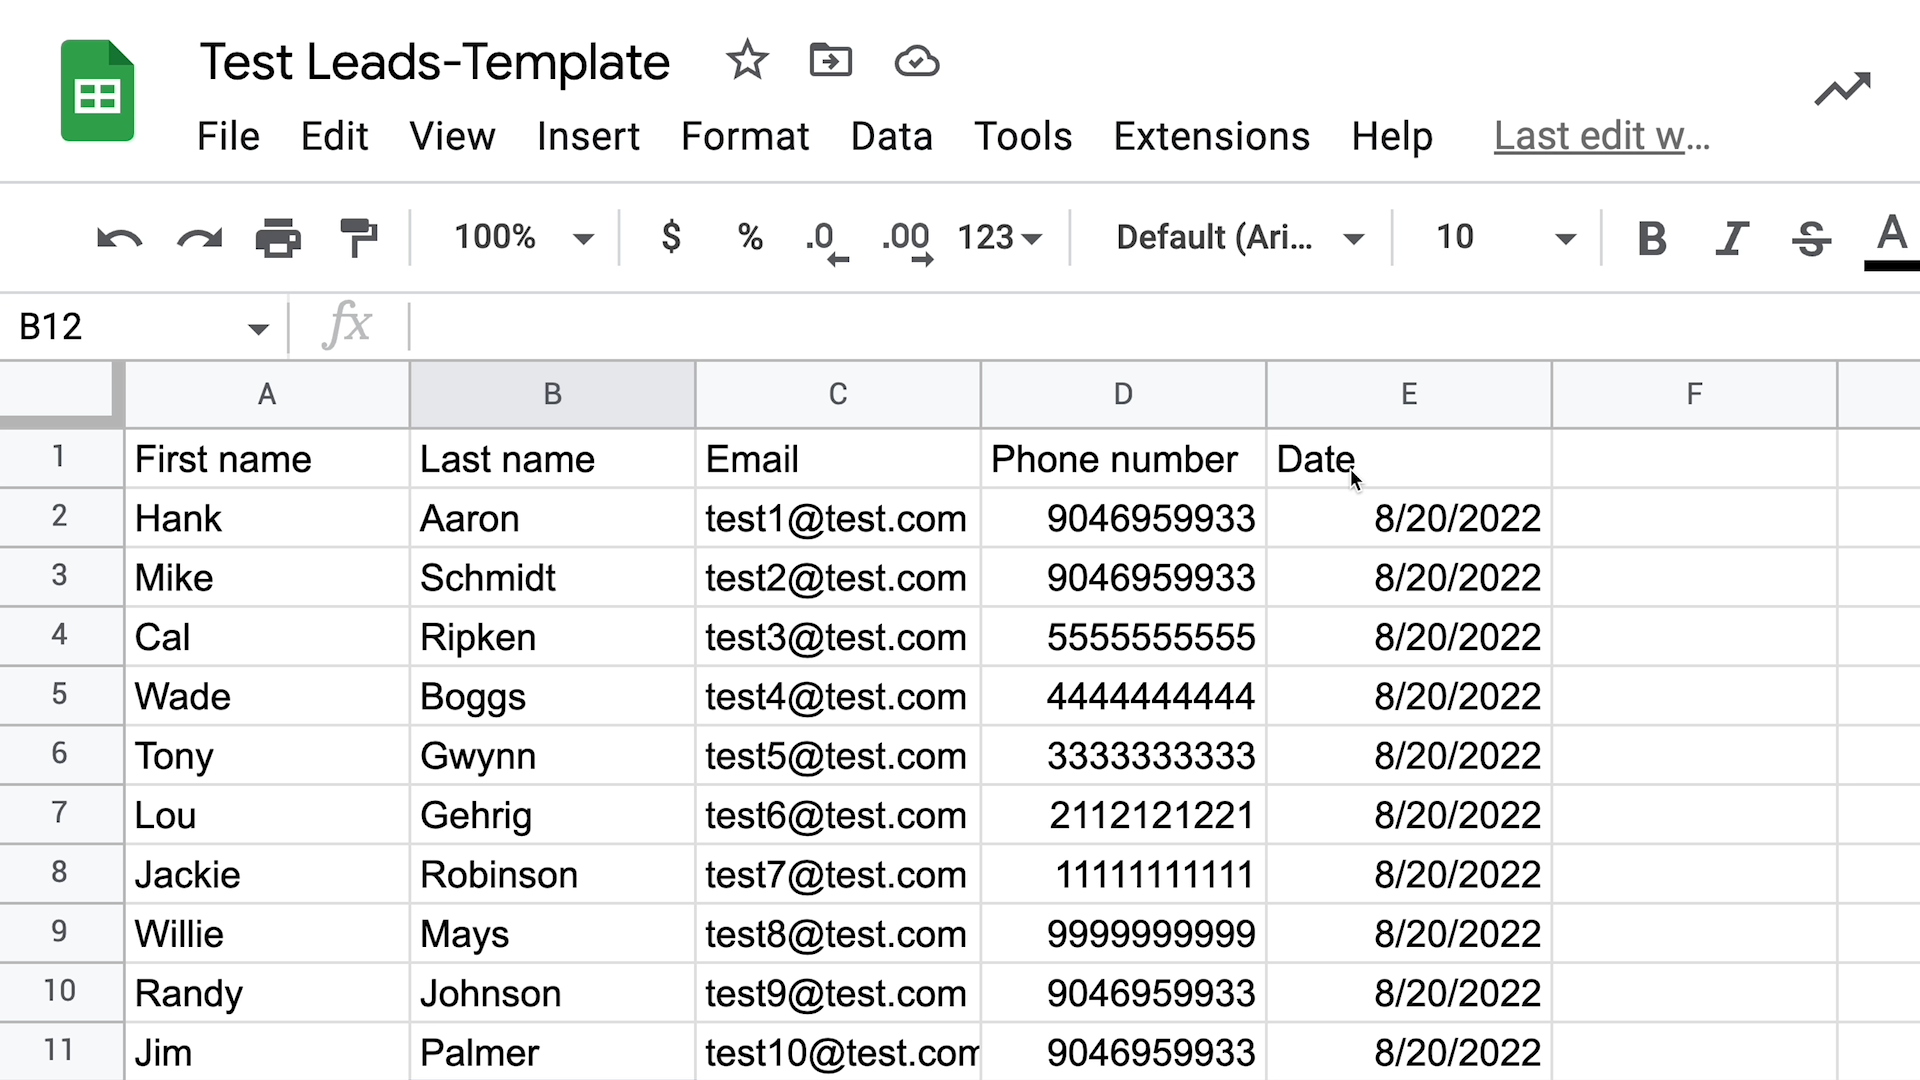
Note: When batch importing leads, you will need to upload a .csv file containing the following information First Name, Last Name, Email Address, Phone Number, and Date.
The first option you have when it comes to sending emails is to use one of pre-written template emails.
In the video above, we walk you through the steps for selecting a template and sending it to the desired segment of your leads.
Beyond using one of the pre-written template emails, you have the ability to create you very own custom email templates.
In the video above, we walk you through creating your custom email and delivering it to leads.
Last and certainly not least, you can launch a 50-week drip campaign using the provided email templates.
Watch the video above for the step-by-step instructions for launching this campaign to a select segment of leads.
