Rank At The Top Of Google With A Business Profile
As an agent, you undoubtedly have a whole host of online profiles, and while each serves its purpose, one of the most underutilized platforms happens to be the largest search engine in the world. In this course, you’ll get step-by-step instructions on how to set up and optimize your very own Google Business Profile.
Why should you have a Google Business Profile?
First and foremost, the purpose of your Google Business Profile is to help you stand out from the competition. As of June 2020, there were nearly 1.4 million members of the National Association of Realtors. That is a lot of competition, no matter where you’re located.
By having a well maintained Google Business Profile, you can instantly build trust with potential clients and even leapfrog higher-ranked agent profiles.
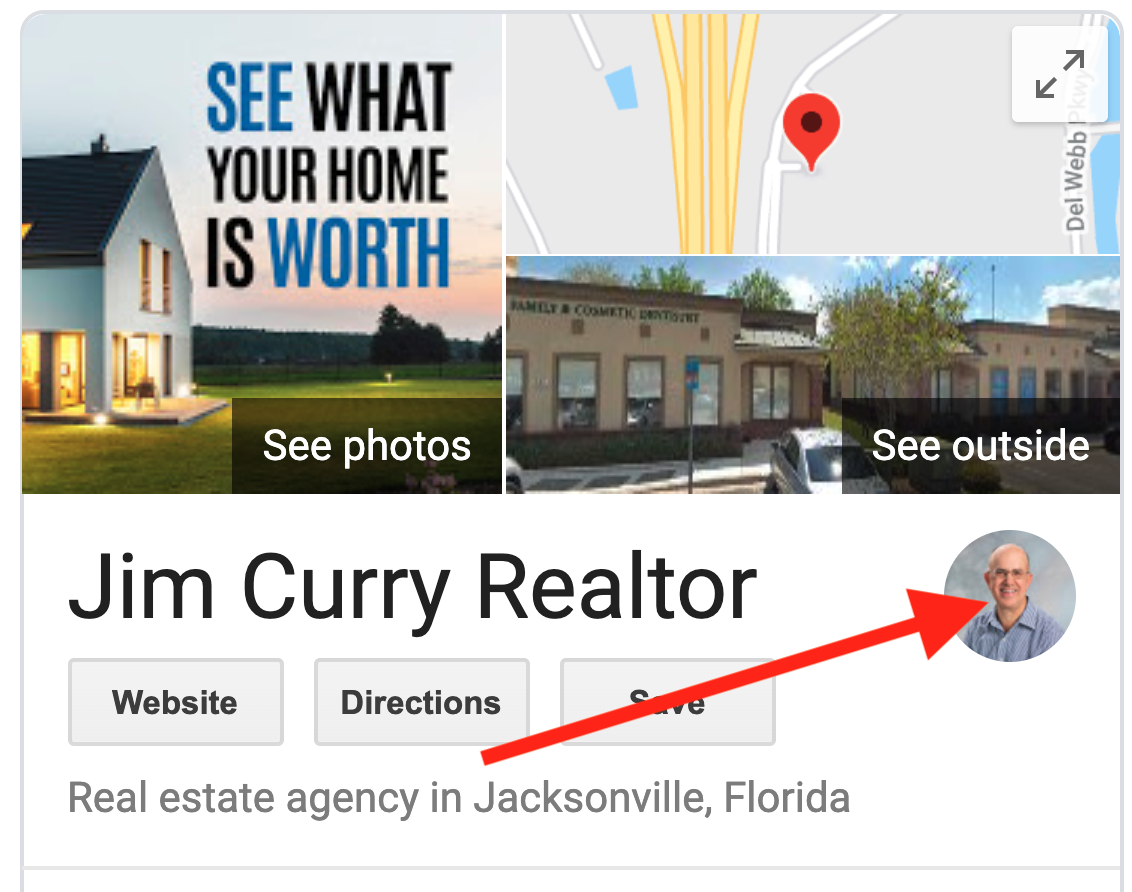
Take a look at this example:
Jim Curry is an agent based in Jacksonville, FL. As you can see, when you search “Jim Curry Realtor” there is more than one Jim Curry in the country.
Of the top eight search results, five are for a different “Jim Curry.” But look at how well the Google Business Profile stands out for our Jim Curry.
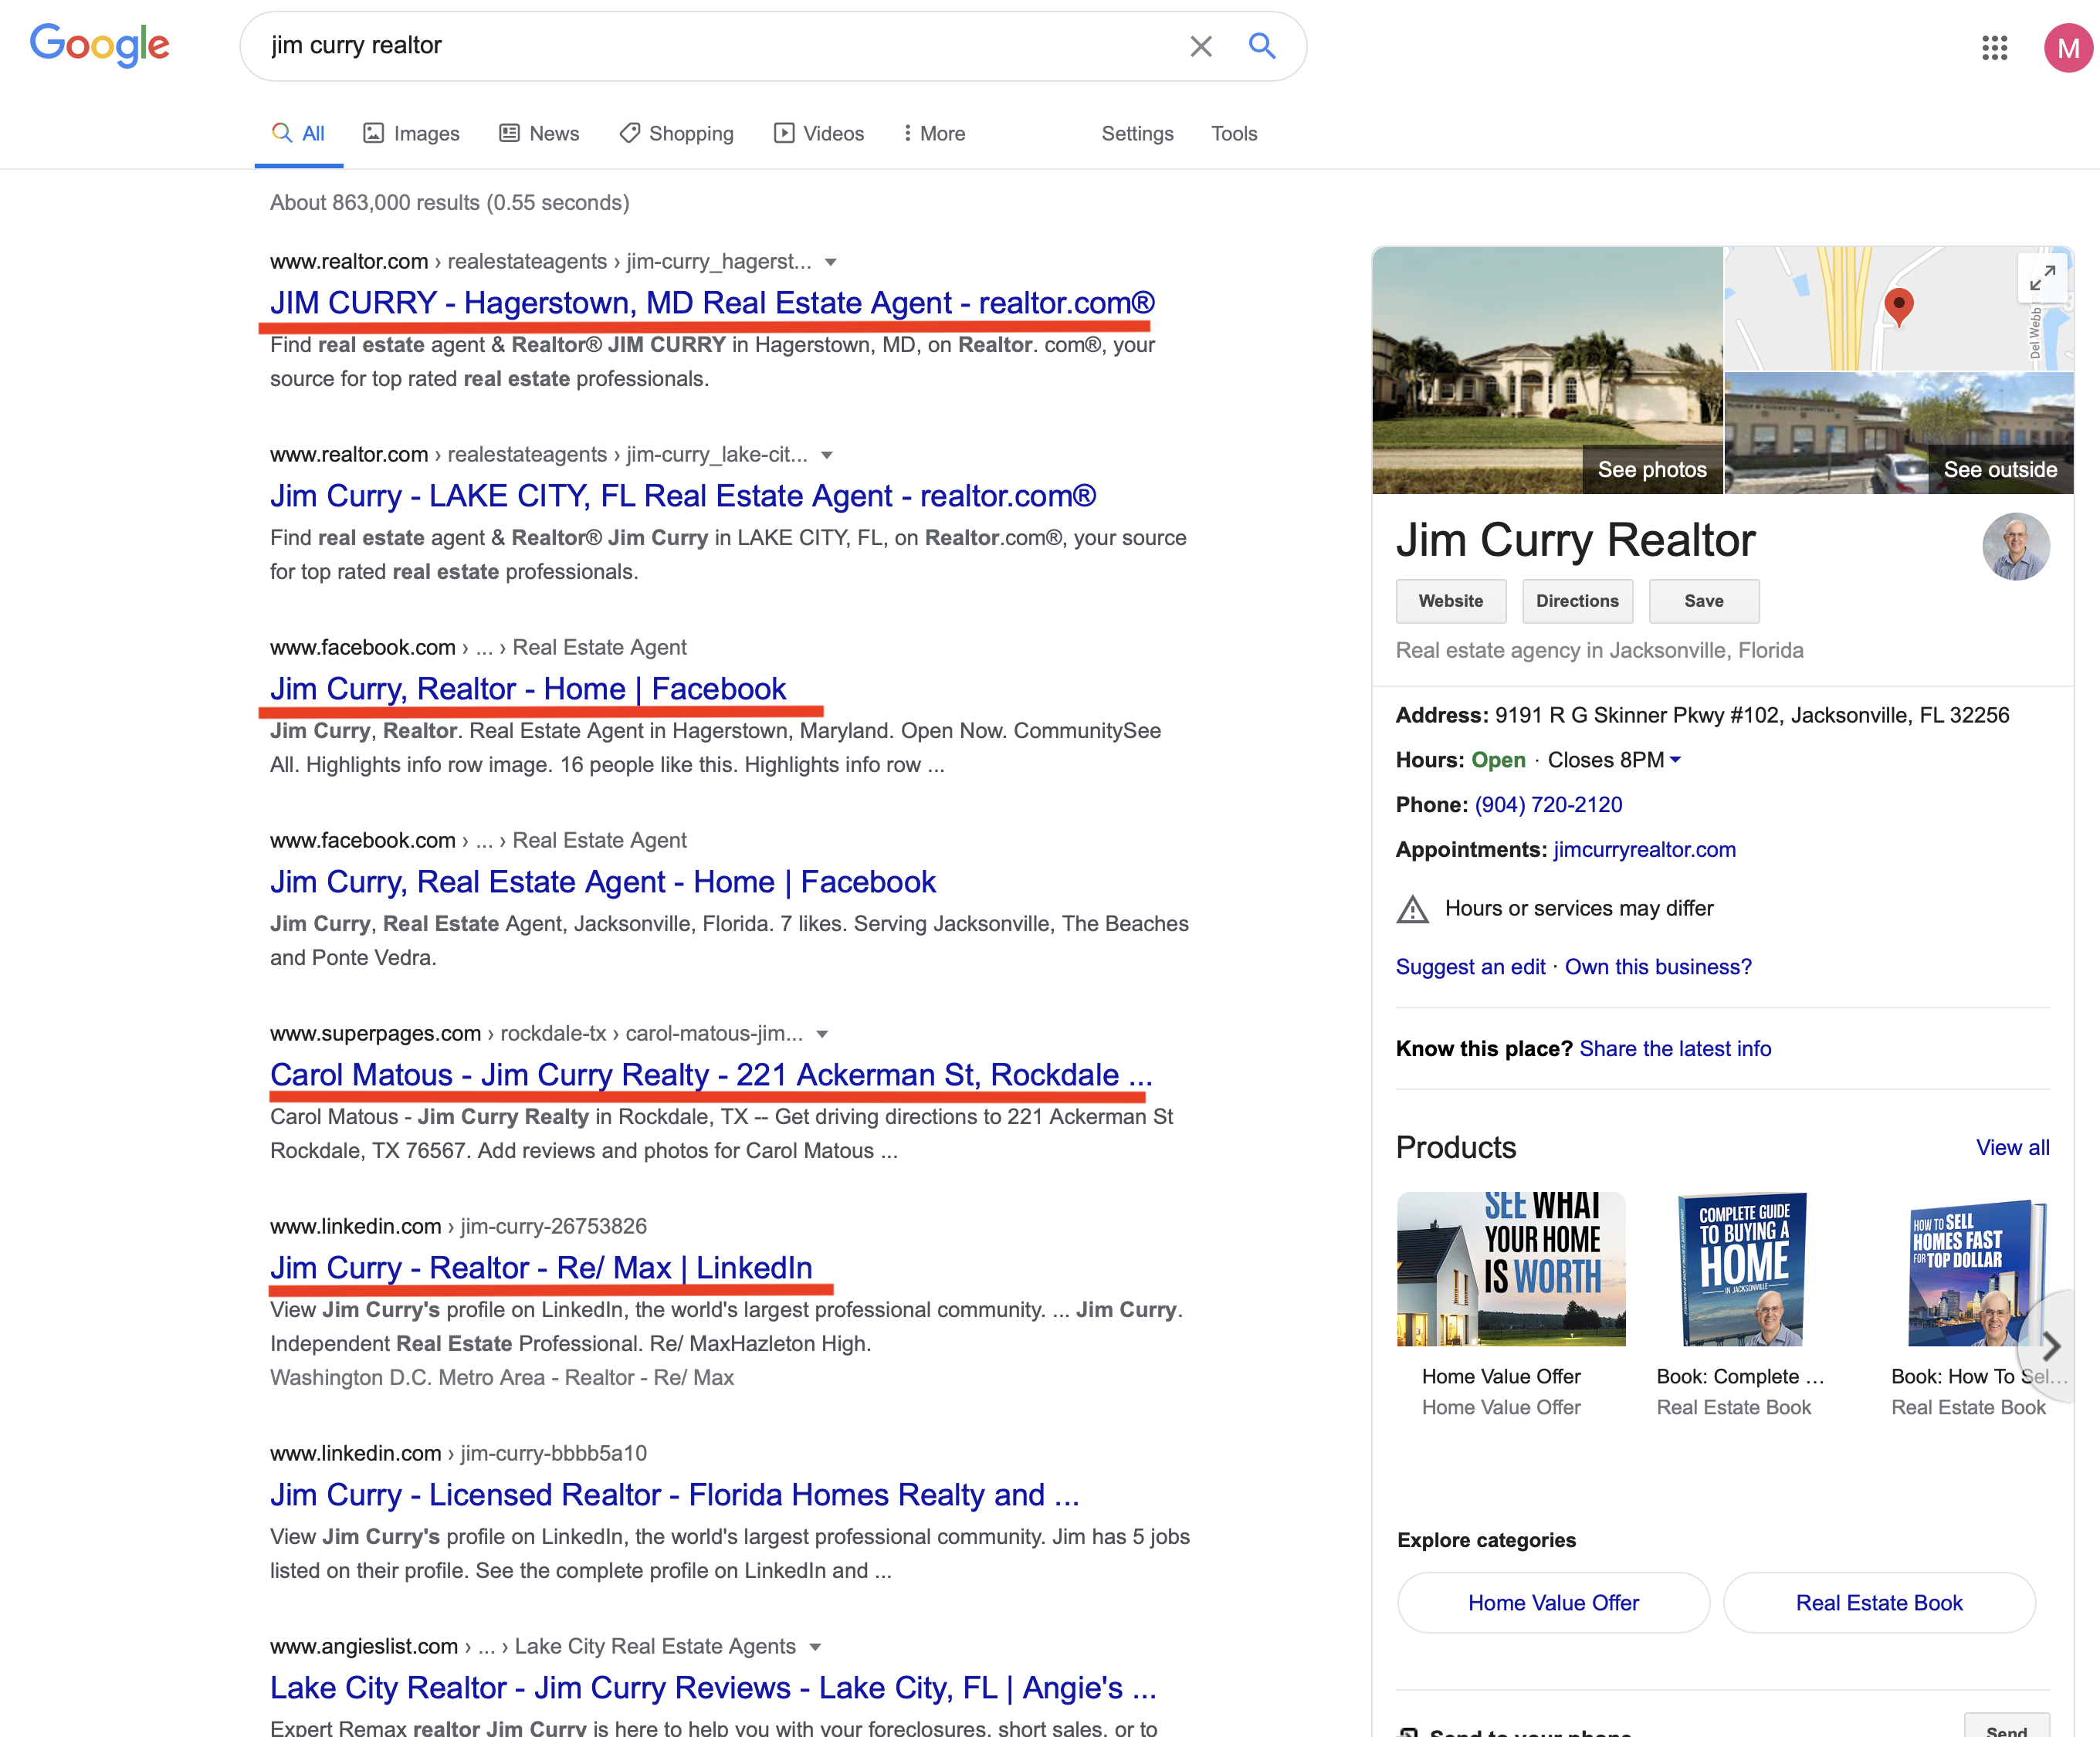
I don’t know about you, but my eyes are instantly drawn to the business listing.
The best part about Google Business Profile is that they are completely free. Over the next several steps, I am going to walk you through the process of claiming your page, adding product listings and generating requests for your books.
First, you must go to Google Business Profile and make sure you are signed into the Google account that you associate with your real estate business.
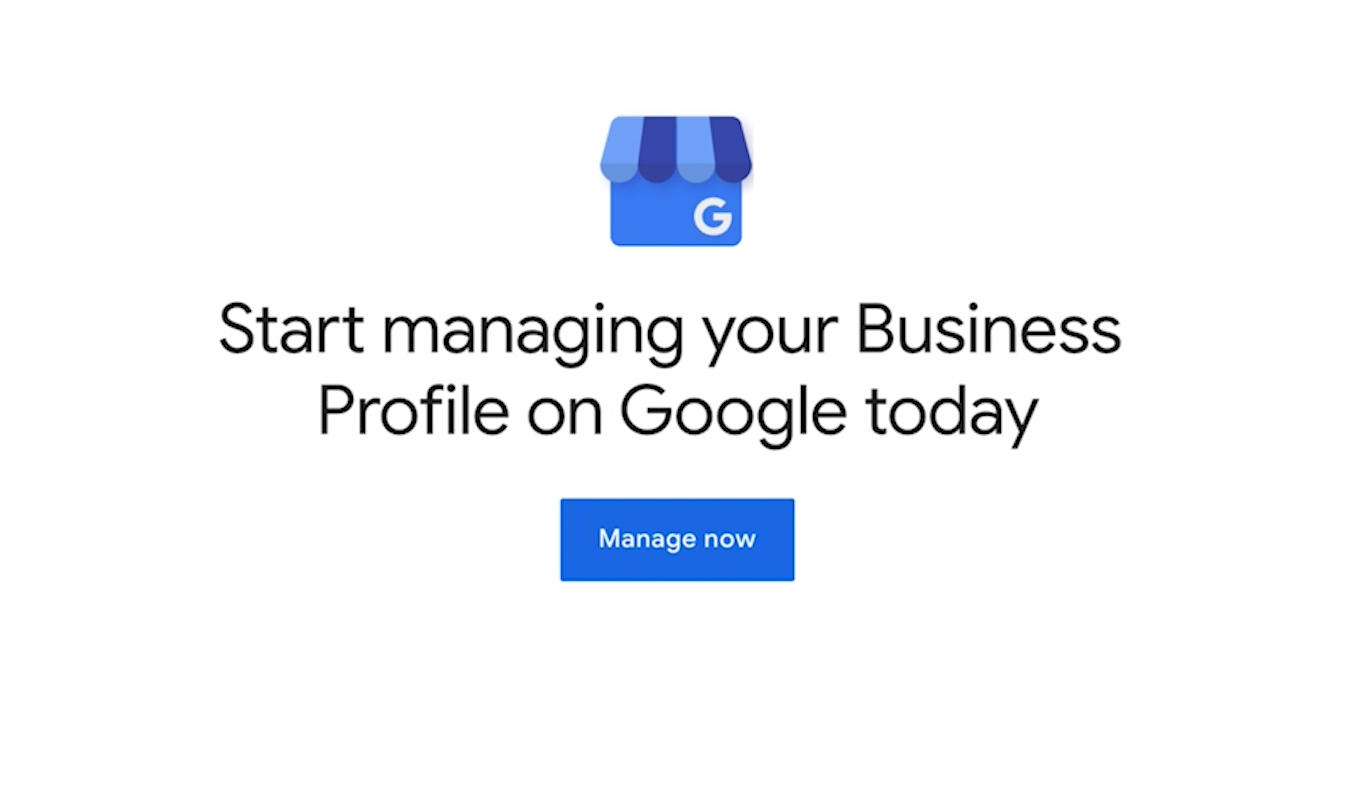
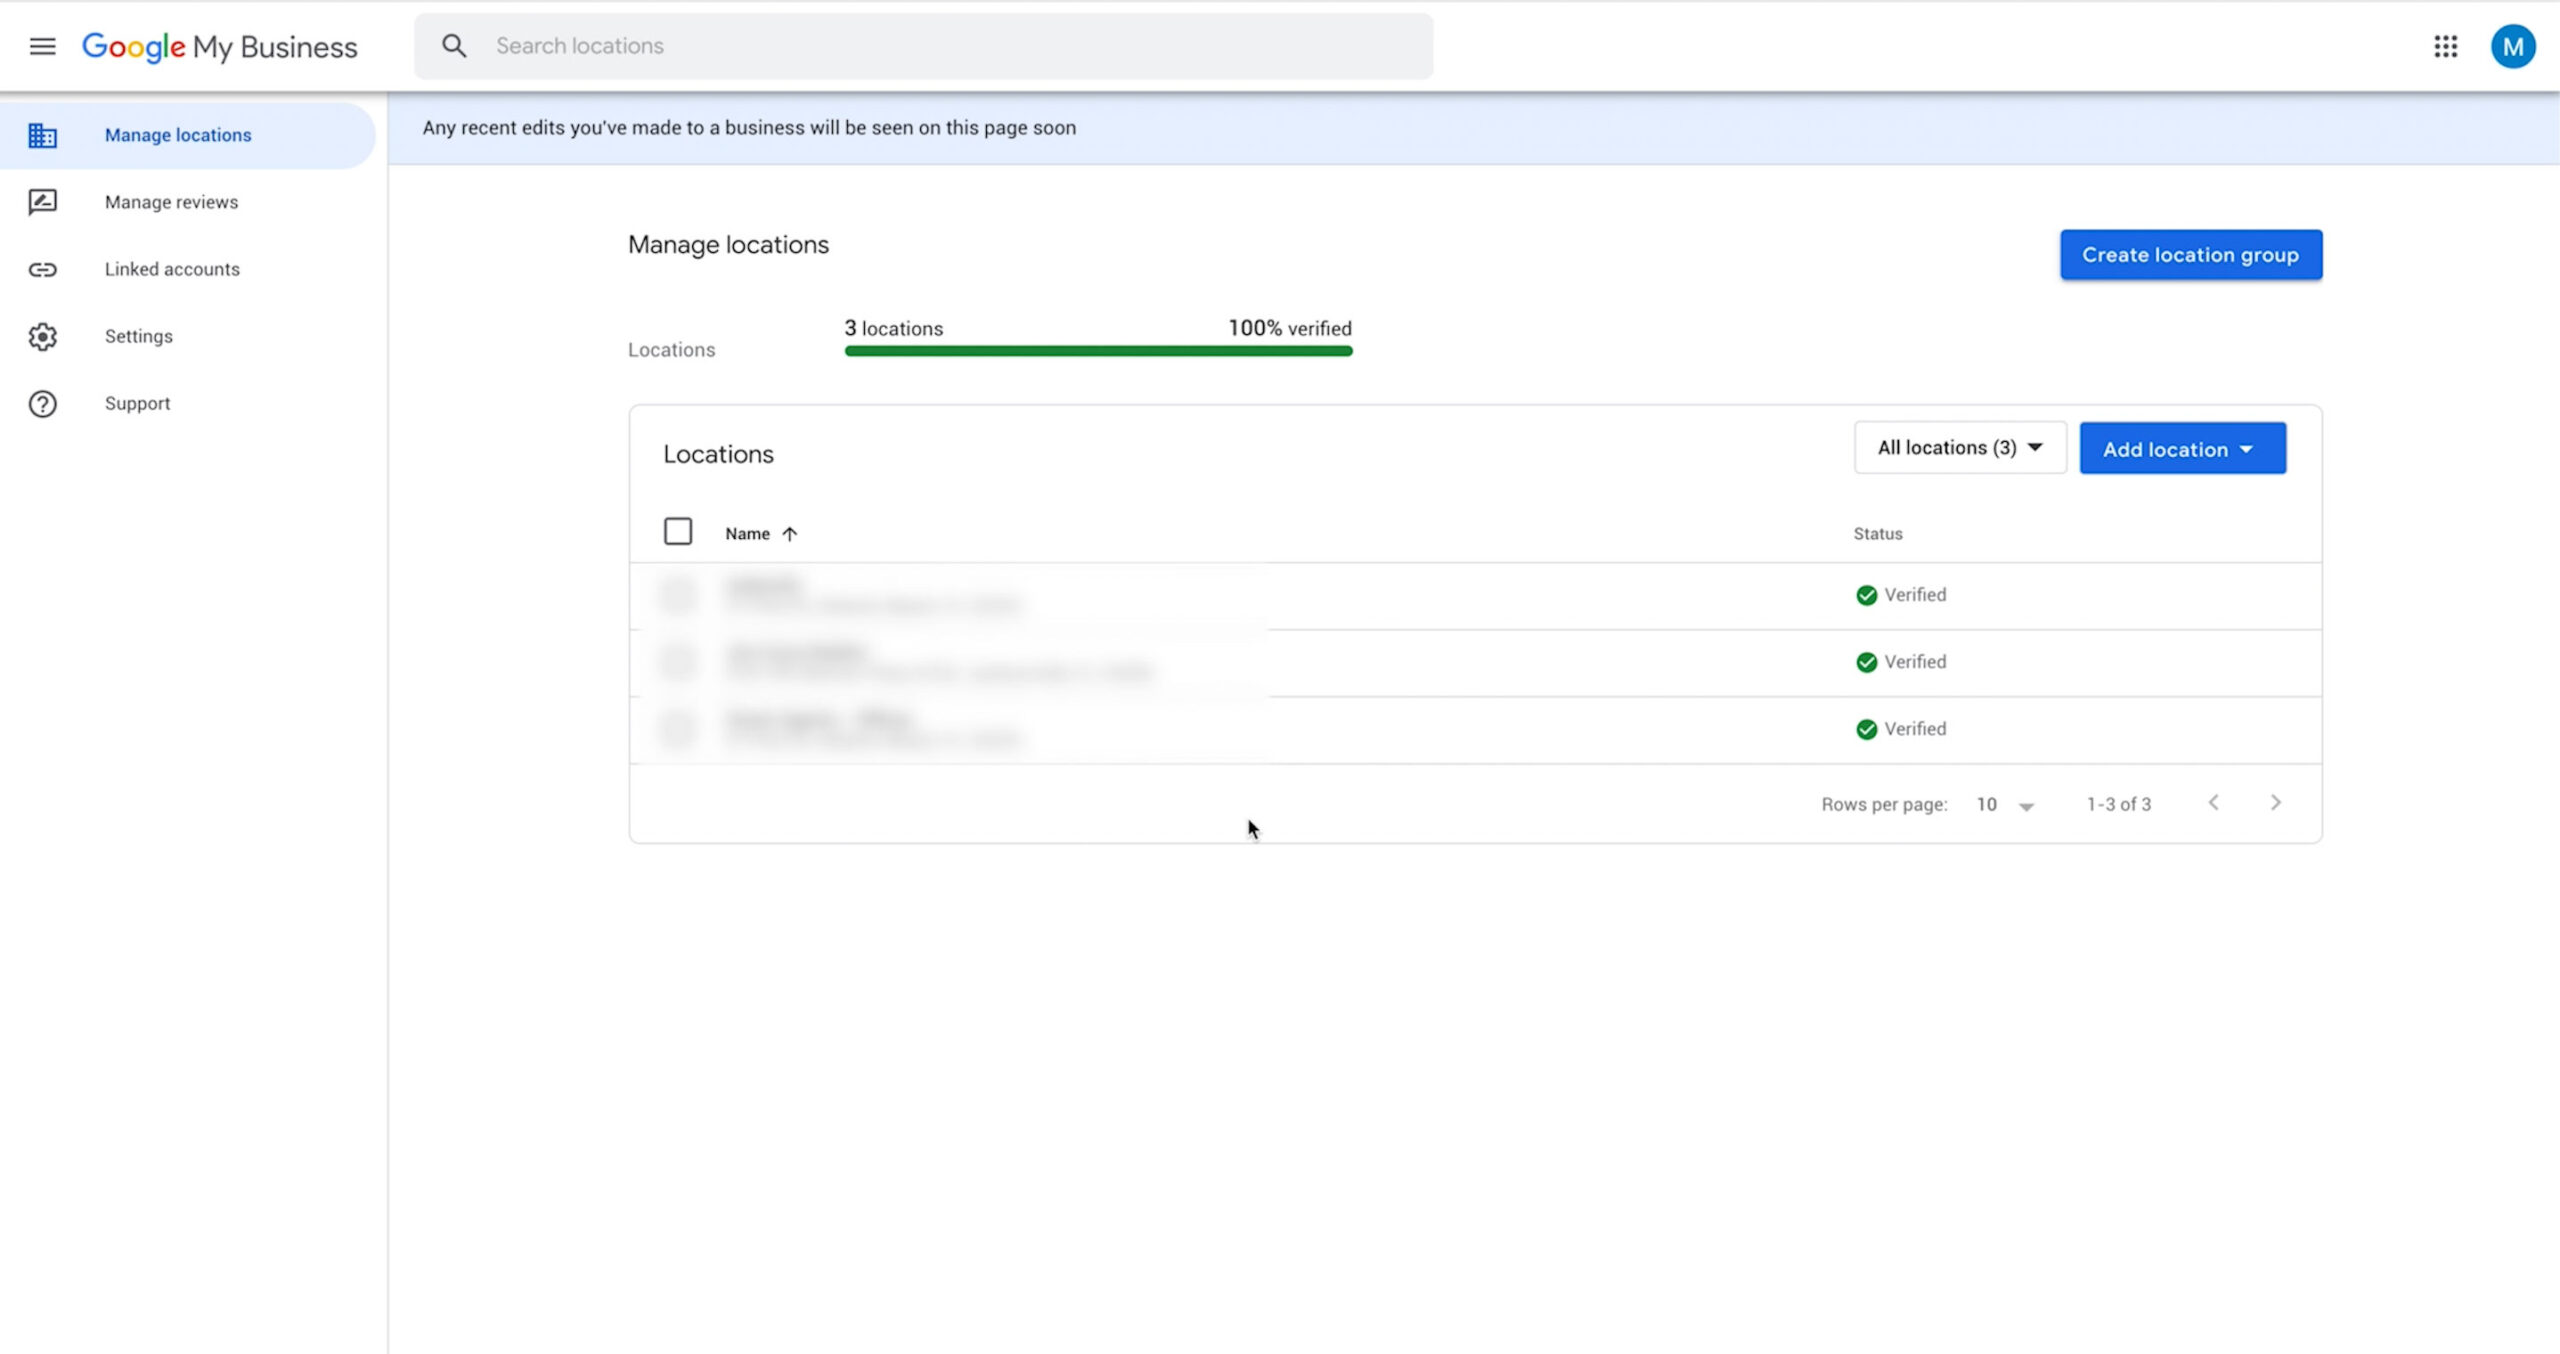
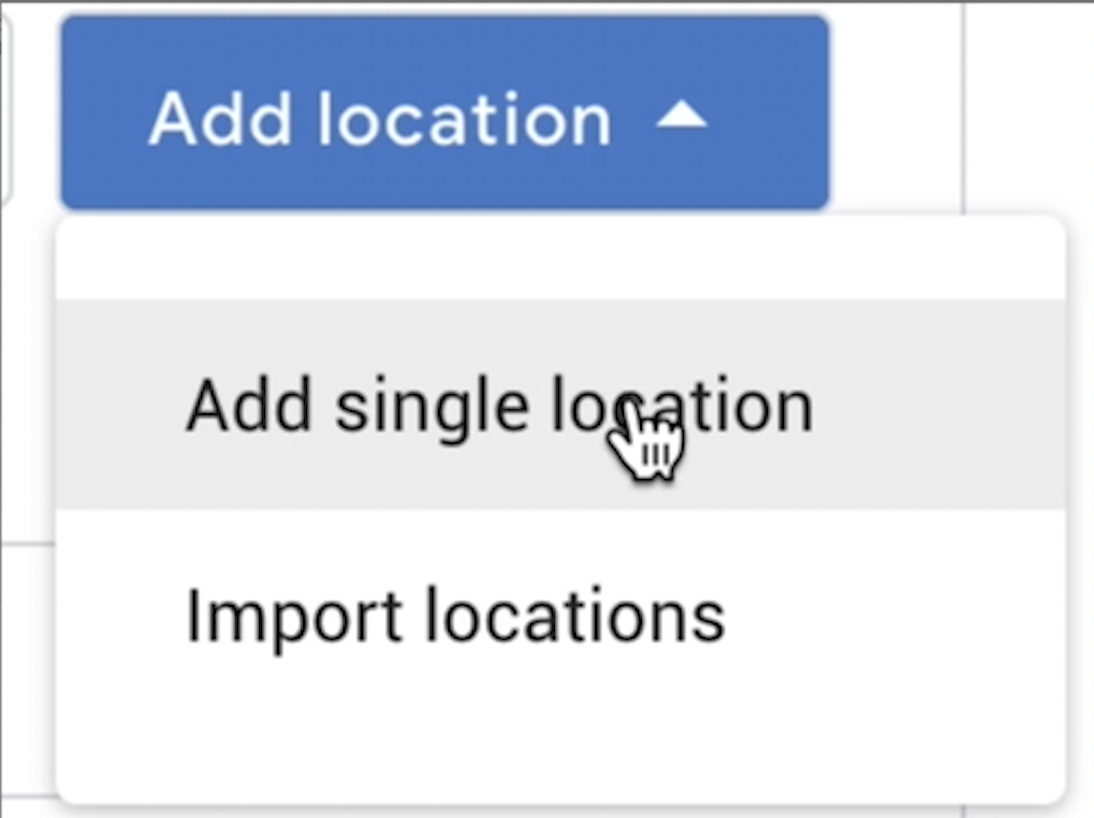
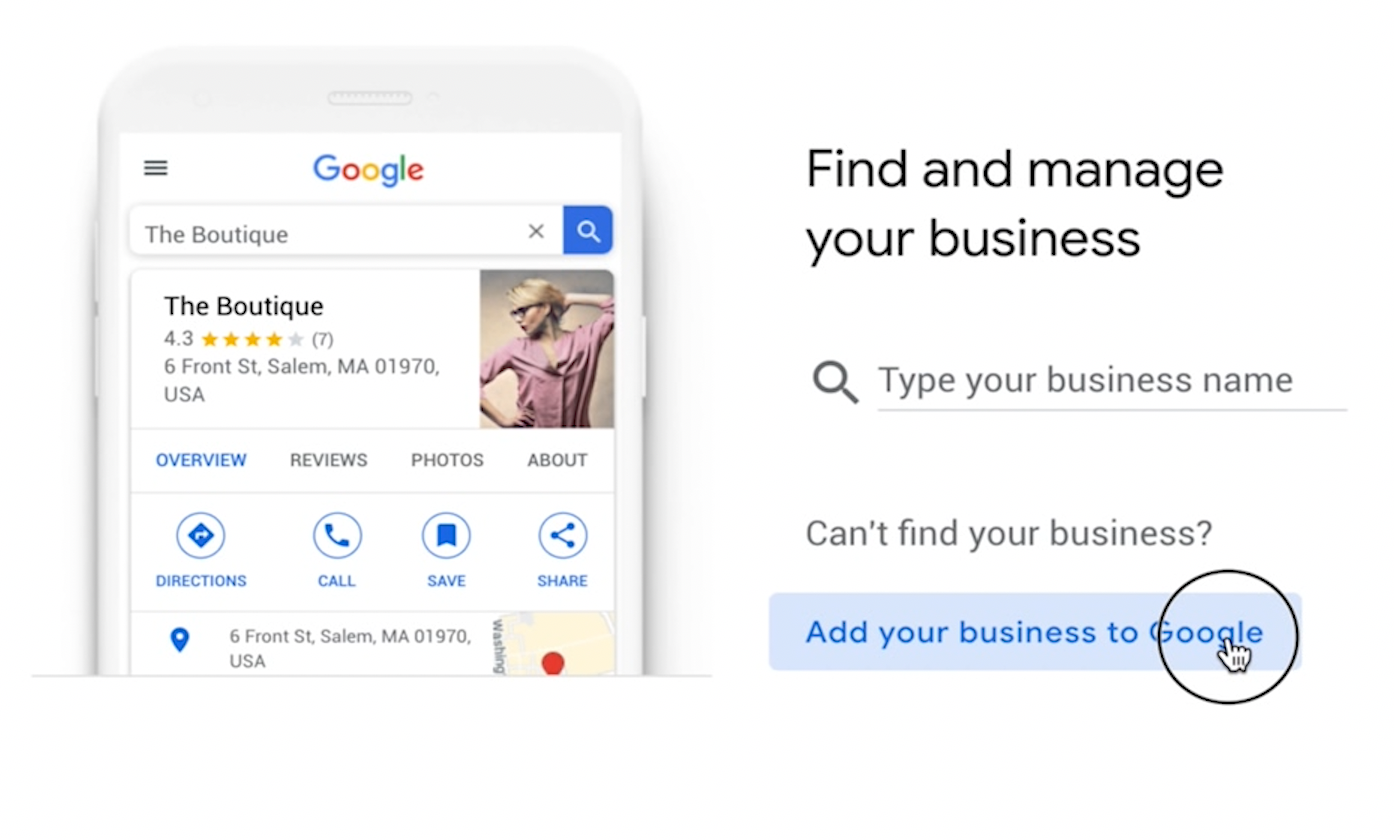
Now, you are ready to add your business to Google and start entering all of the preliminary information.
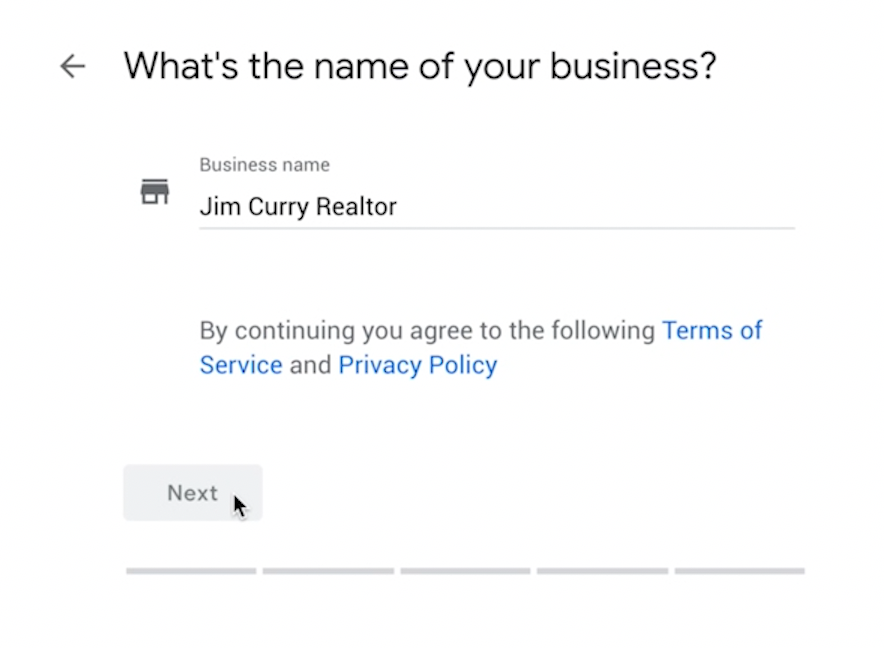
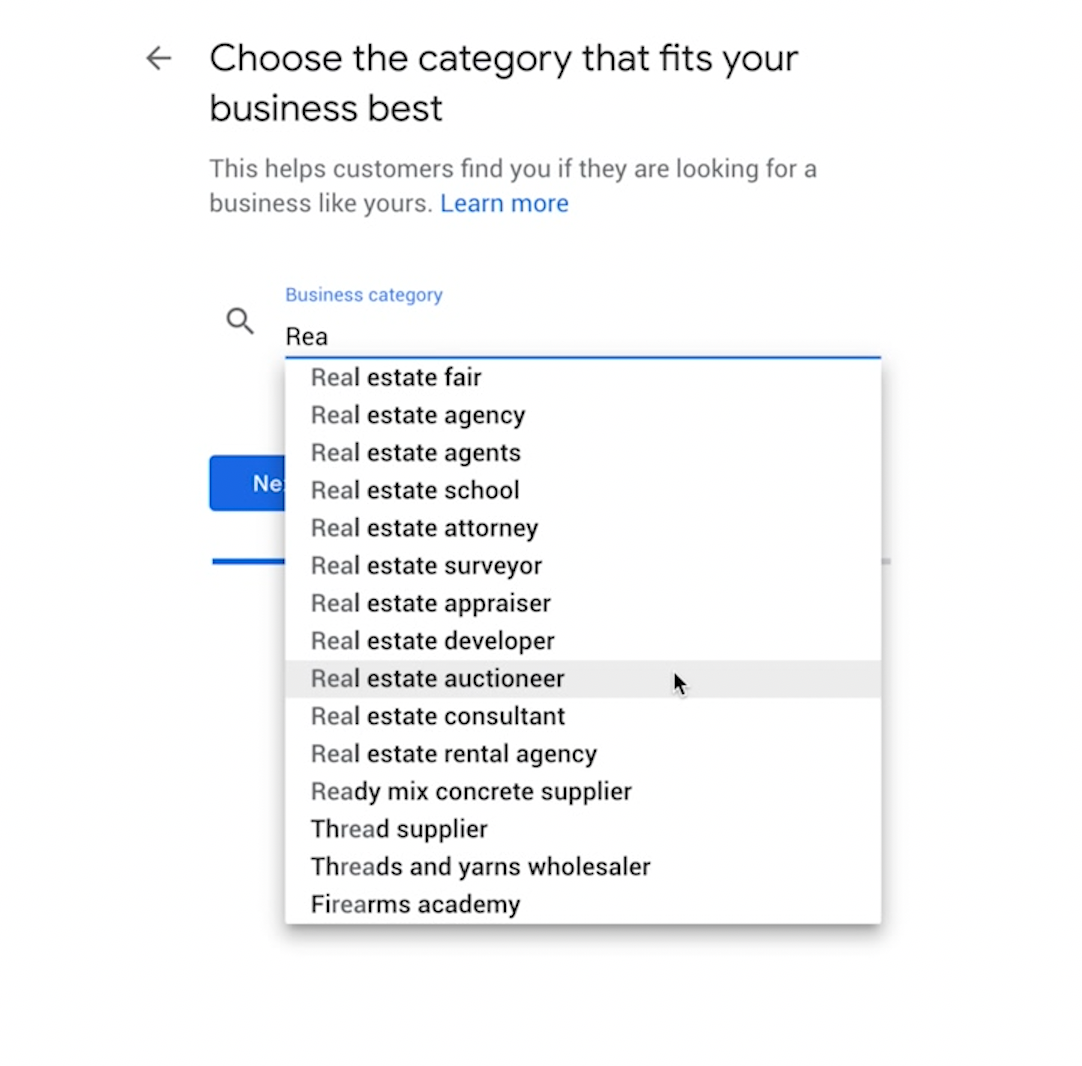
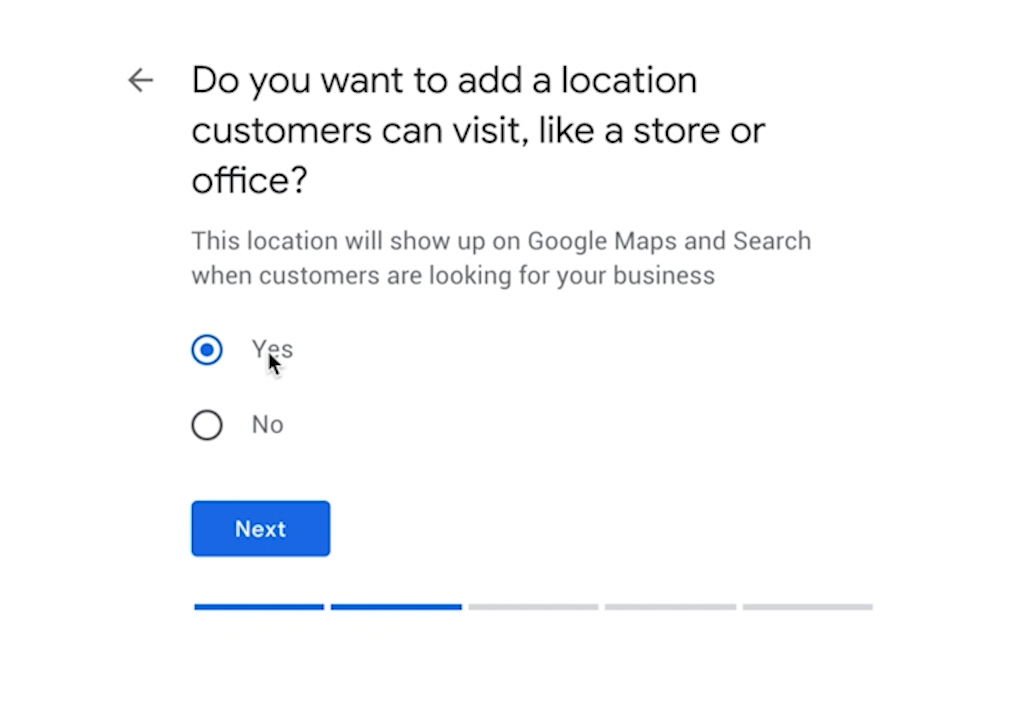
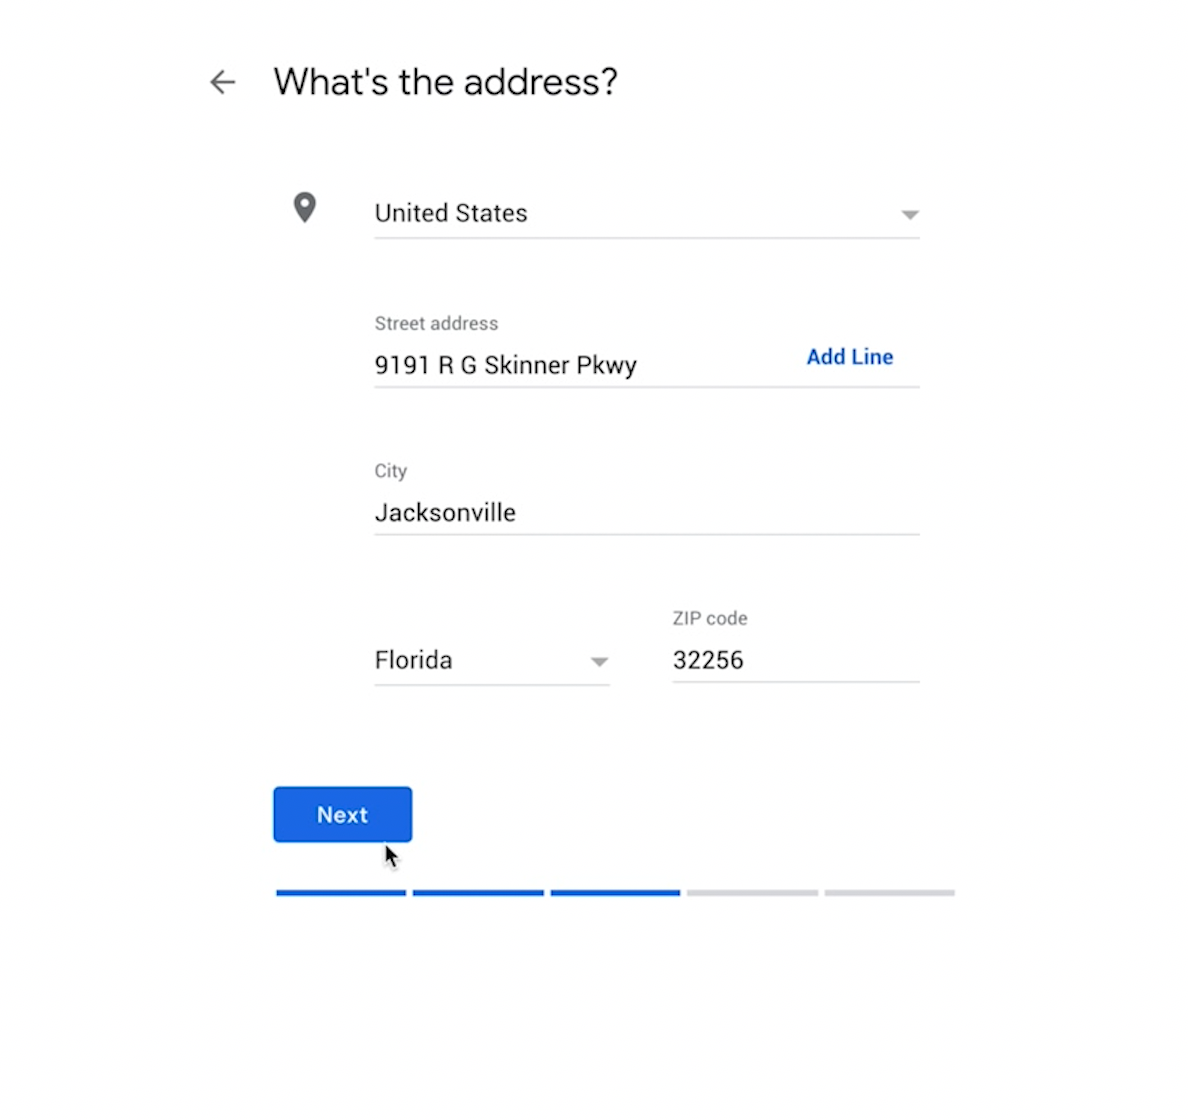
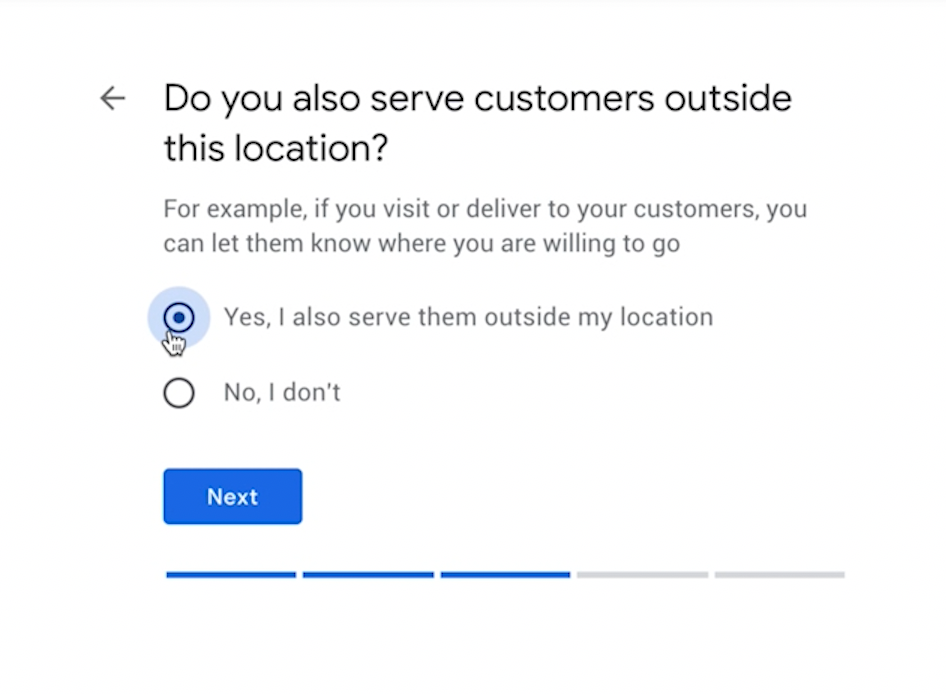
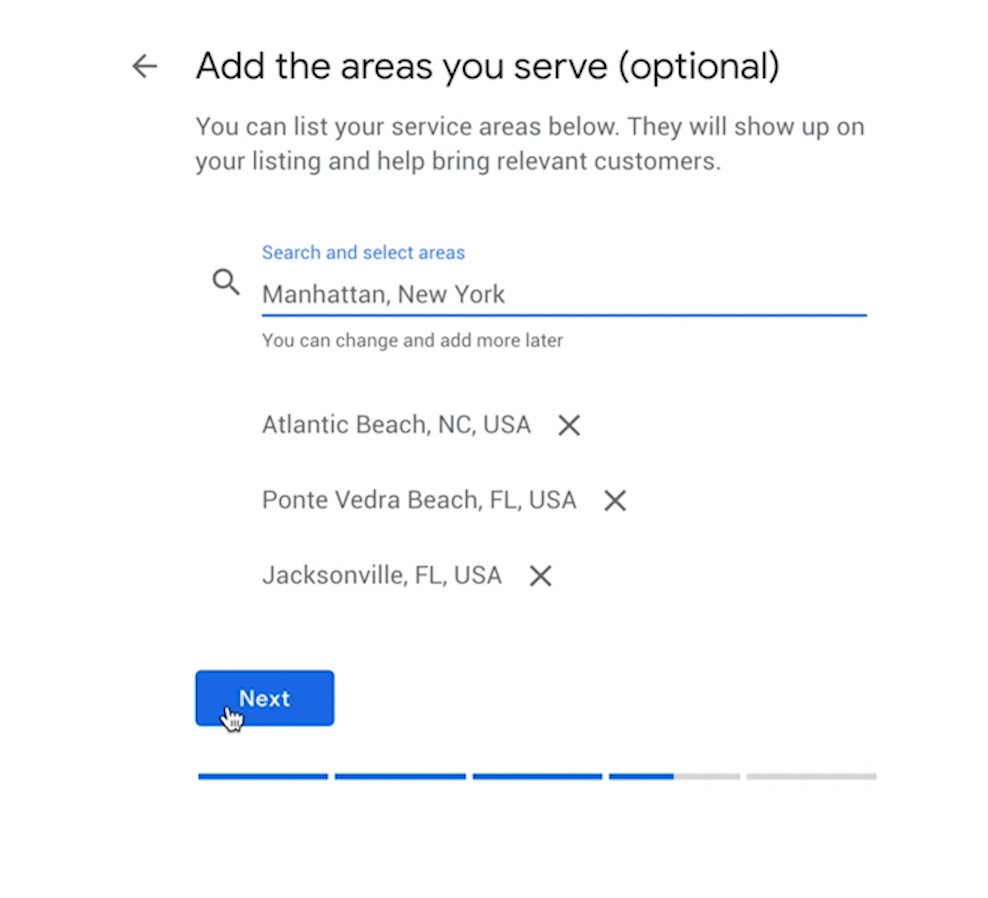
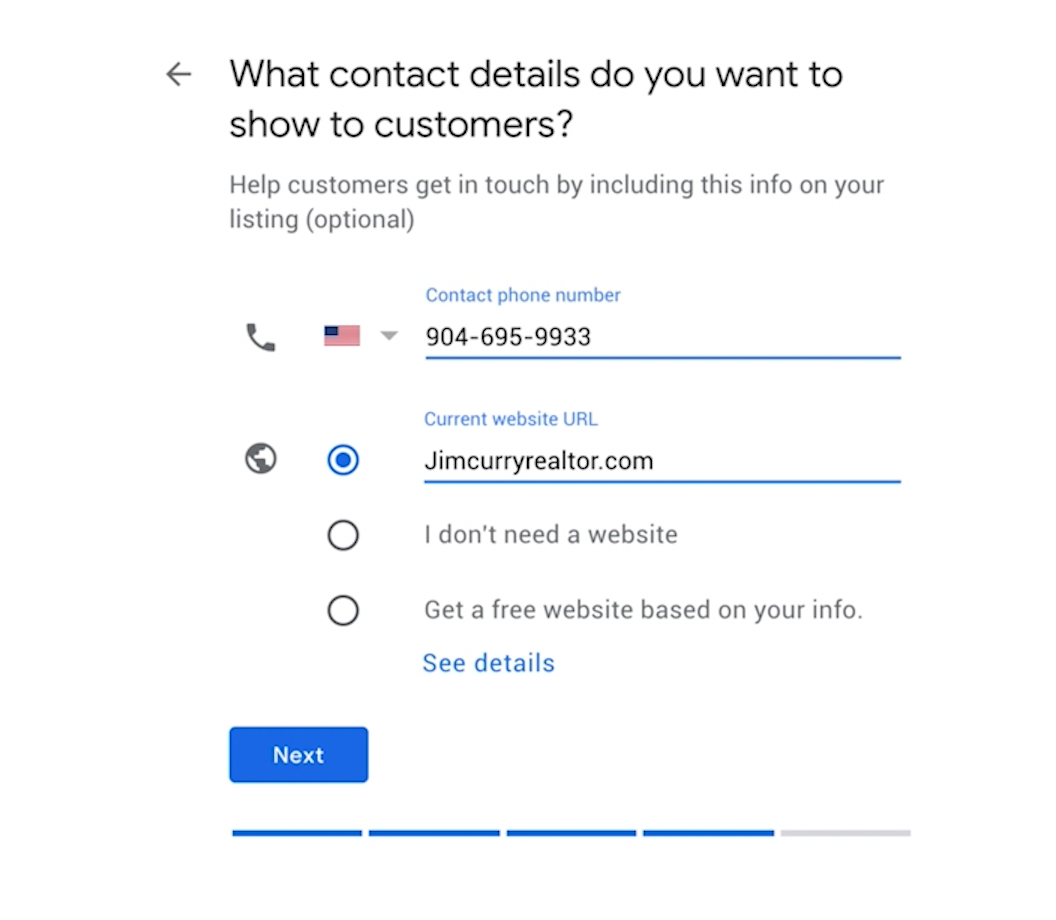
This next step is extremely important. You must verify your business with Google before your page becomes live.
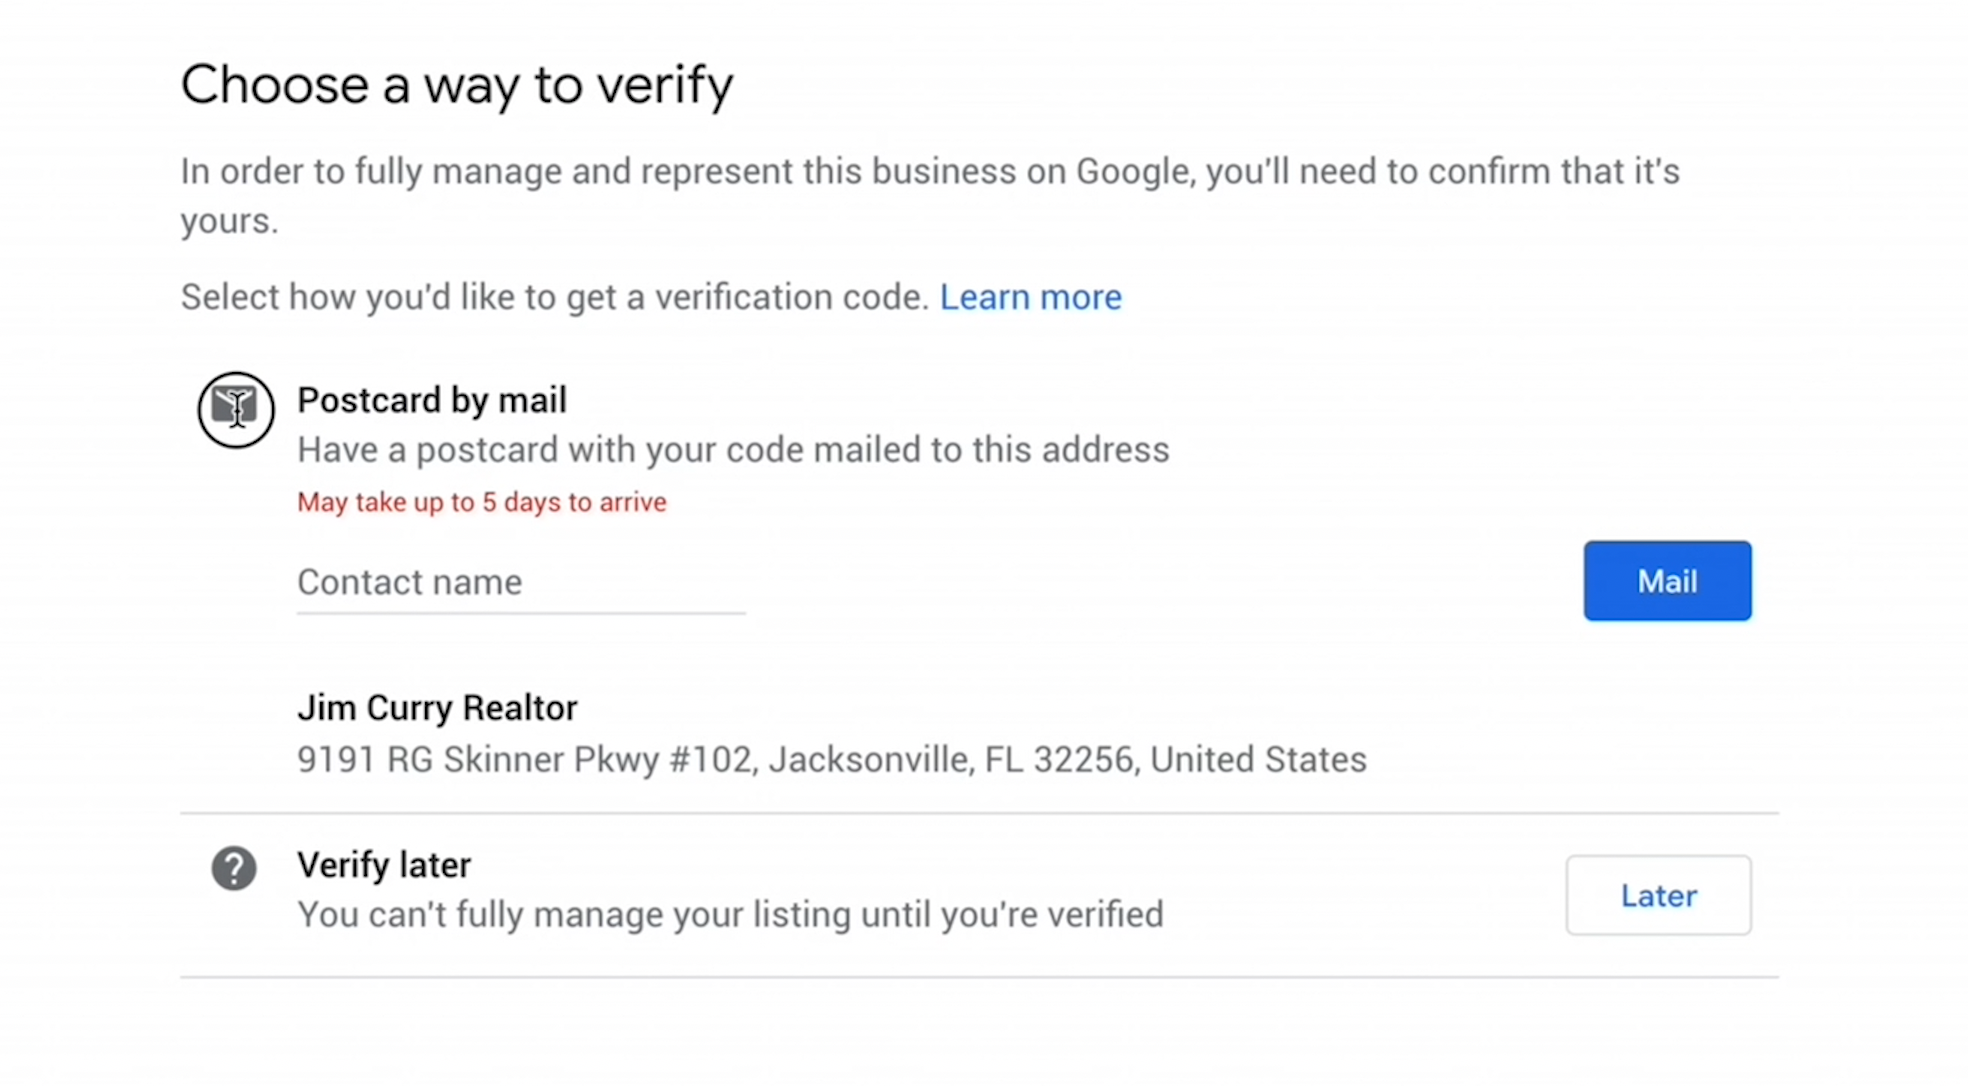
Note, in a very small number of cases, verification by phone is offered. However, this is not the norm and almost certainly is not offered when you build your page from scratch.
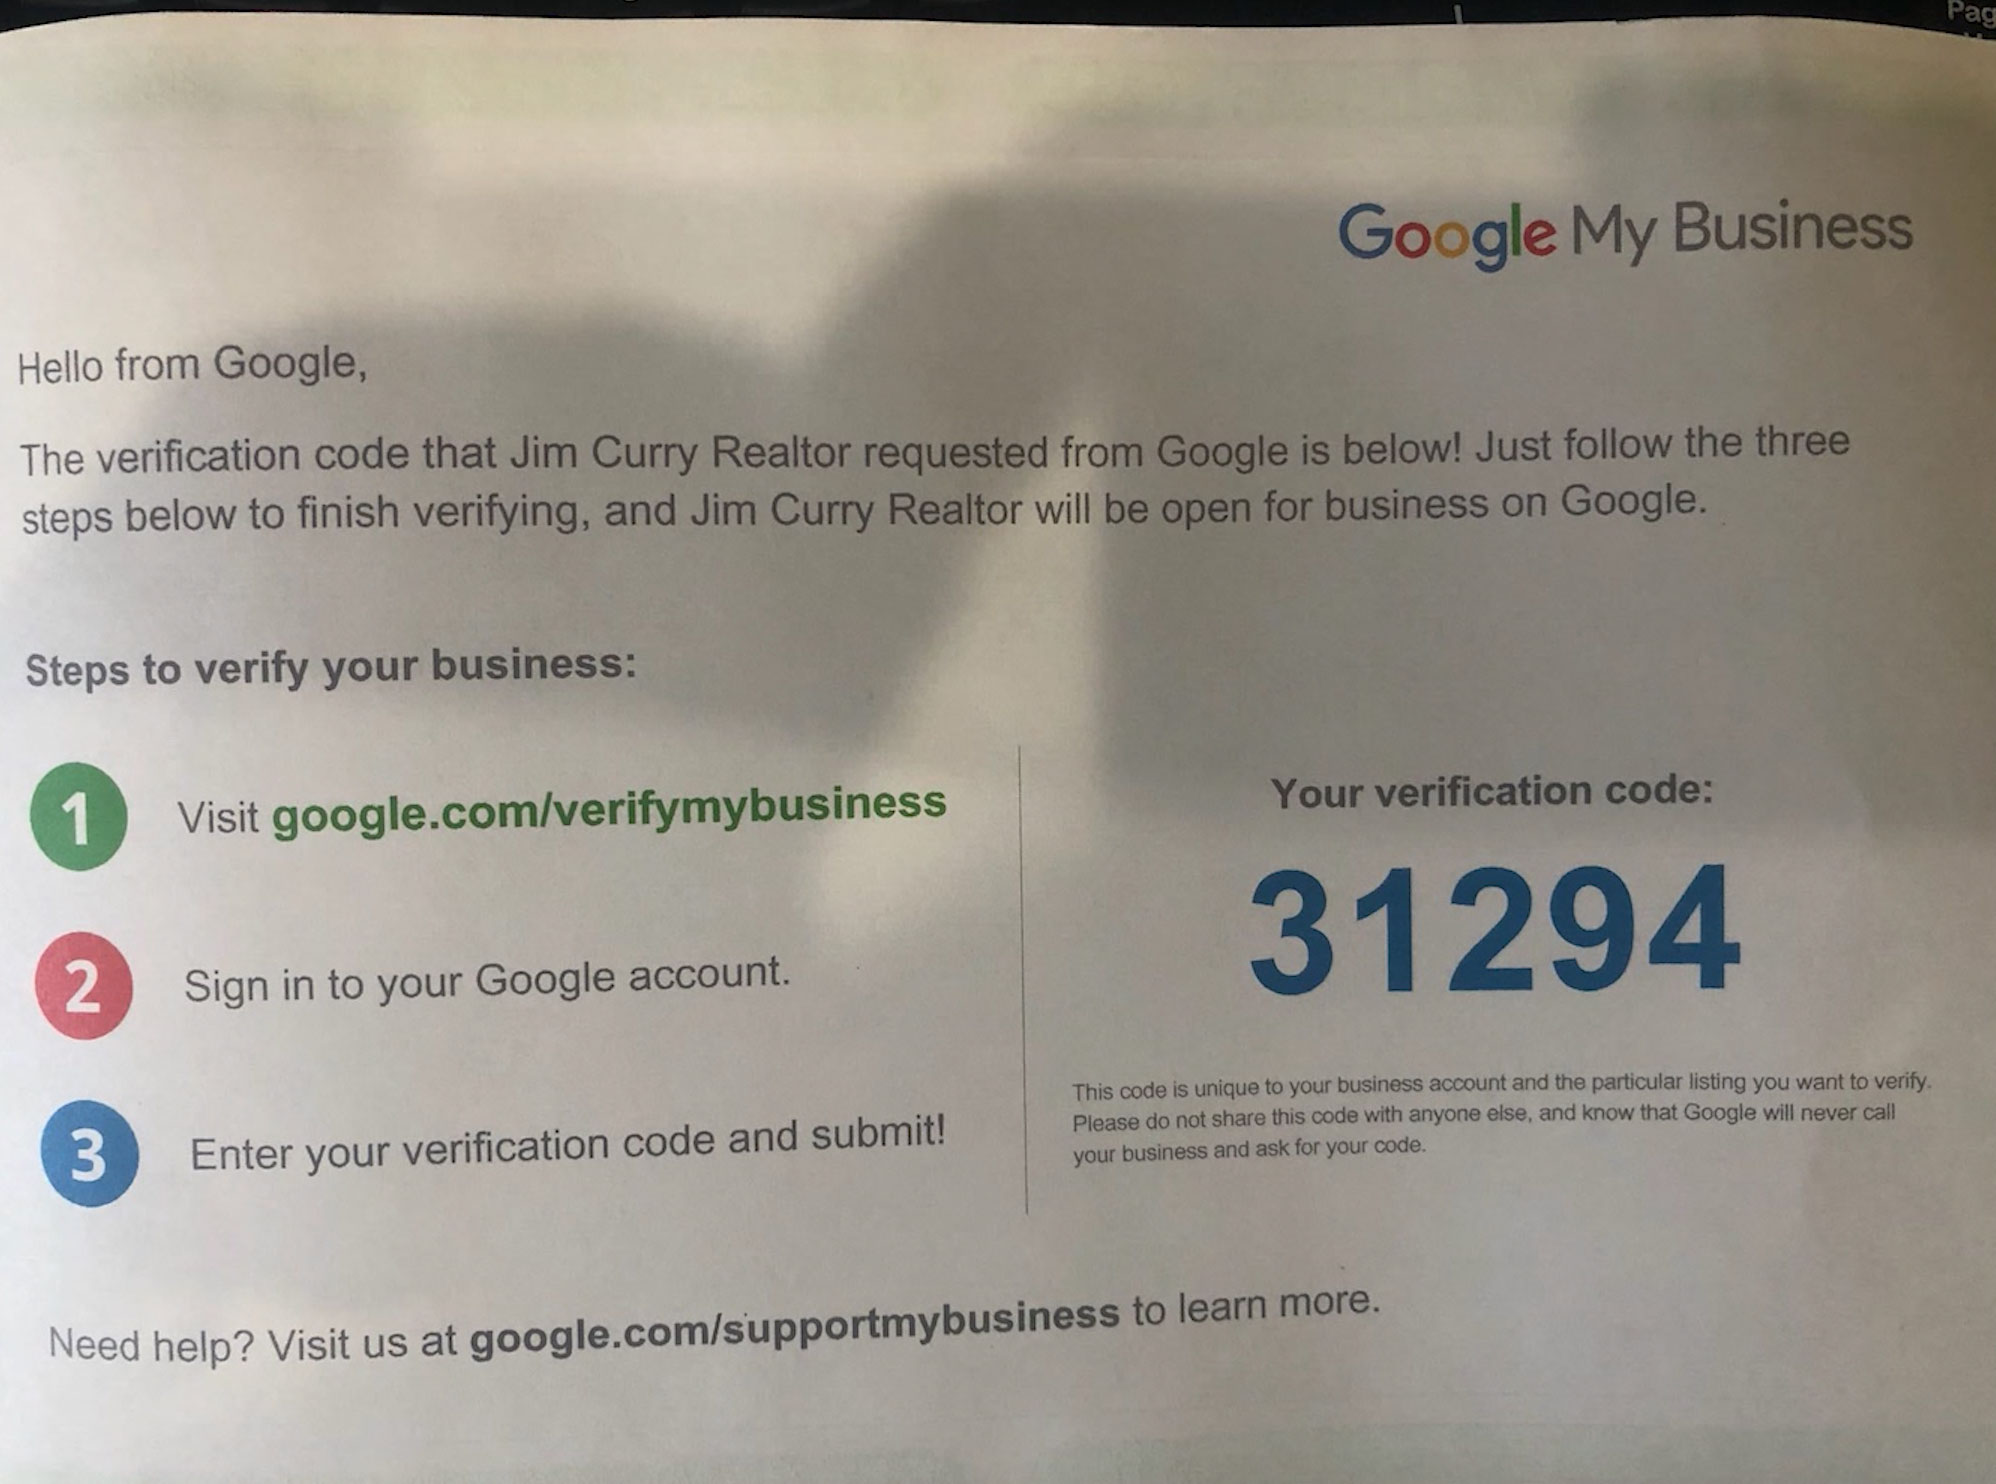
Again — I can not stress this enough — without verifying your business with Google, the page will not become live. In addition, if you are making edits to an existing page such as the address, you will be required to verify again before those edits are made public.
Now that you’ve created your Google Business Profile, it’s time to start adding additional information. All of the information you entered in the previous step will carry over and autofill many of these spaces. However, if you are updating an existing page, you will need to edit all of the information to fit your new business location.
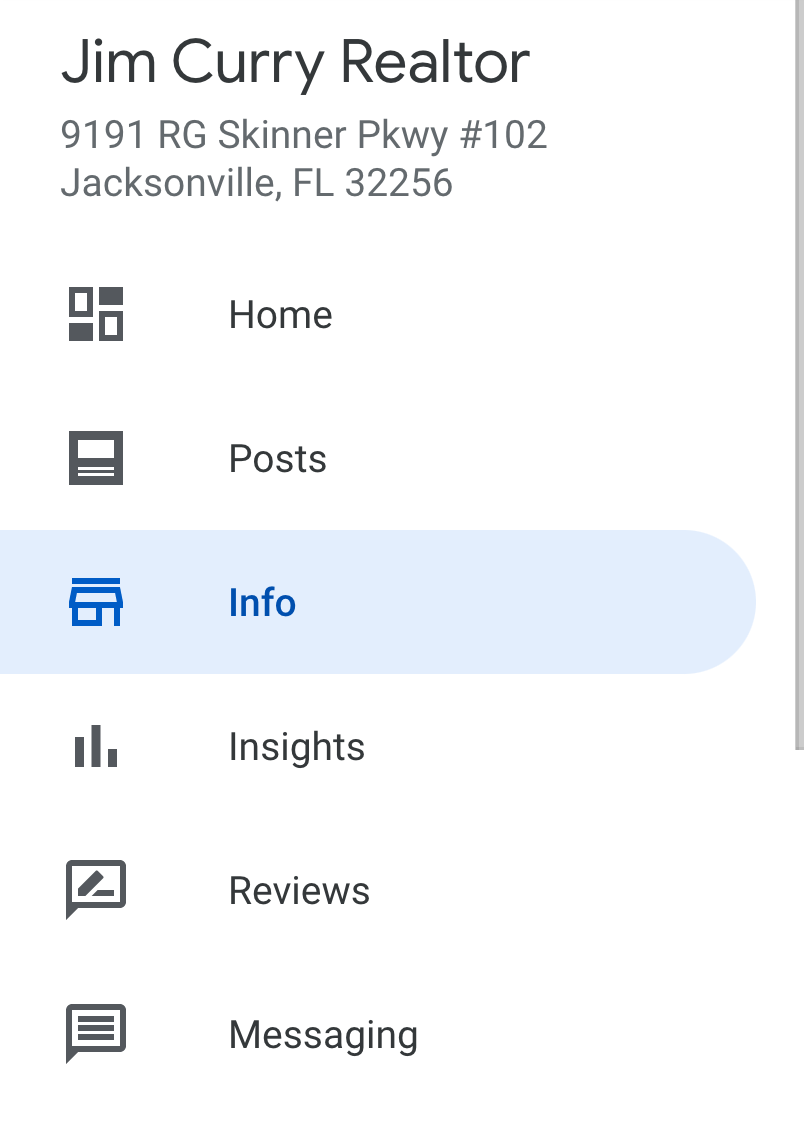
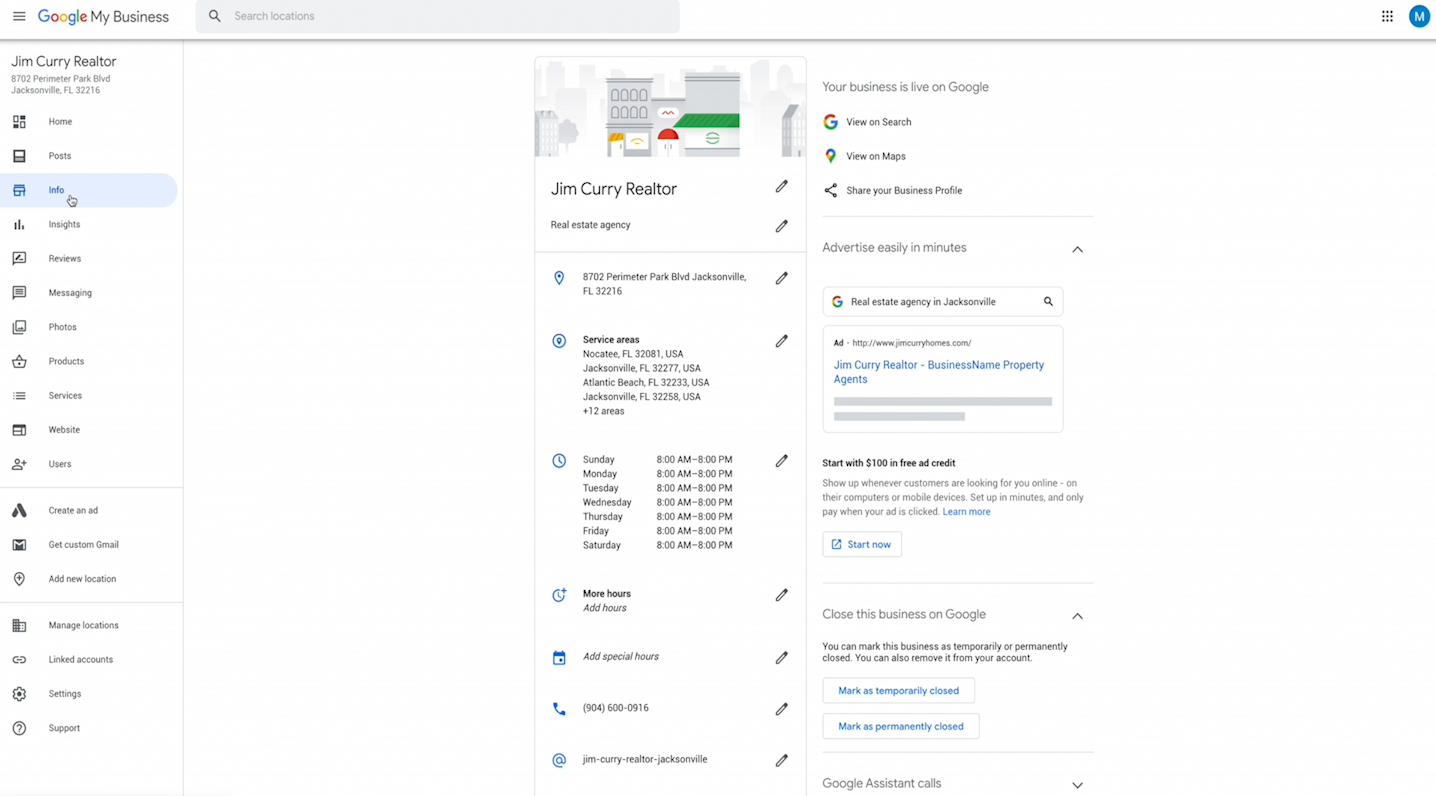

To edit a piece of information, you can click the pencil icon and begin entering your info.
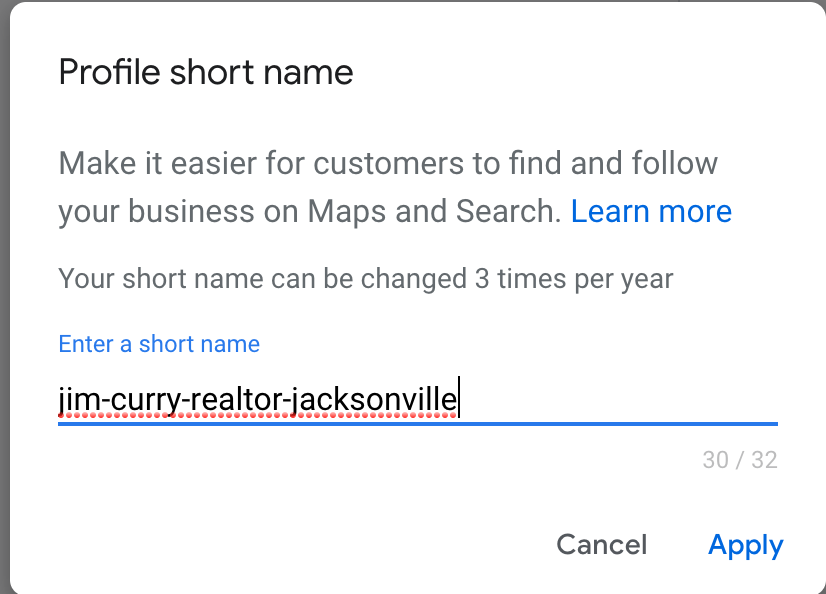
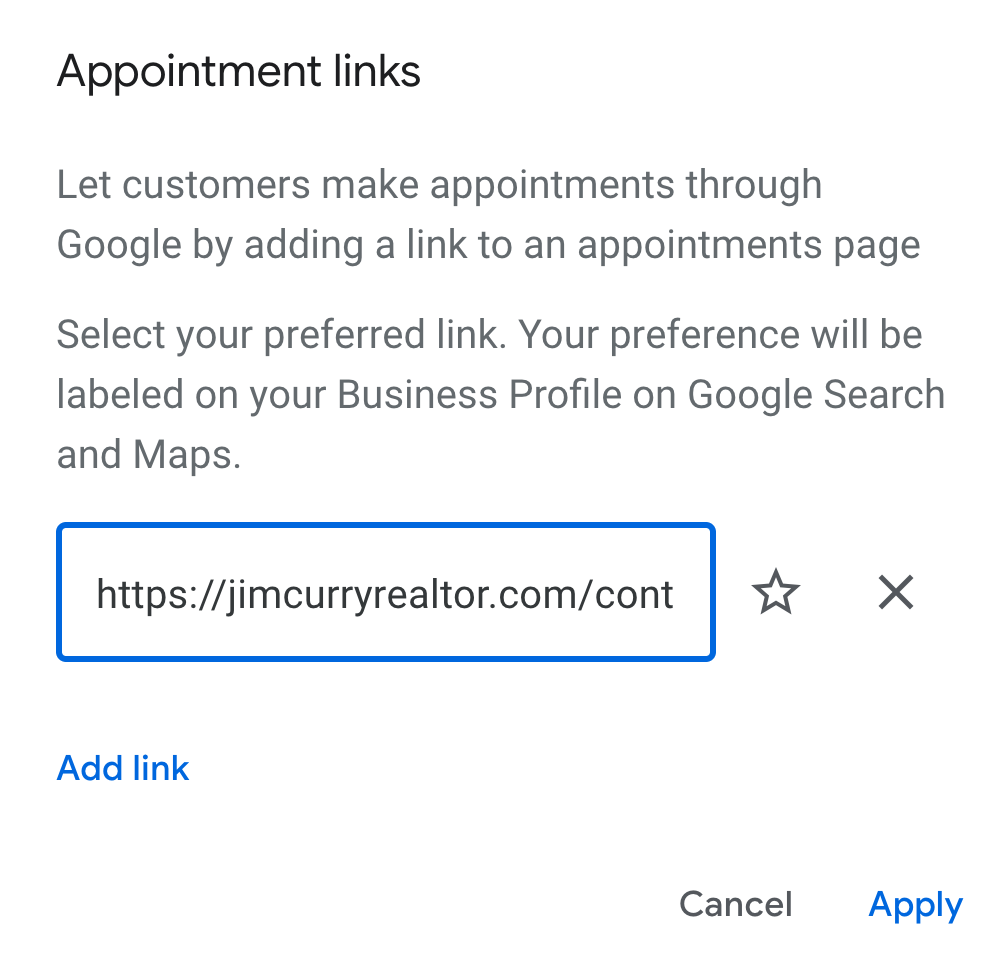
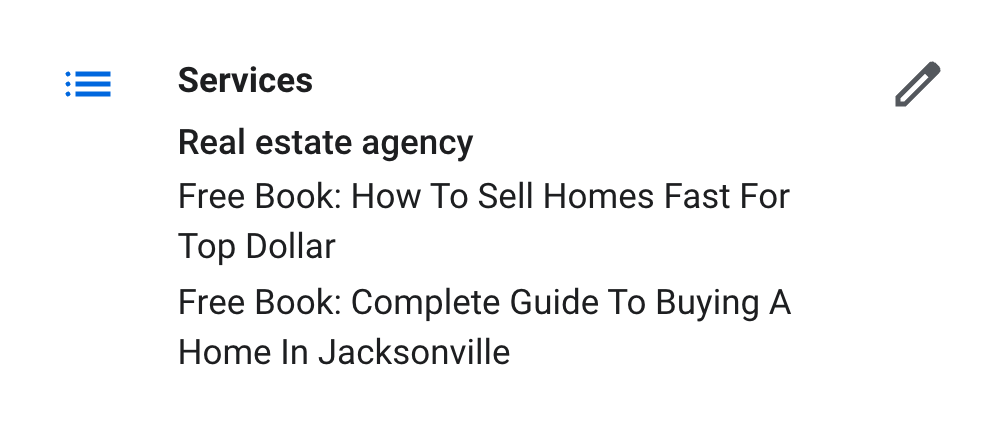
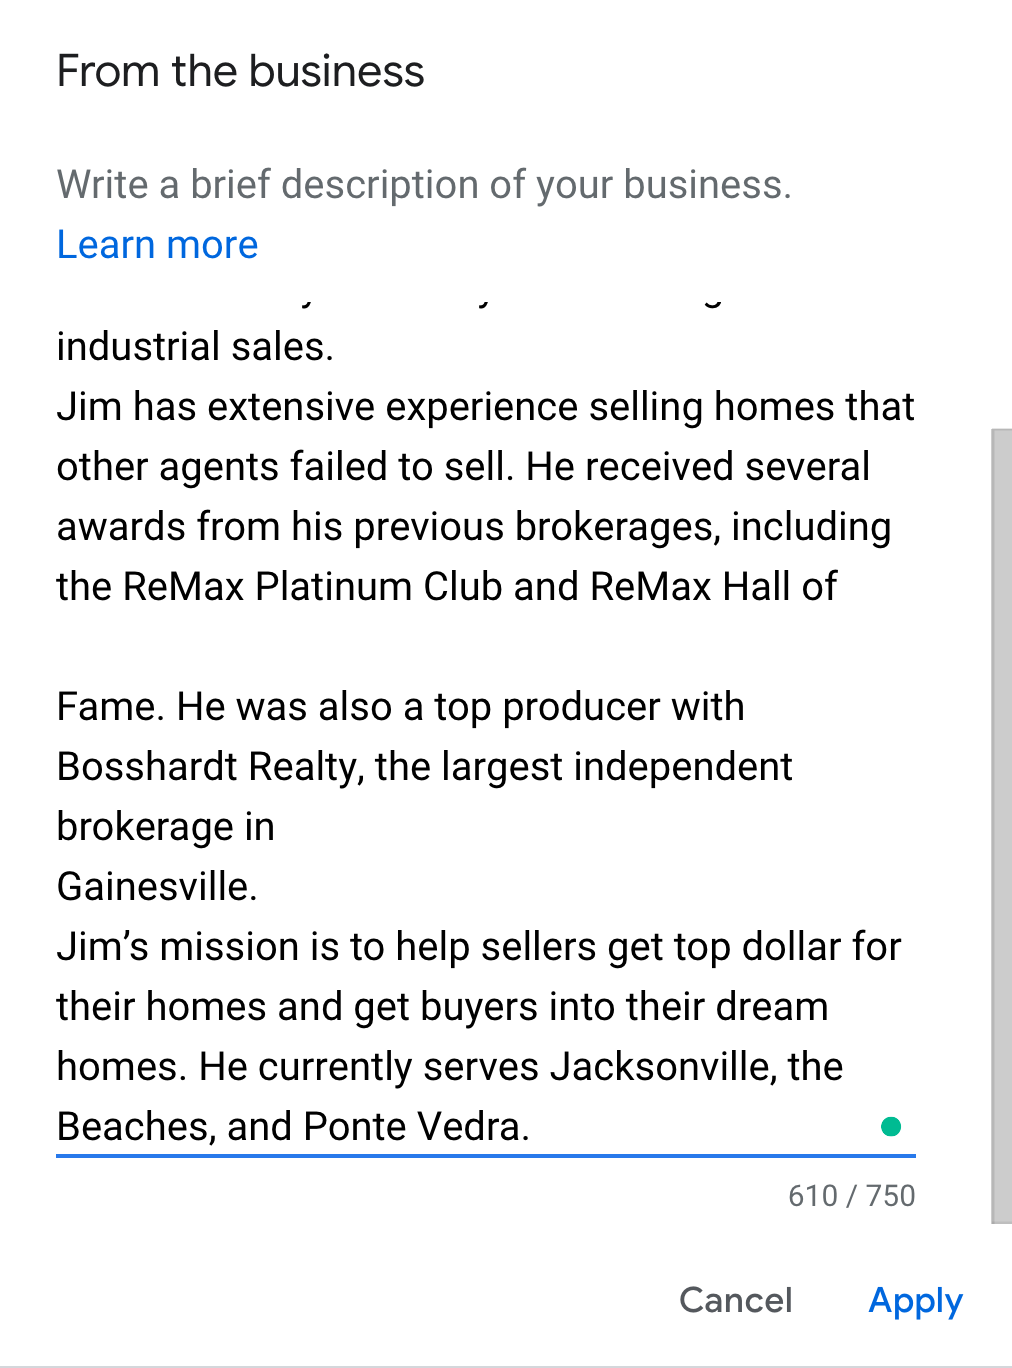
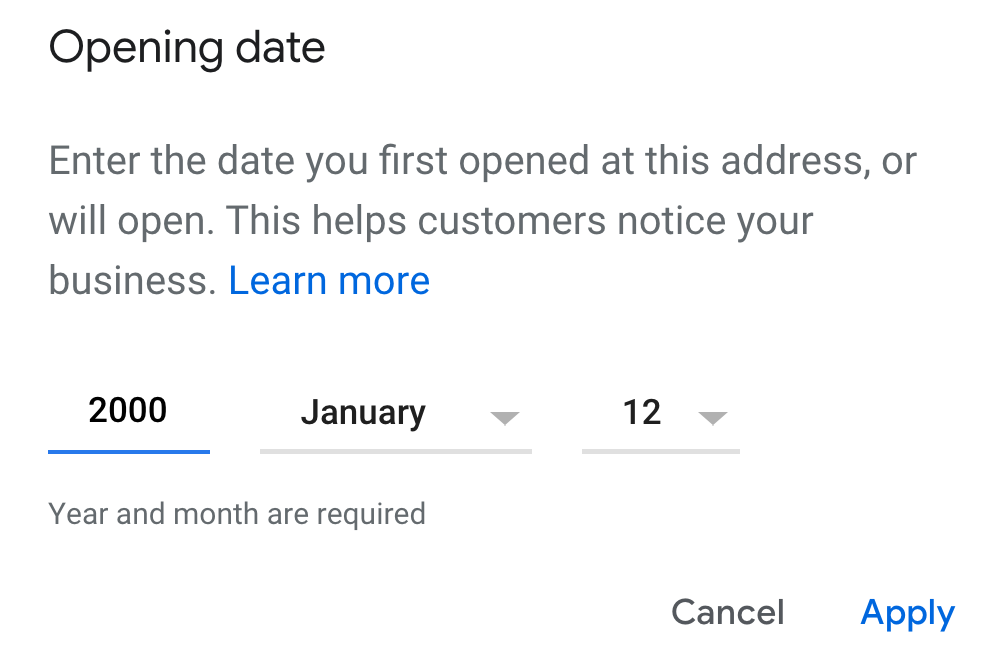

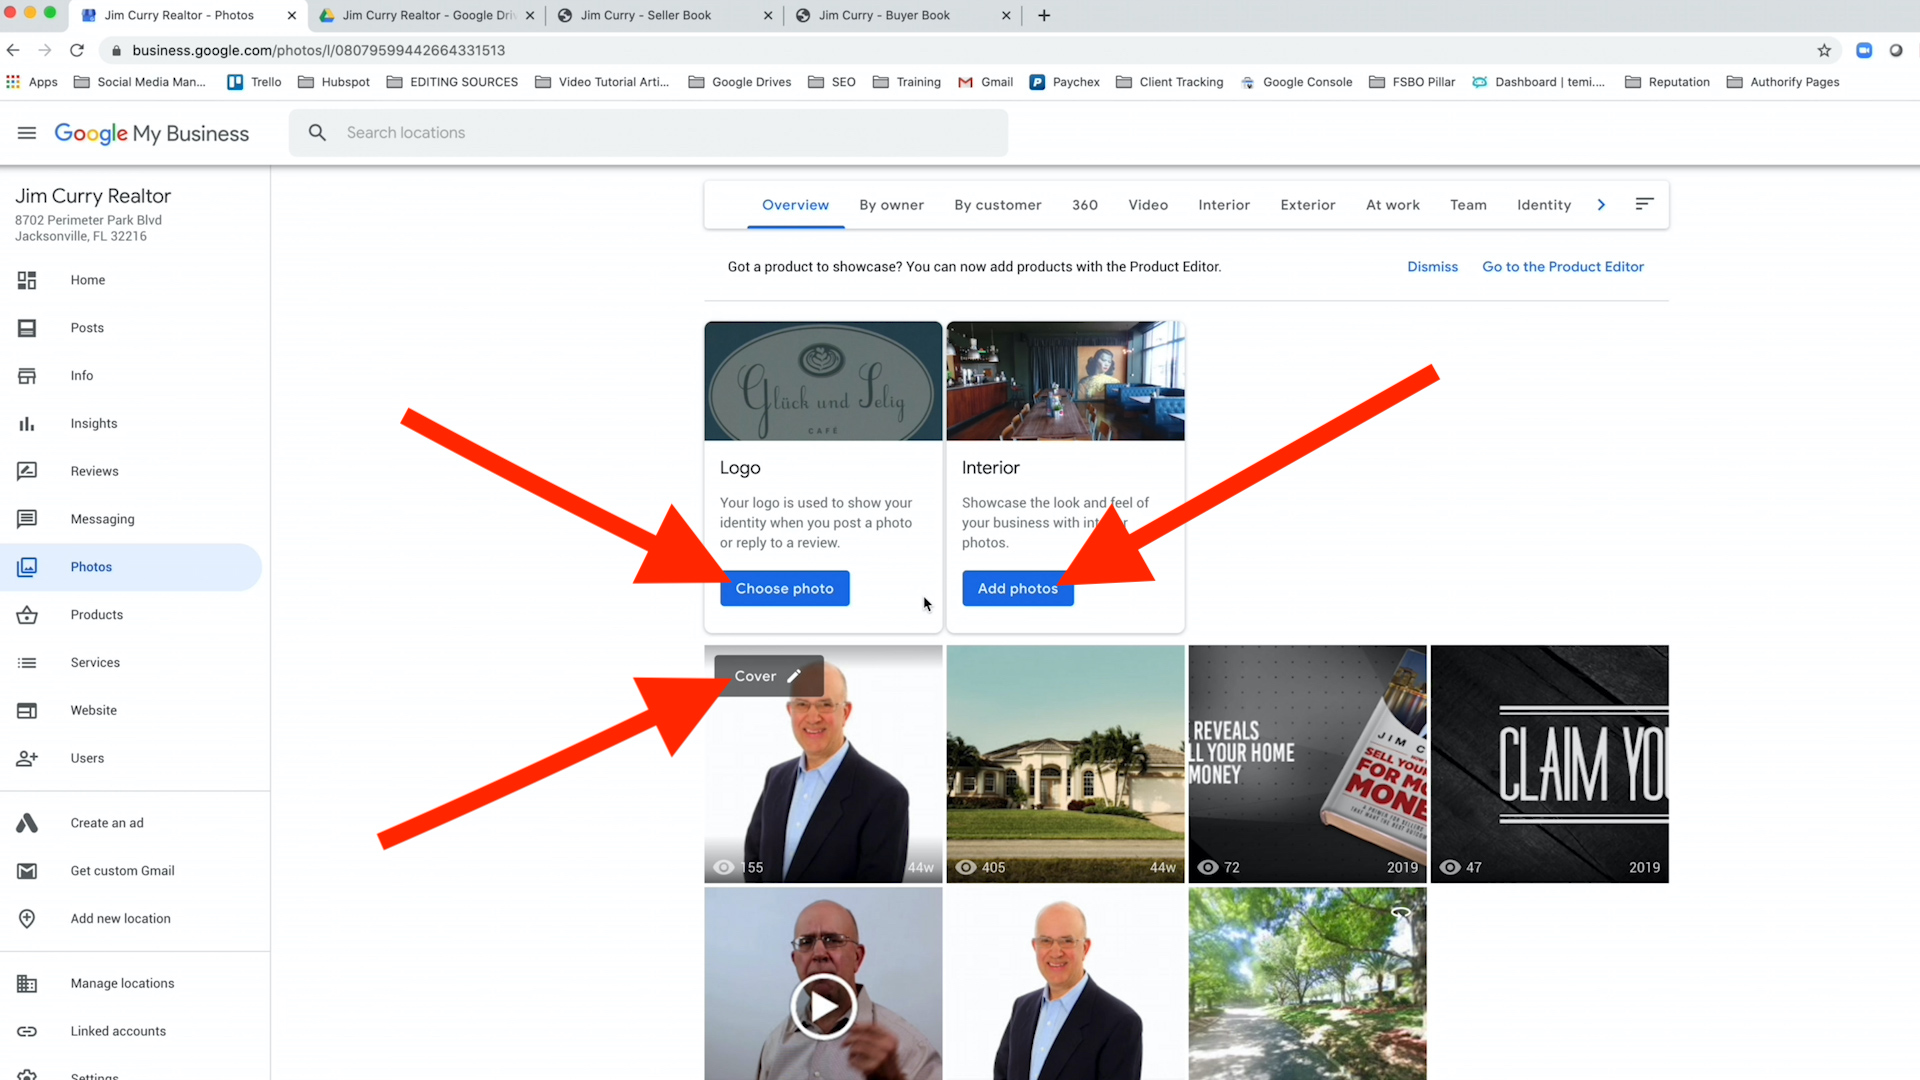
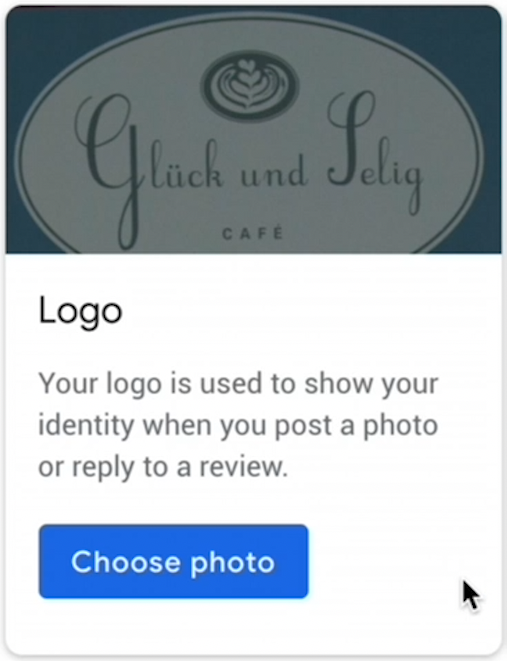
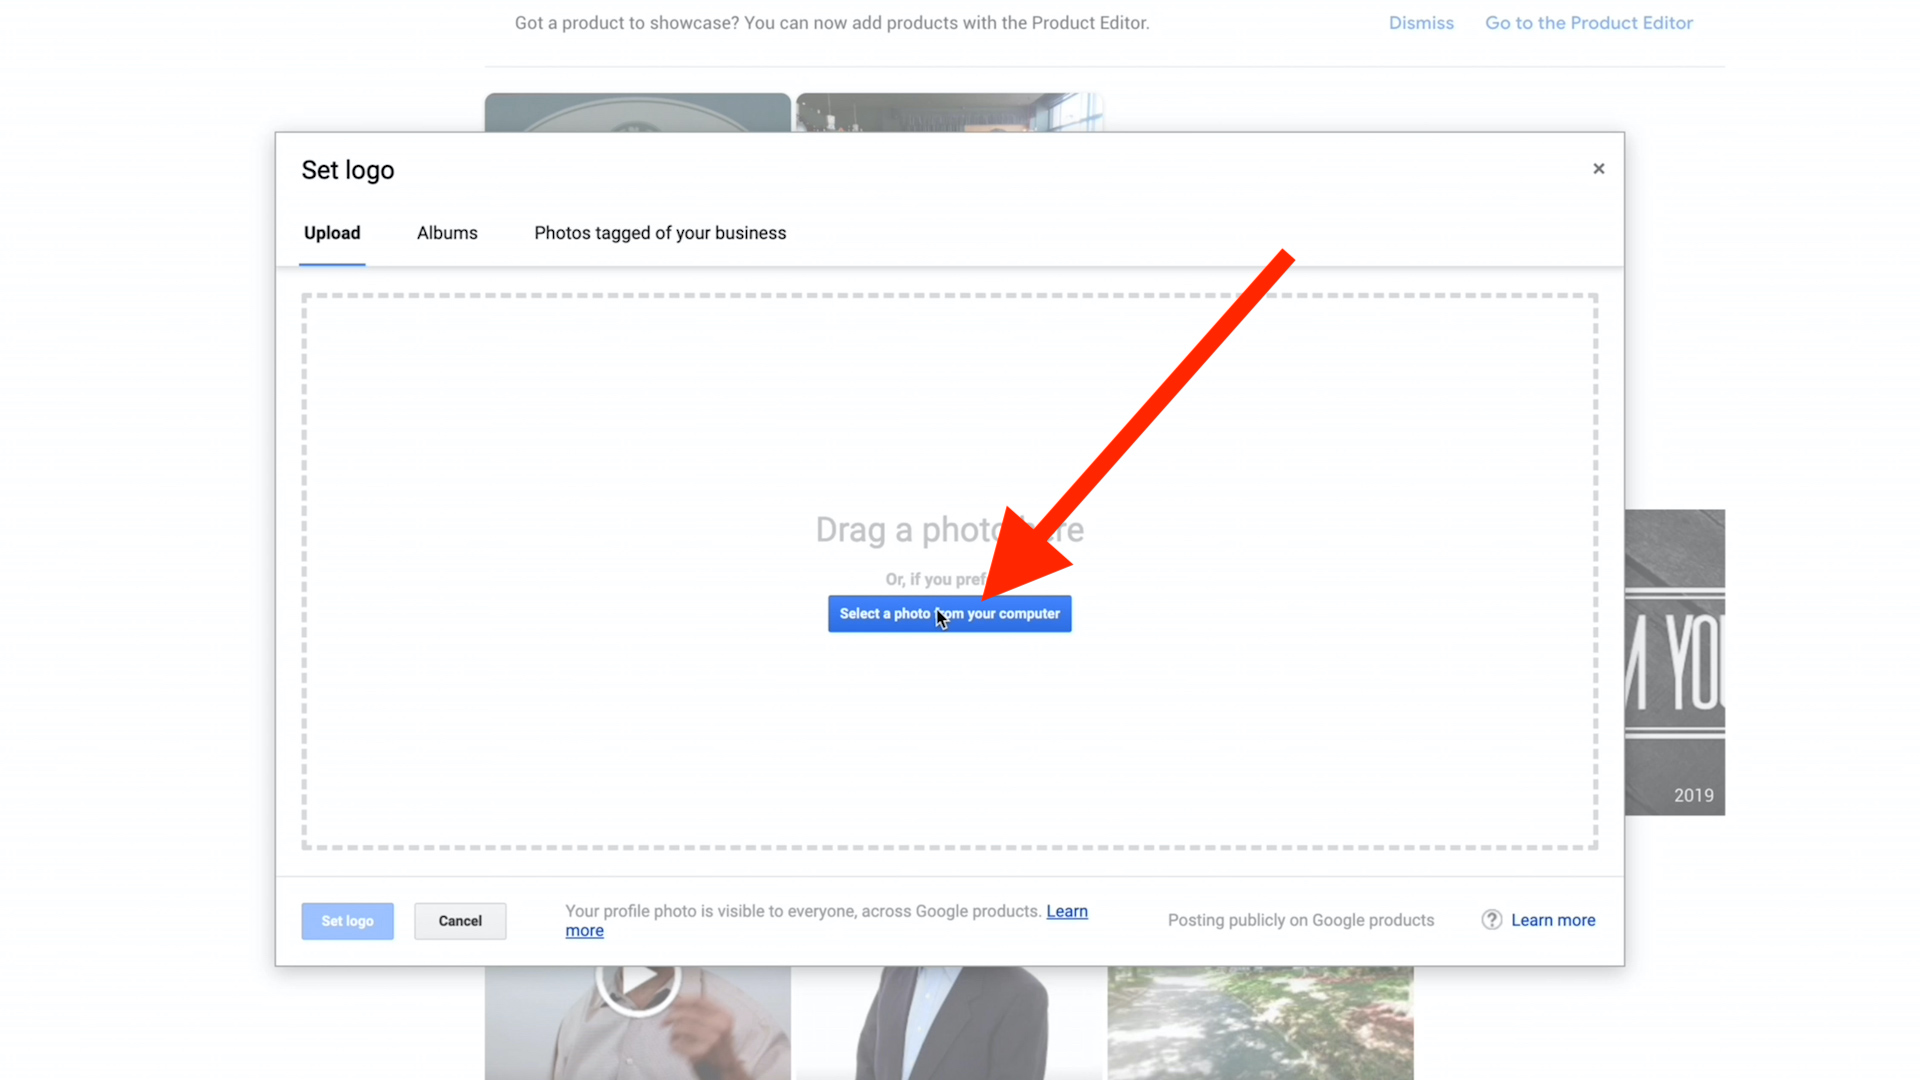
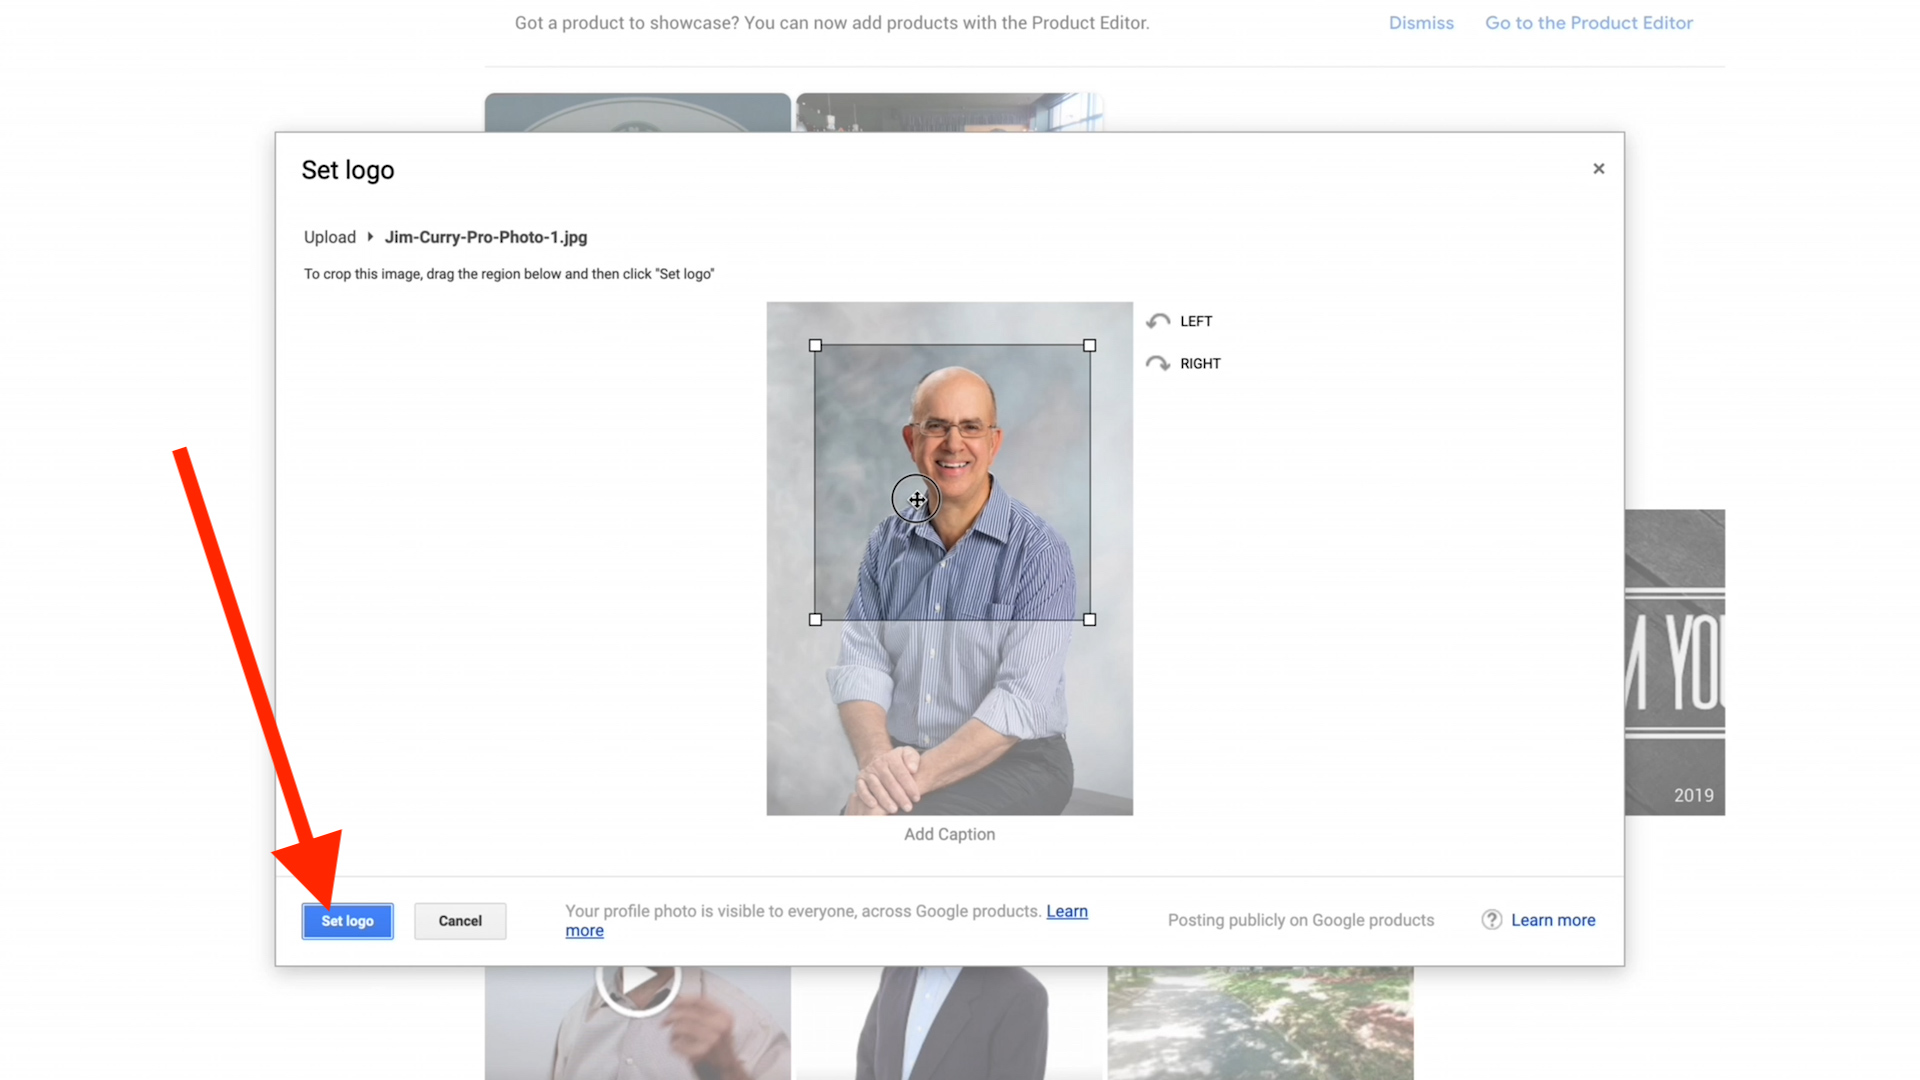
Reminder: Until you complete the verification process explained in Step One, none of these changes will become visible to the public.
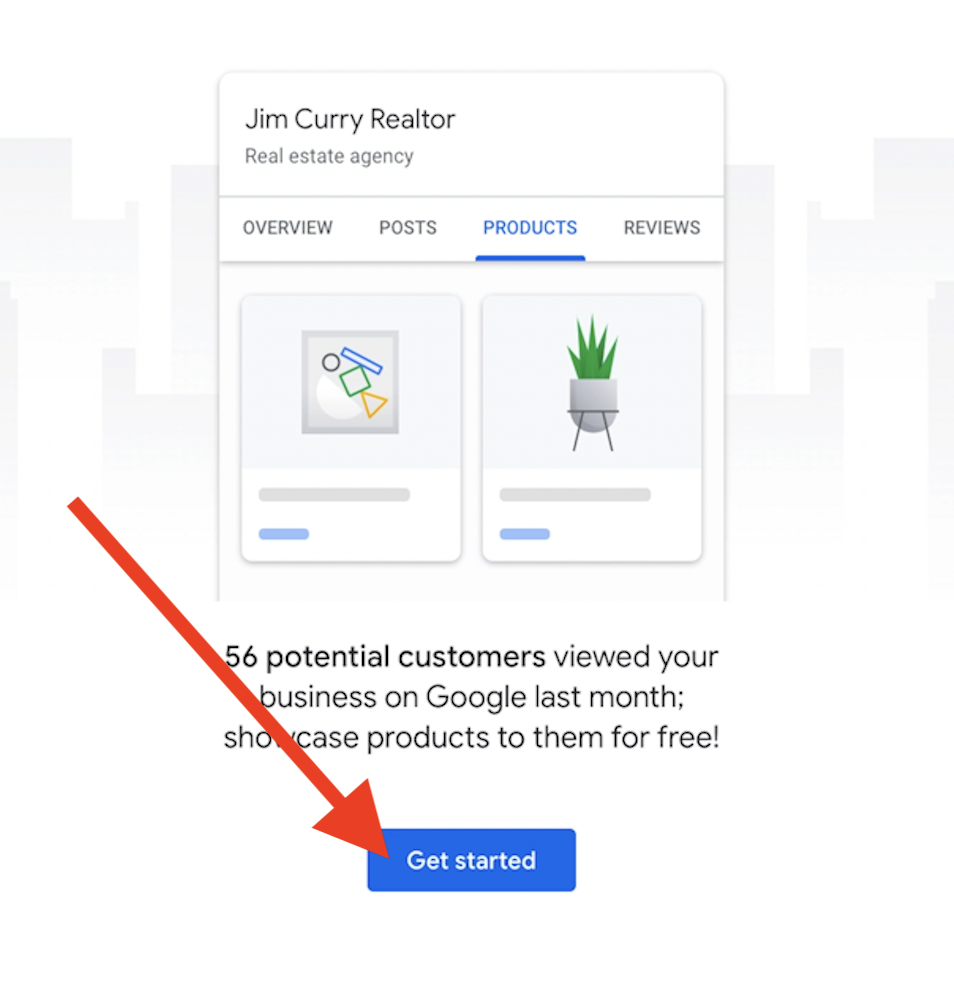
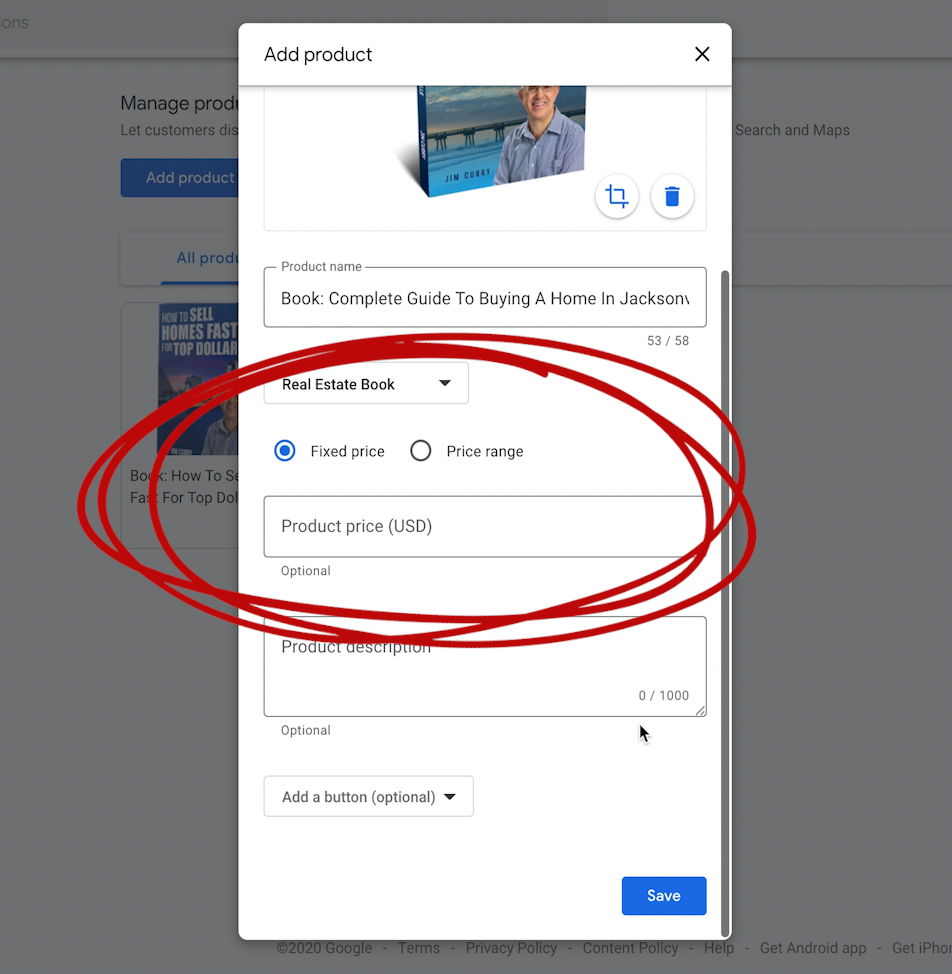
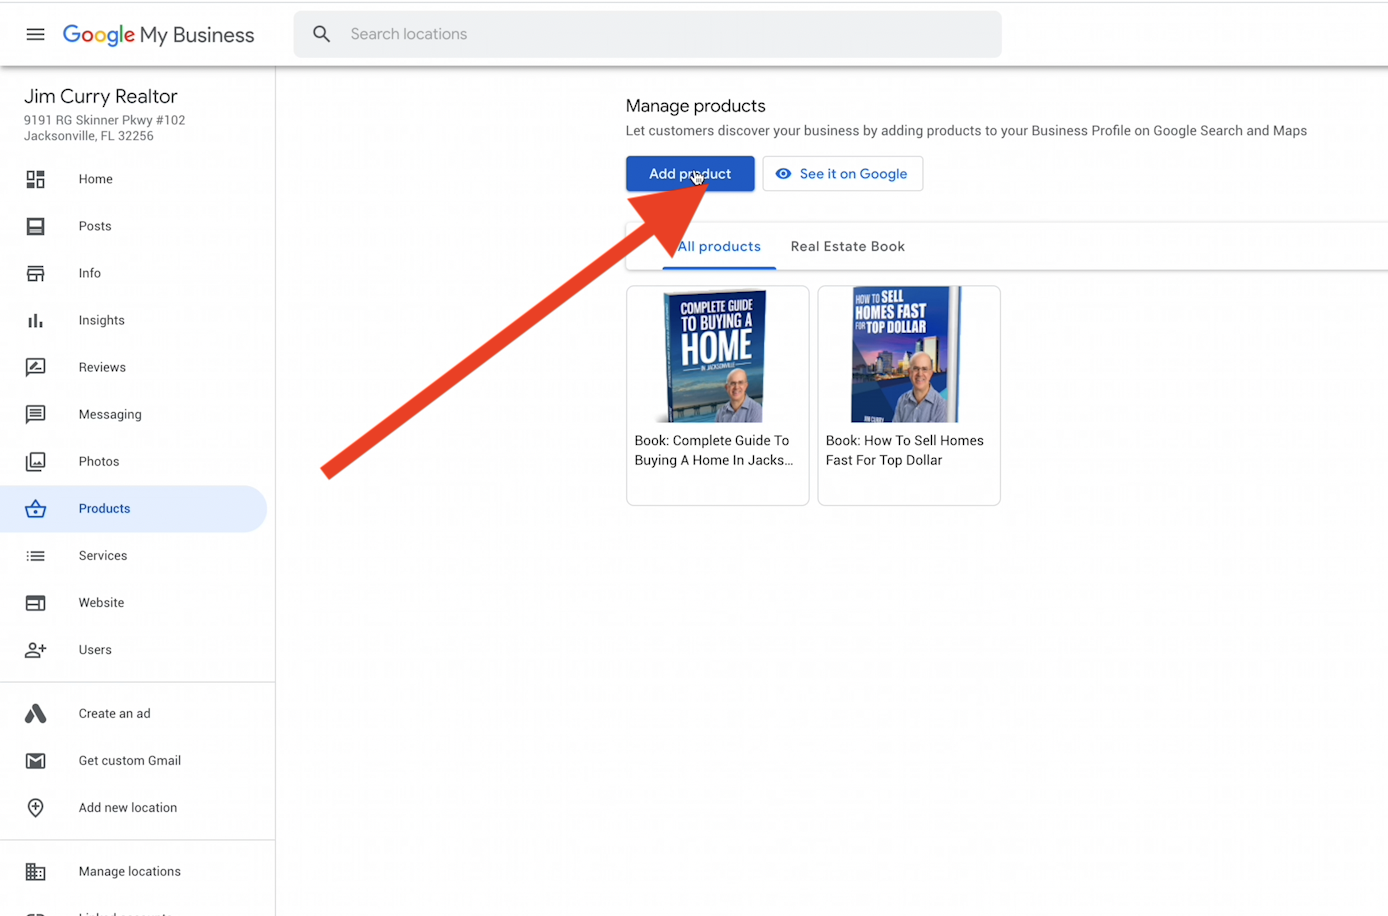
One of the most underutilized features of Google Business Profile is the ability to add products. As an agent, you can offer your books, as well as things like home valuations. Your products will be displayed in full view for anyone searching your page.
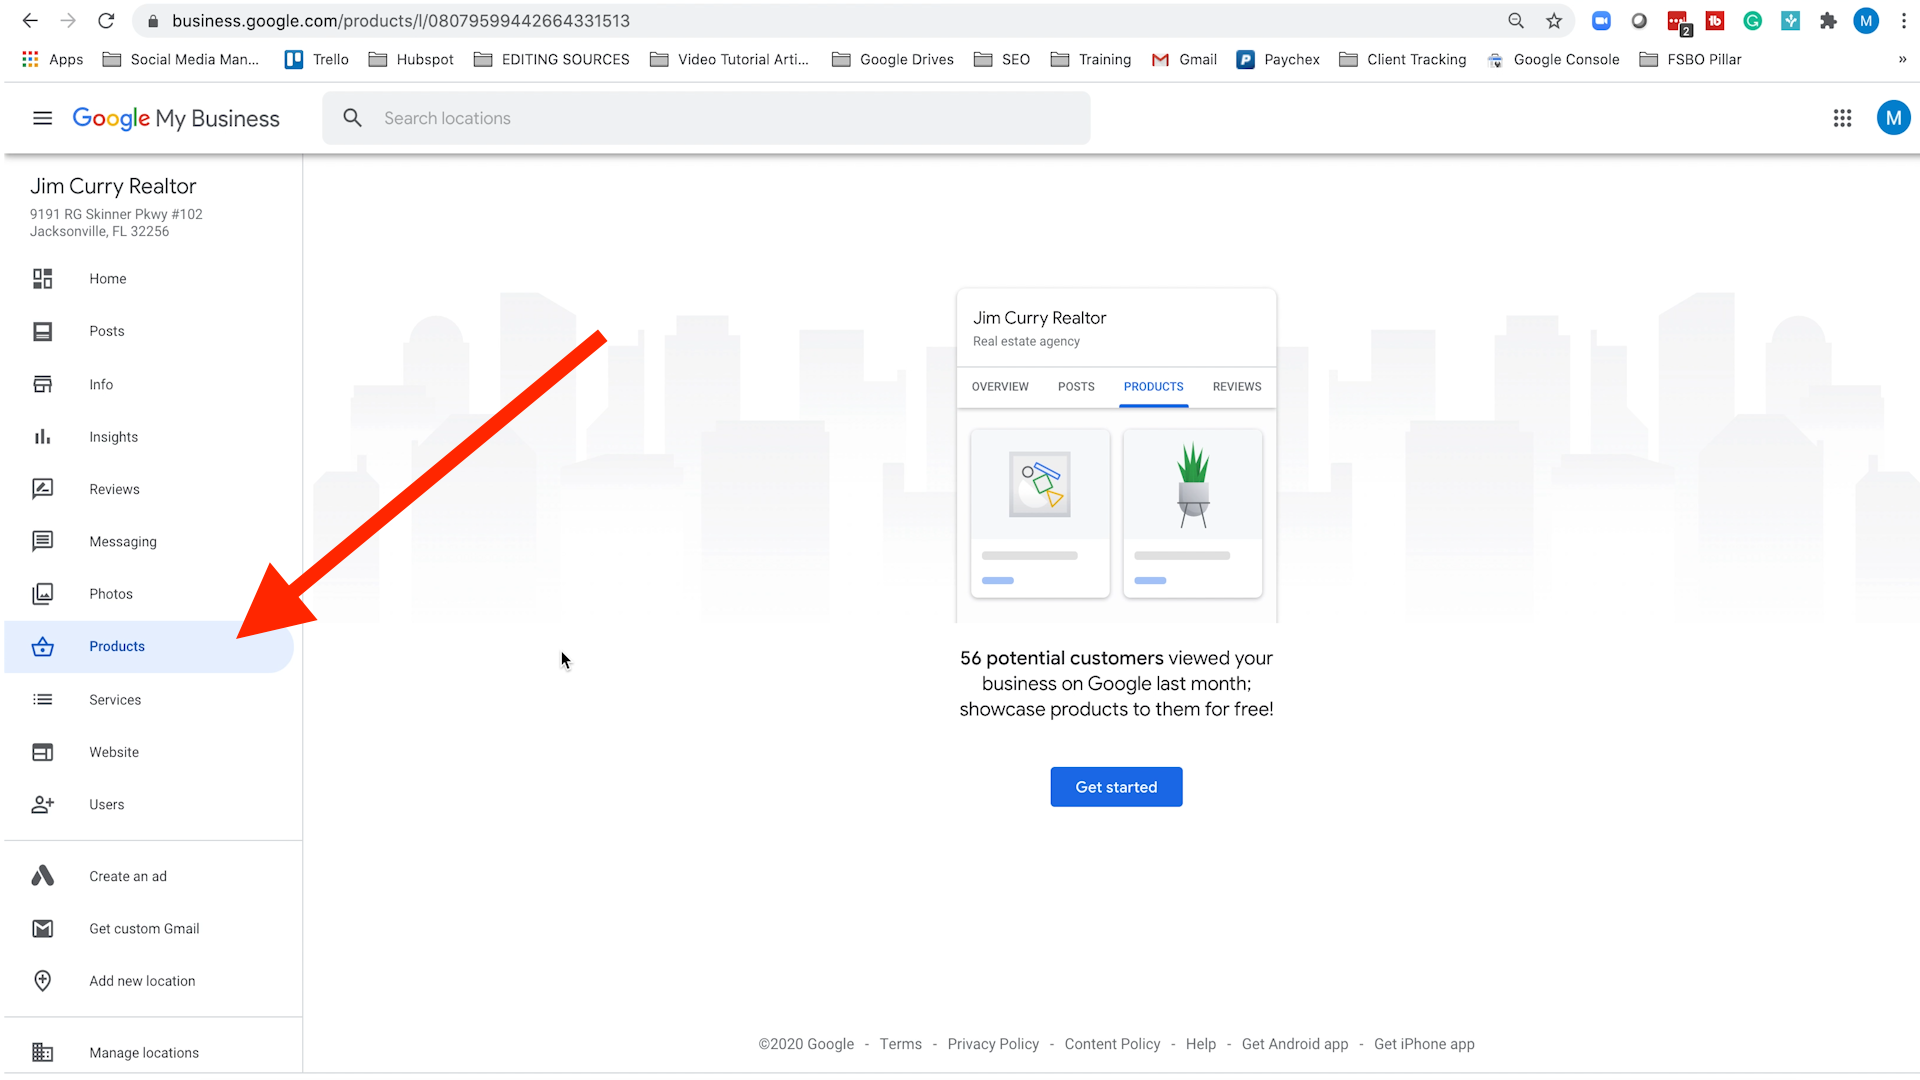
From your main Google Business Profile dashboard, find the Products page from the list along the left-hand side of the screen.
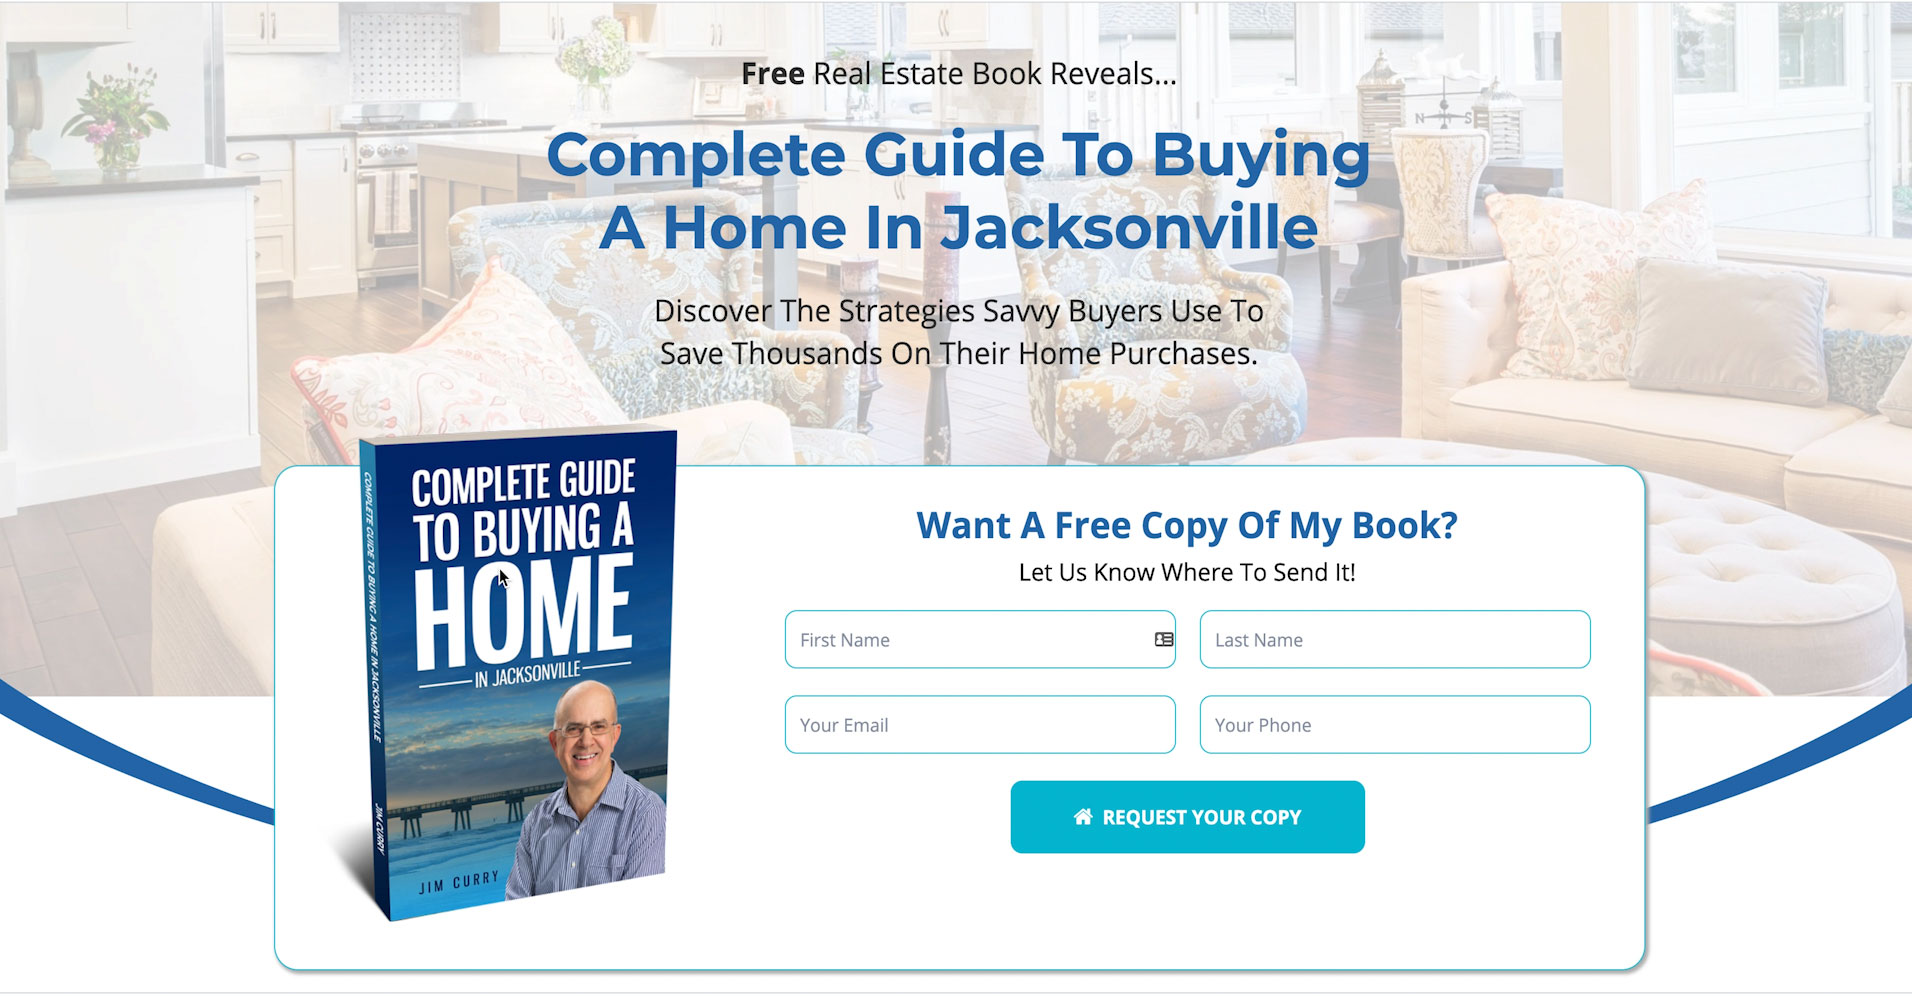
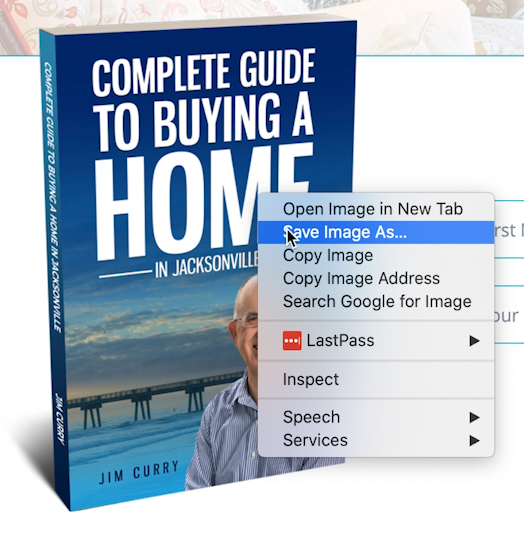
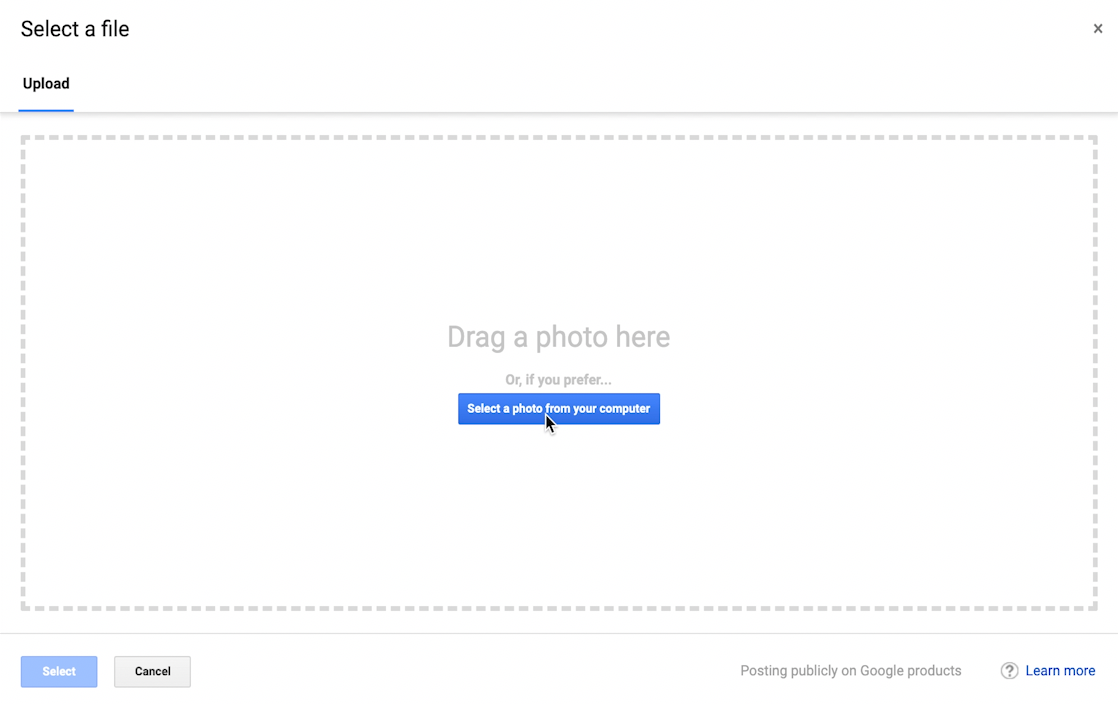
For this example, we will be creating an offer for potential clients to claim your book. Before we actually create the product listing, we need to grab an image of the book to display. Simply open your lead capture site for the book you are promoting, right-click on the book image and select “Save Image As.” Now, the image will be saved to your desktop for later use.
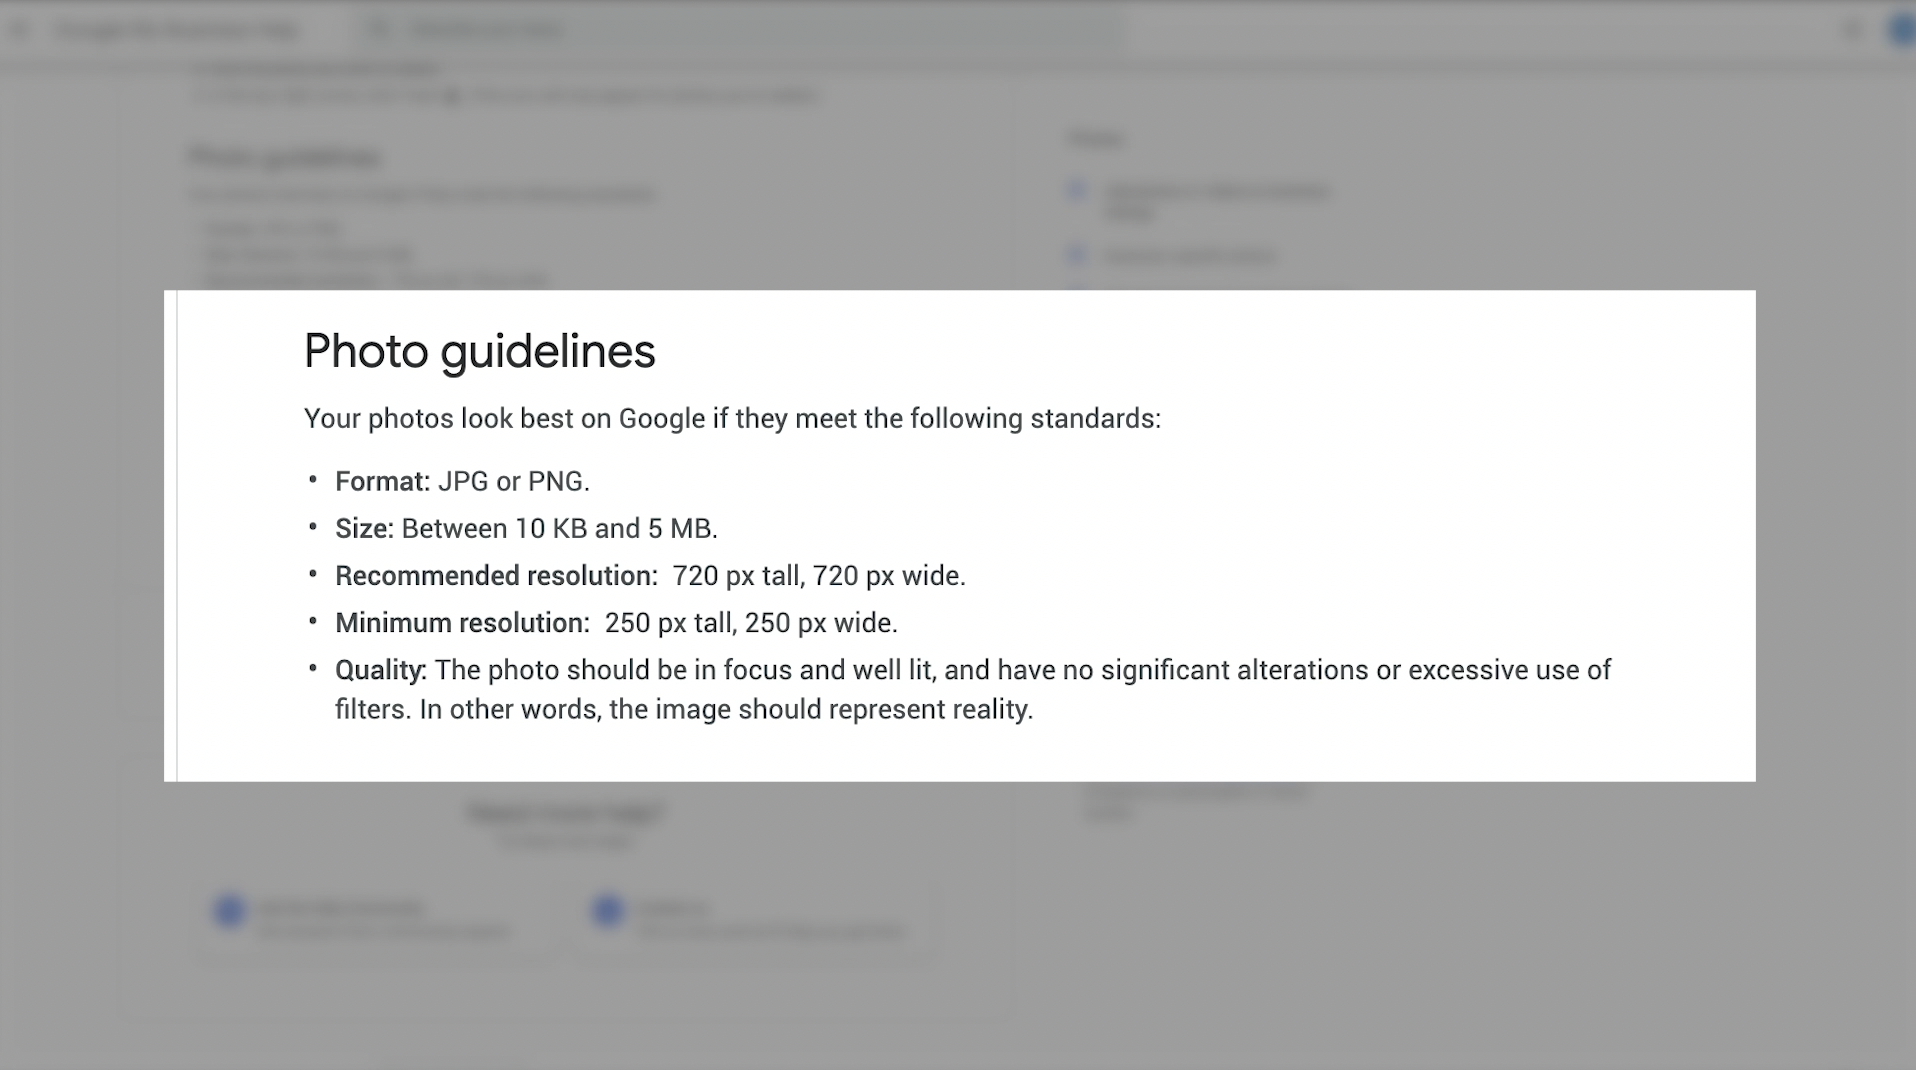
To ensure your photo is displayed in the best possible way, you want to follow the guidelines below.
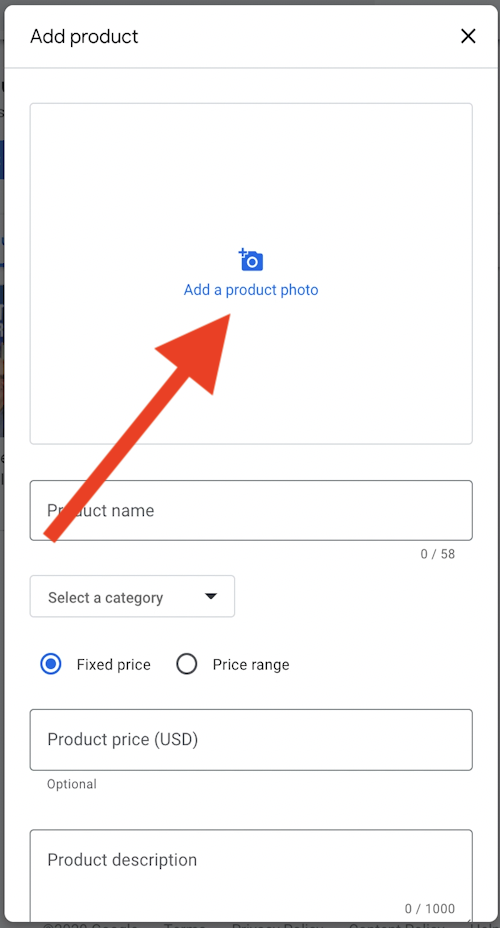
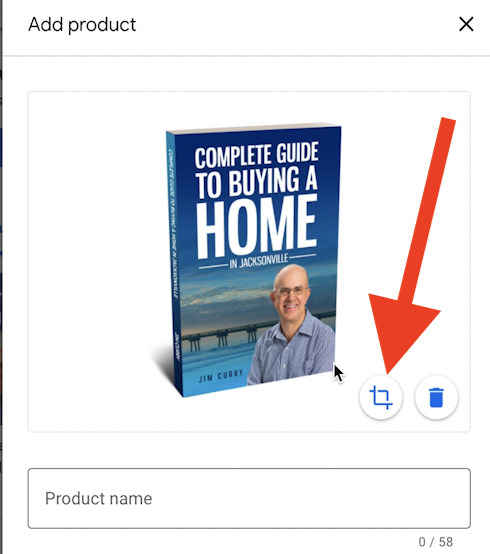
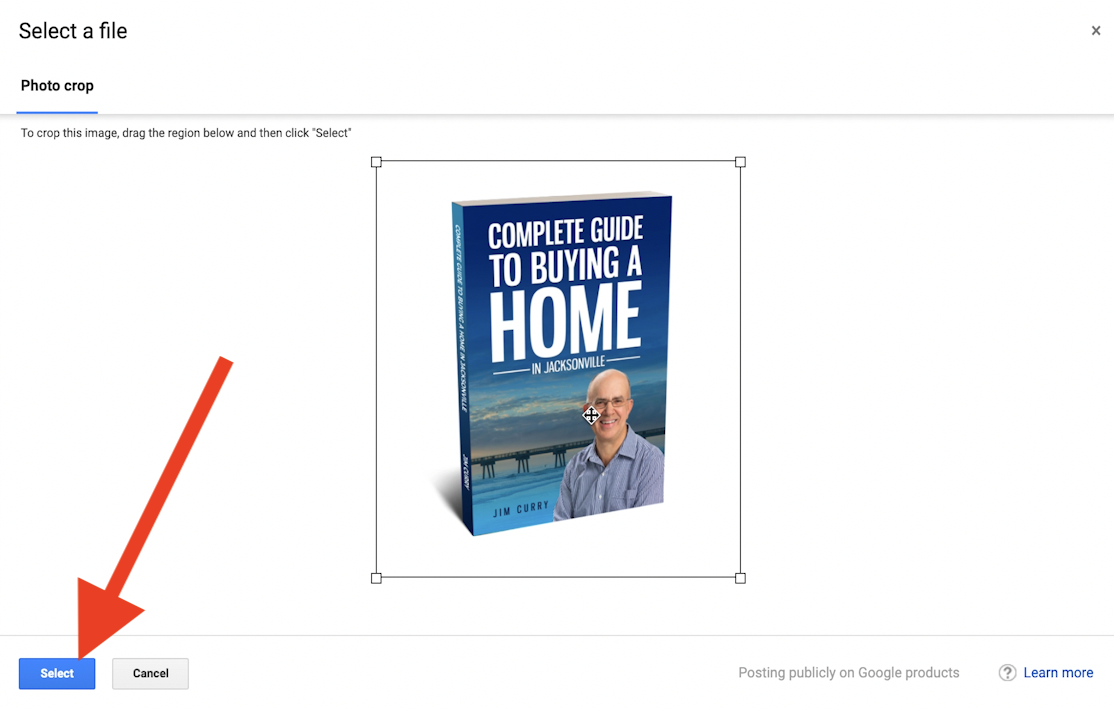
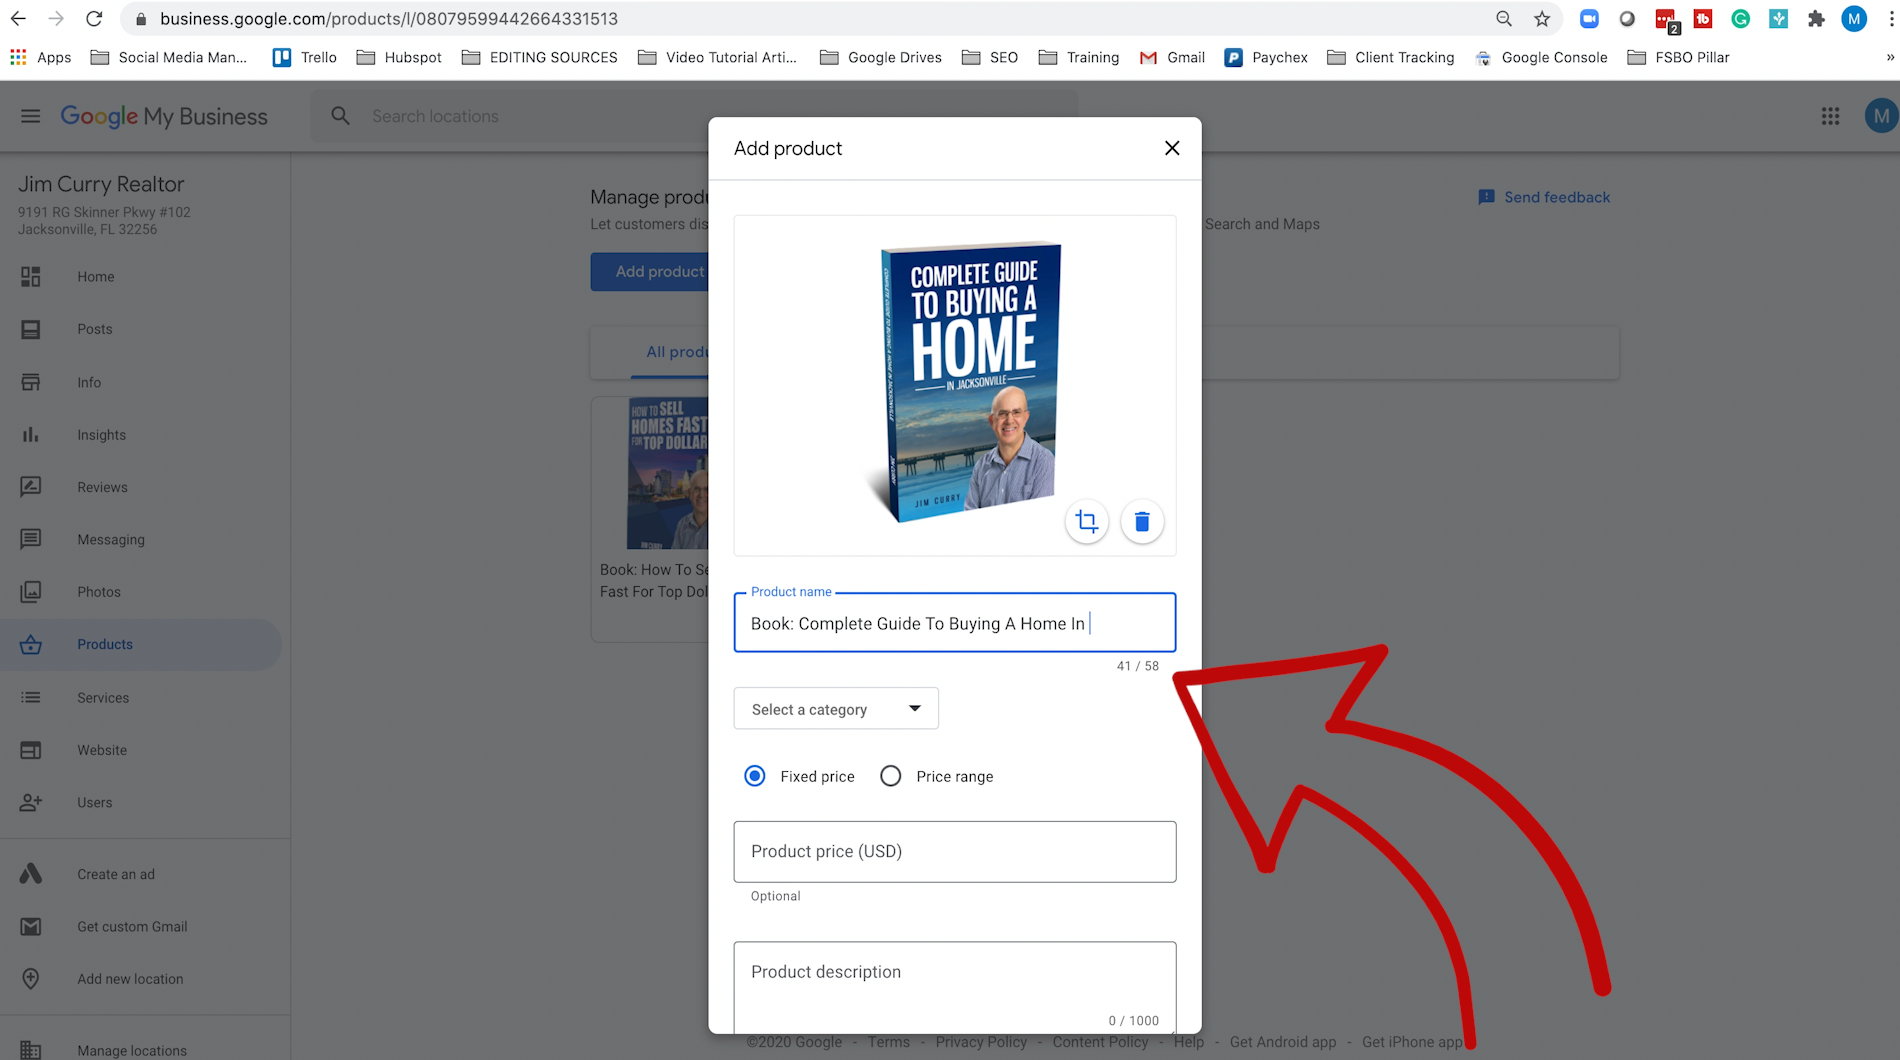
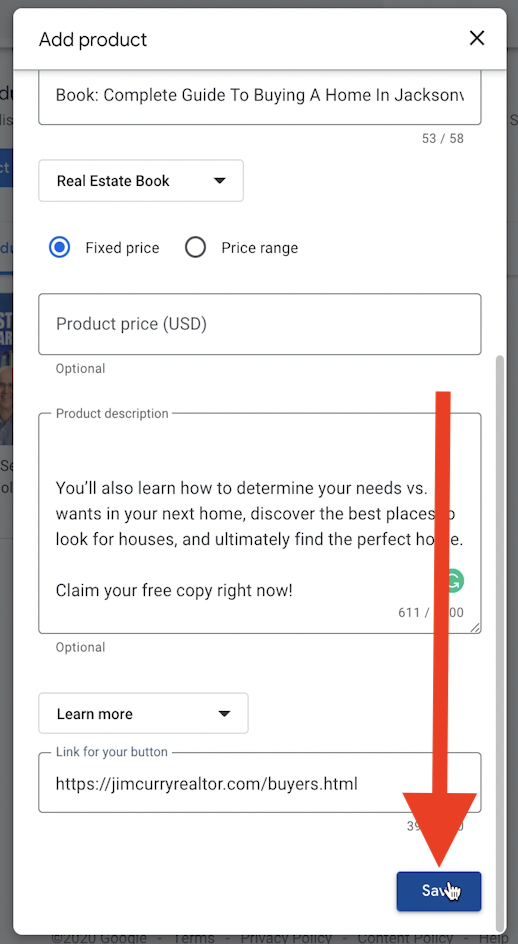
Next, you will enter the product name. There is a limit of 54 characters, but that should be plenty of space to include your entire book title.
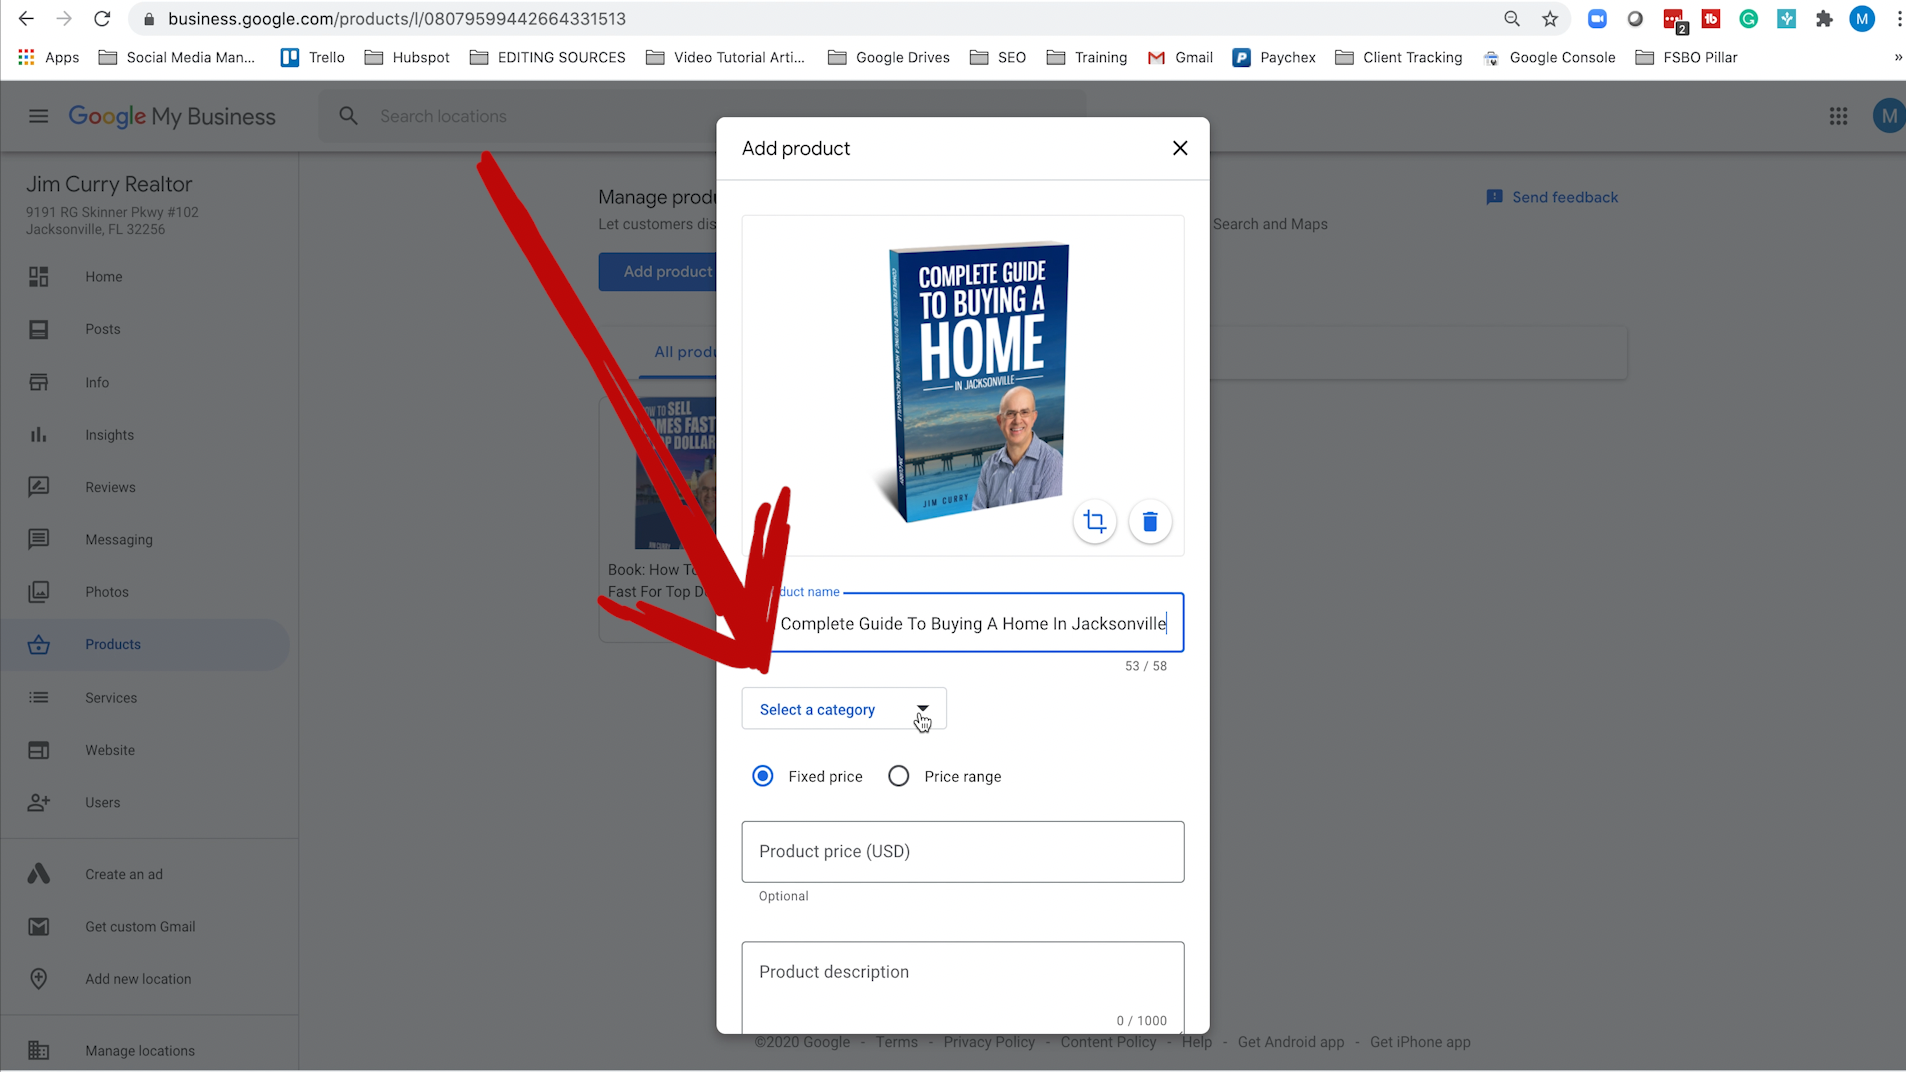
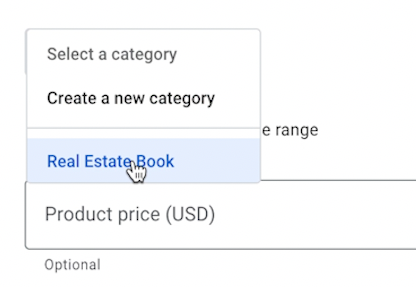
Next, you’ll select the product category. If this is your first product, select “Create A New Category” and enter an applicable category. For all future products, you will see your previously created categories in the drop-down bar.
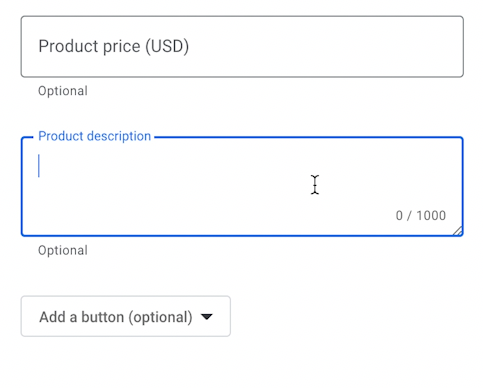
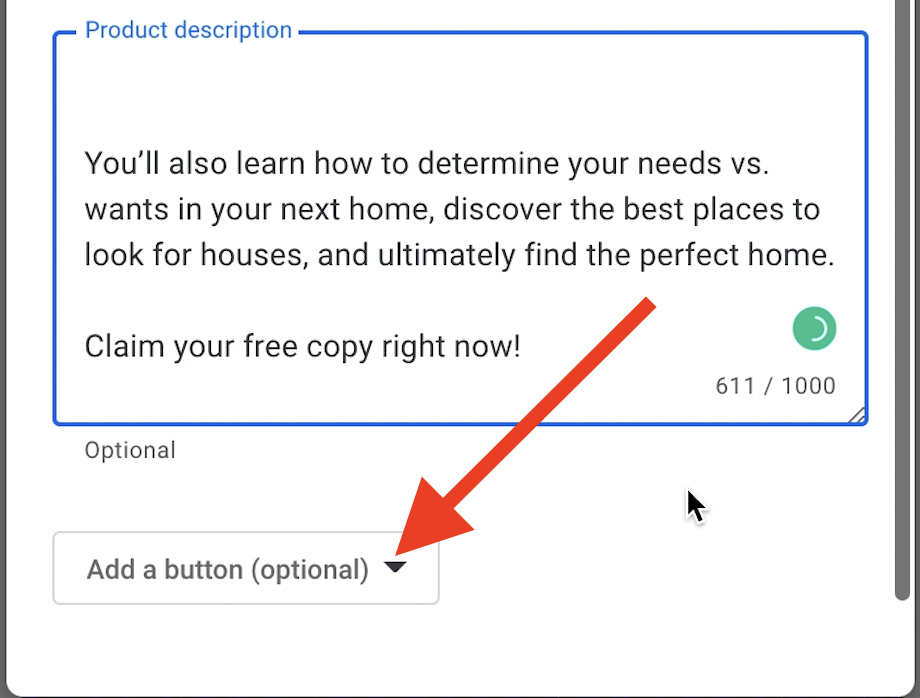
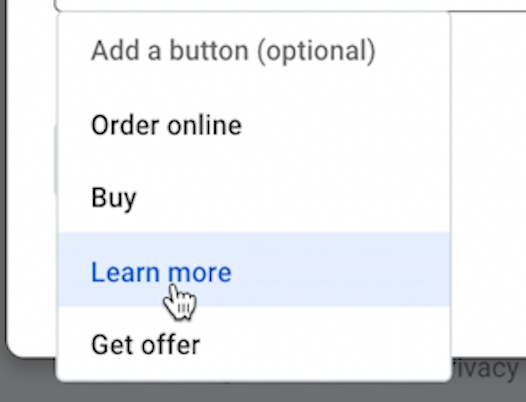
Once you select the type of button you want to display, a box will appear to insert the link. Simply copy and paste the web address for the page you are trying to promote.

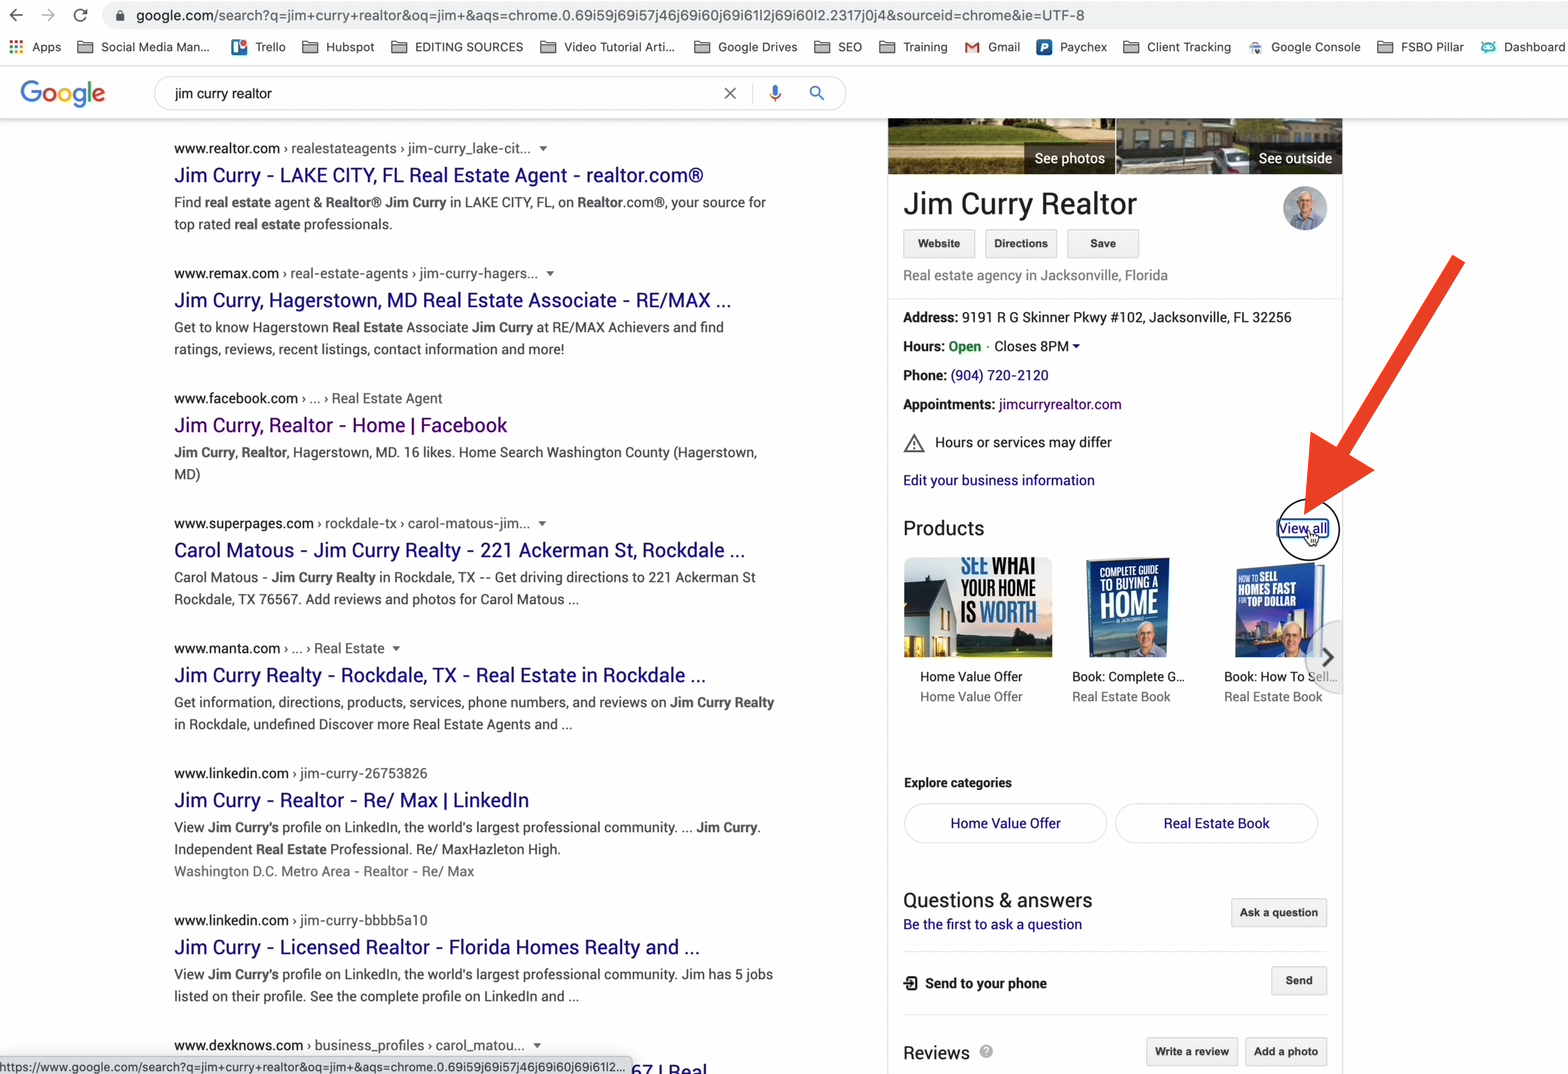
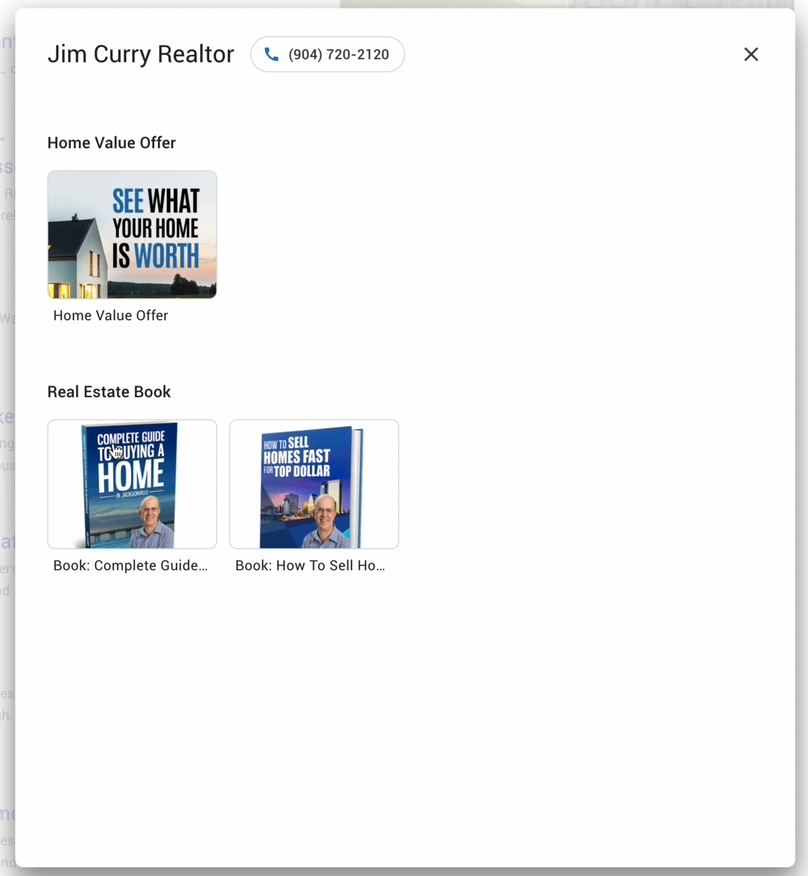
When a potential client views your page, they will see your products displayed underneath your primary information. They can either click on the products right from this page or click “View More” to see all of your offers broken down into the previously determined categories.
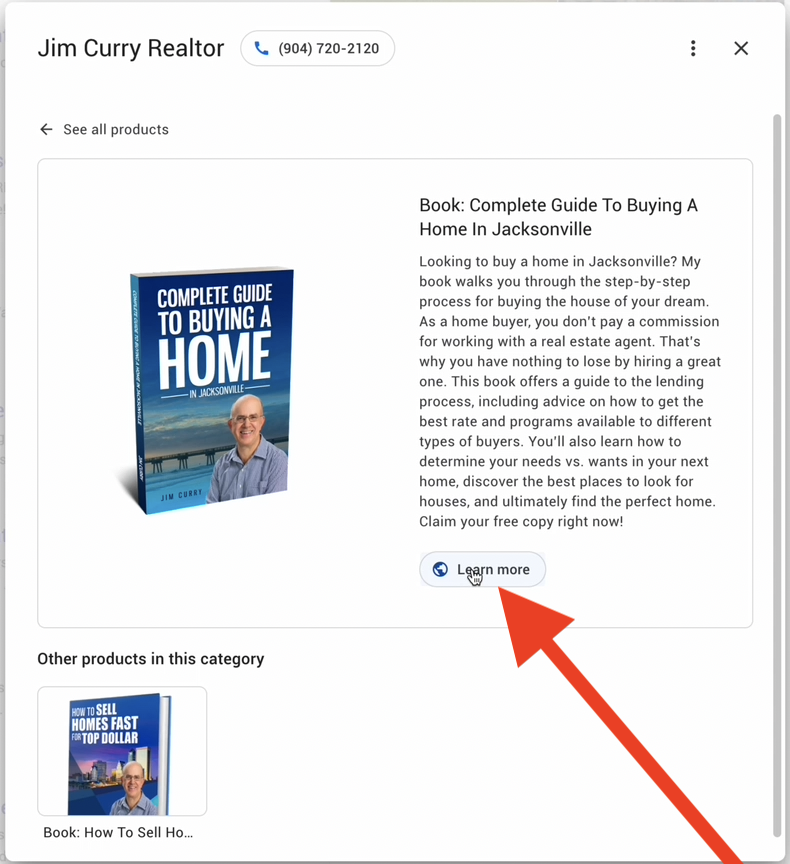
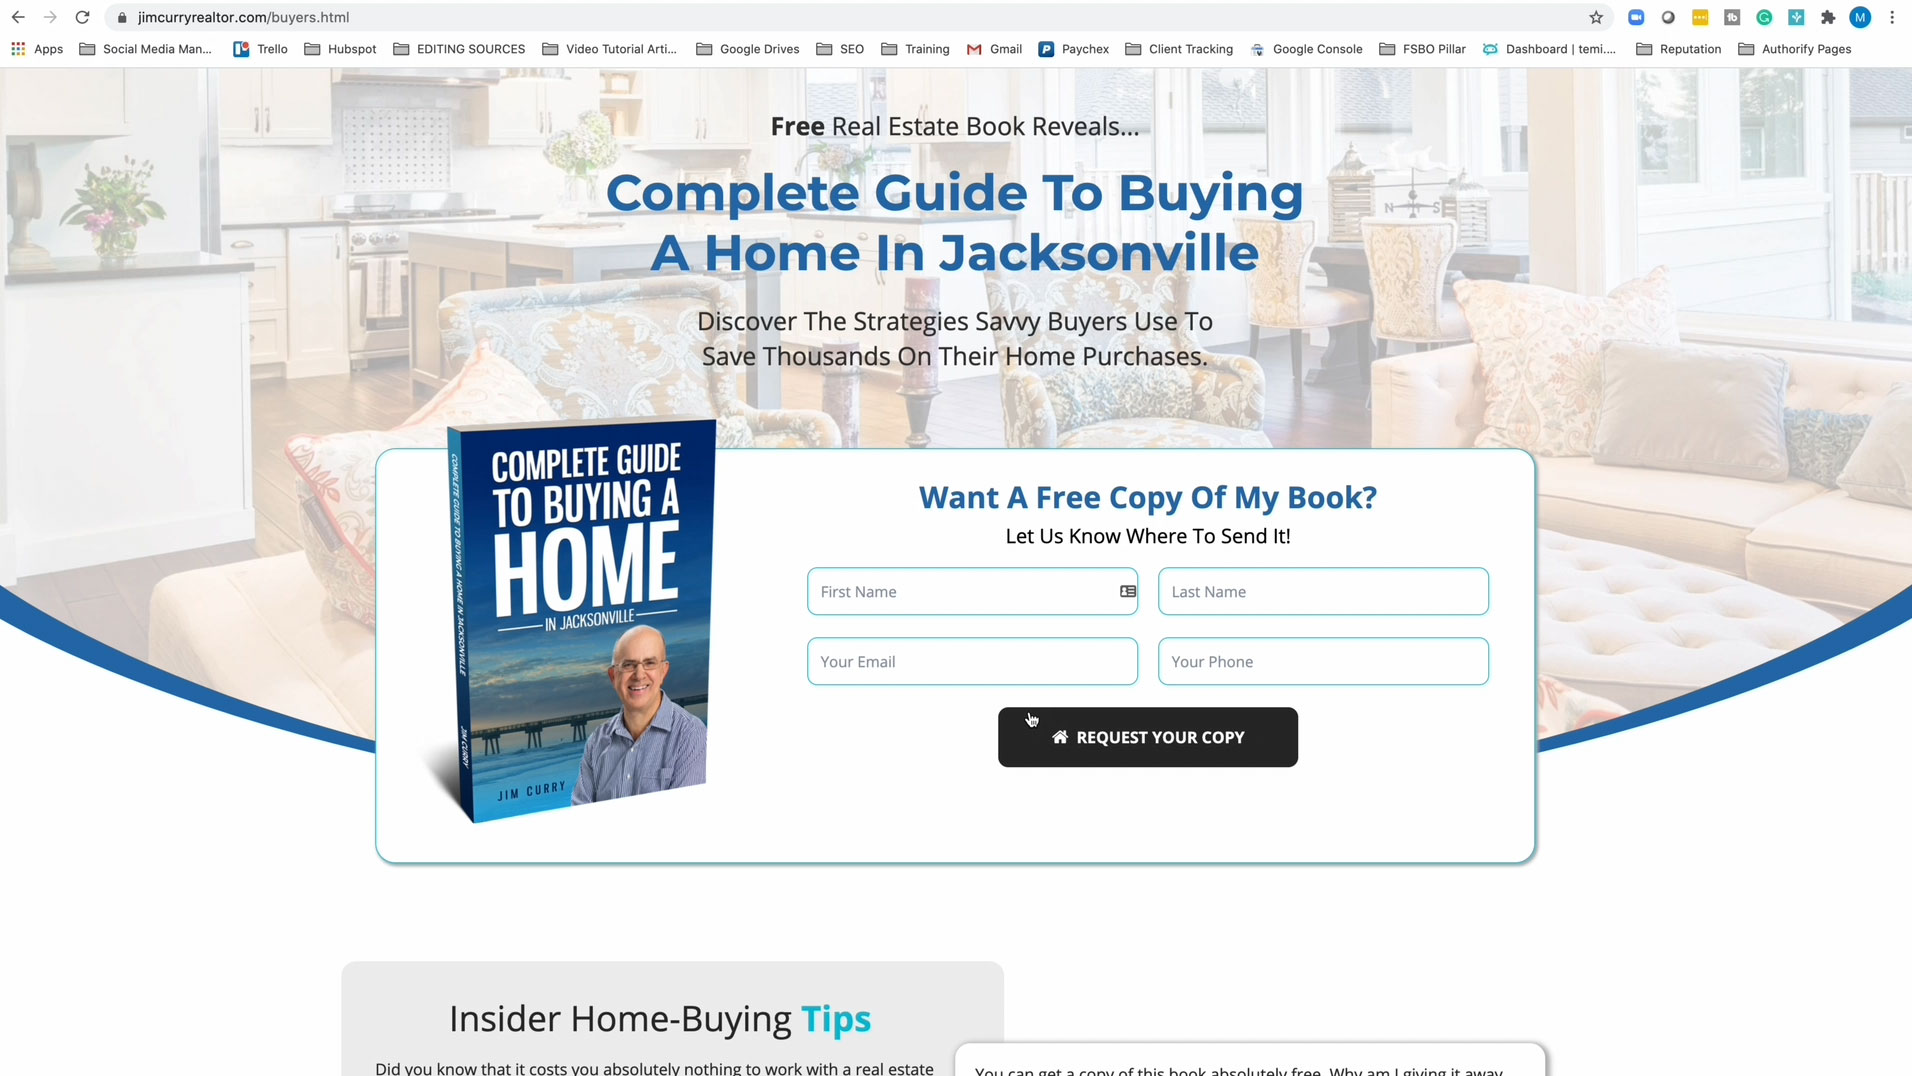
When your product is clicked, the person viewing it will be presented with the product description and the button linking to that product. This is a fantastic way to gain traffic to lead capture sites and start gathering new leads.
In a business where word-of-mouth is king, gathering reviews from past clients is crucial. The great thing about Google Business Profile pages is those star ratings and reviews from past clients are displayed right on the front page for everyone to see.
Now that you’ve successfully created and verified your Google Business Profile, it’s time to start gathering reviews. One thing to note: You want to spread this process out over a period of several months. While you may be excited to get as many reviews on this page as possible, you want to make sure all of them do not come in at one time.
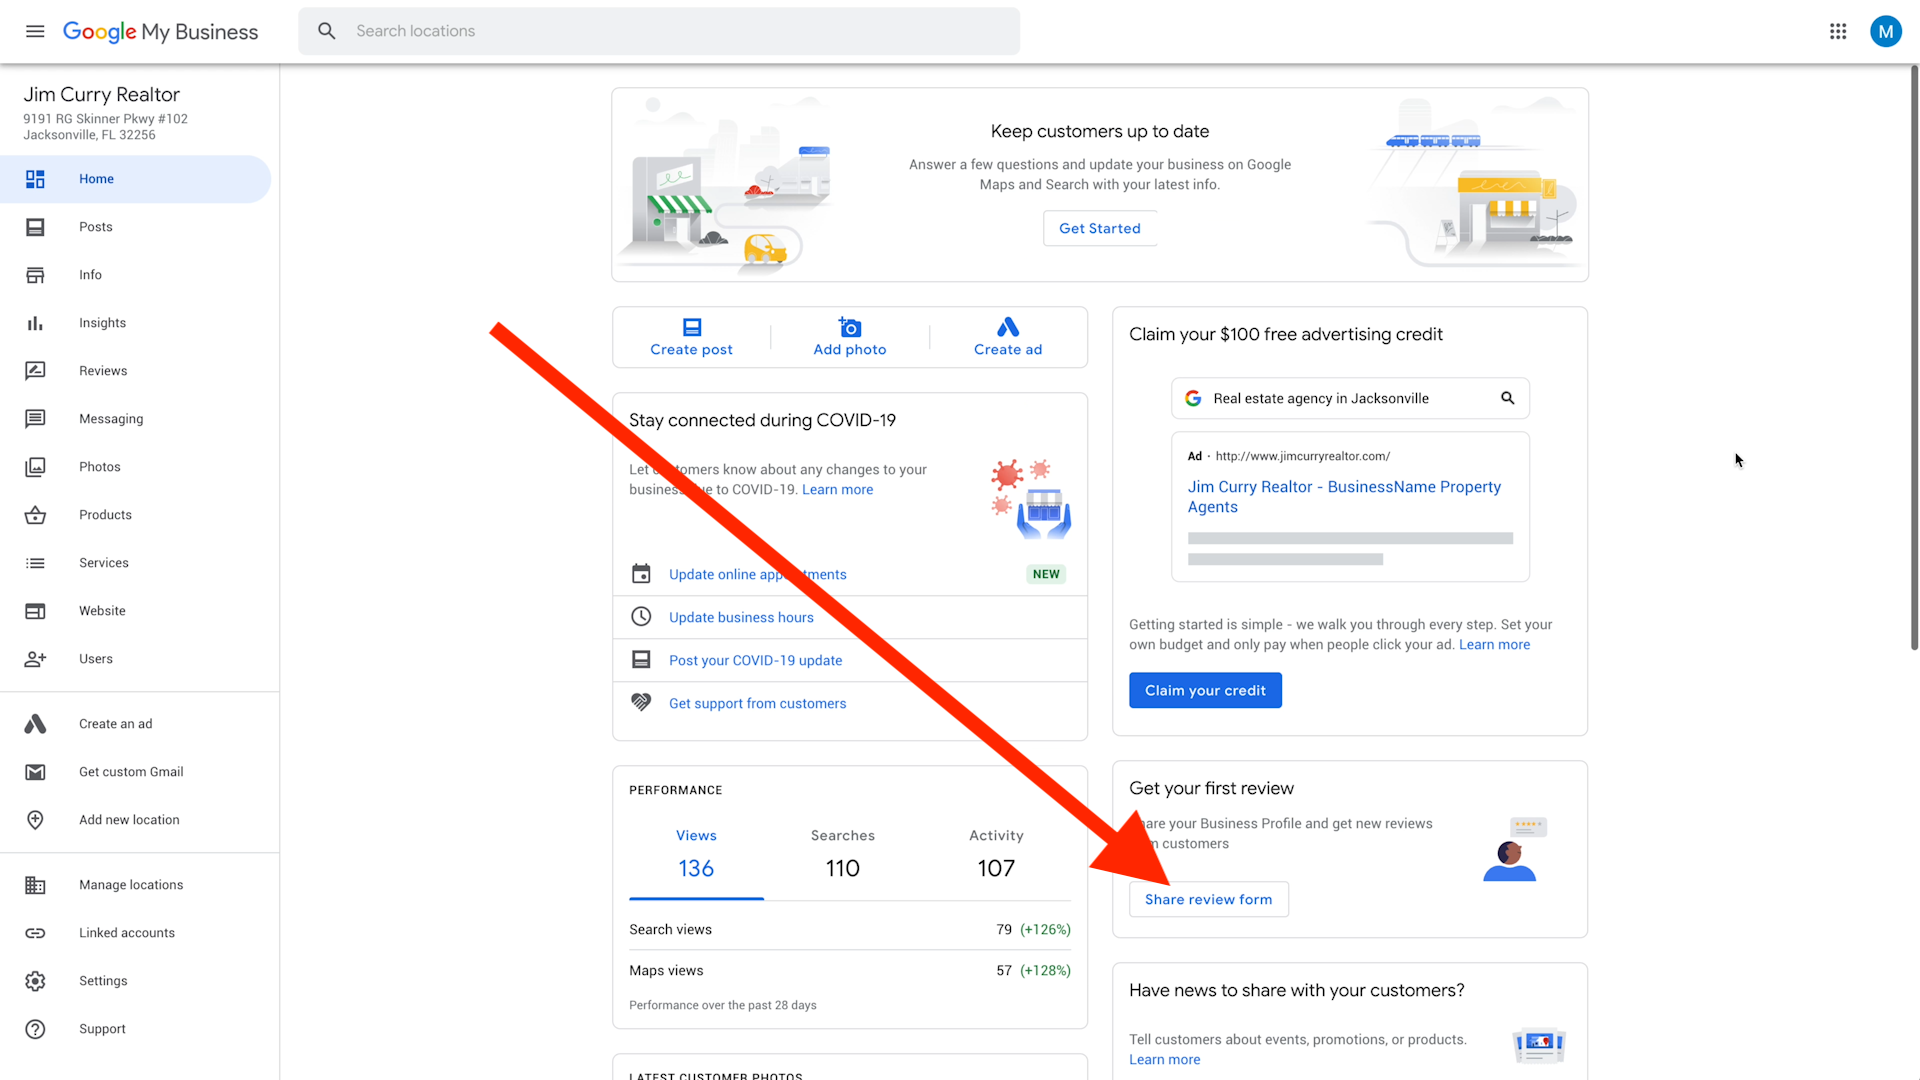
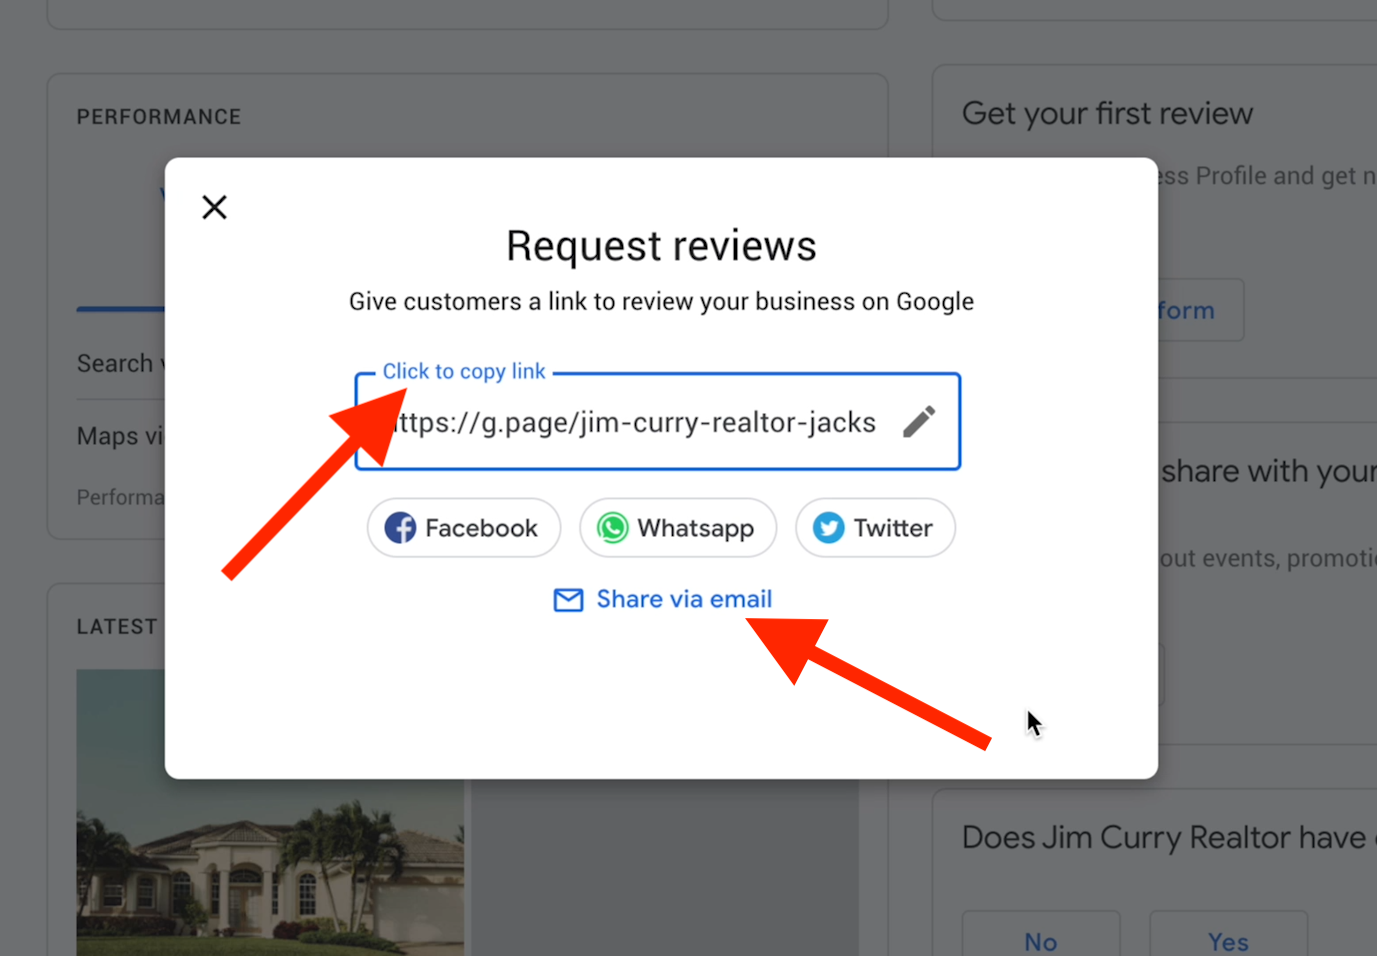
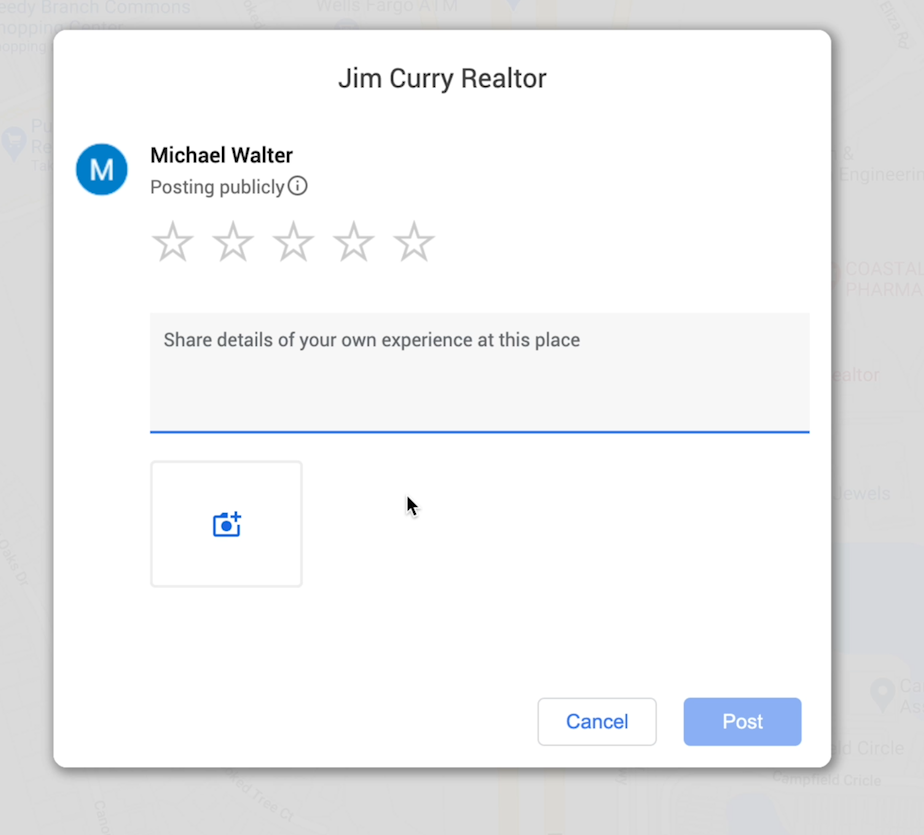
The window below will then pop up. As you see, there are several options for sharing your link for reviews. While you can certainly add it to Facebook, we recommend sending the link via personalized text or email.
Asking For Reviews
In order to populate all of your business profiles with reviews, you have to first ask for them. By incorporating a review collection process into your routine, you are more likely to be successful.
Upon the closing of a deal, you can send a congratulatory text using one of these templates:
For Buyers:
Congratulations on your new home, [customer name]! Did I do a good job of helping you navigate the buying process? Please let me know here: [Review link].
[Customer name], now that the closing is over, are you happy with my services? Did I do a good job negotiating on your behalf? If so, please consider leaving a review! [Review link].
For Sellers:
Congratulations on selling your home, [customer name]! Would you list with me again in the future? Your feedback is vital. Would you leave some here? [Review Link].
[Customer name], I just wanted to again congratulate you on the closing. Will you do me a favor? Your feedback is vital to my success, and I would really appreciate it if you took a few moments to leave a review here [Review Link]. Thanks!
If email is more your style, you can use a template like this:
“[Customer Name], thank you so much for choosing me as your real estate agent! I hope you are as happy with how your transaction went as I am. May I ask you the favor of writing a review about your experience with me? I use this feedback as a way to continually improve. Here is the link to leave your comments: [Review Link] “Thank you again, [Customer Name]. I appreciate you taking the time to give me feedback, and I look forward to reading your remarks.”
Don’t be afraid to include a little gift like an electronic gift card to a nearby coffee shop as a token of appreciation.
Ideally, you will be collecting all of your reviews right after closing, but things happen, and in some cases, you will need to reach out to clients you worked with months or even years ago.
The key to reaching out to these clients is to have a reason for your communication.
And there is no better reason than an anniversary.
Email is best for reaching out to past clients, and you can use a template like one of the following:
For Buyers:
“[Customer Name], thank you again for choosing me as your real estate agent! I wanted to wish you a happy [###] anniversary in your home! I hope the home has been everything you dreamed. May I ask you the favor of writing a review about your experience with me? These reviews go a long way with prospective clients, and I would them like to hear about the experiences of my previous clients. You can leave your comments here [Review Link].
“Thank you again, [Customer Name]. I appreciate your feedback and look forward to reading it.”
For Sellers:
“[Customer Name], thank you again for choosing me as your real estate agent! I wanted to wish you a happy [###] anniversary on the sale of your home! I hope things have settled down a bit and that you’re as delighted with the end results as I am. May I ask you the favor of writing a review about your experience with me? These reviews go a long way with prospective clients, and I would like them to hear about the experiences of my previous clients. You can leave your comments here [Review Link].
“Thank you again, [Customer Name]. I appreciate your feedback and look forward to reading it.”
How To Get The Right Reviews
The best reviews include personal stories that reflect your effectiveness, personality, work ethic and qualifications. These specific stories will provide potential clients something to relate to when they’re making a decision on who to hire.
So, how do you get these types of reviews?
It all starts with asking the right questions.
There is no reason to shy away from asking a past client specifically if they would recommend or use your services again in the future. Just don’t forget to follow up with the most important question — Why?
Here is a list of questions to help elicit the type of reviews you are looking for:
- What made you choose me as your agent?
- How did I help you (explain specific problem)?
- What was the best thing I did to help you sell/buy your home?
- How did we overcome (add a specific issue that arose)?
- What stood out most to you about my service?
- Would you recommend my services to a friend? What would you say?
By asking these questions, you’ll have a handful of short stories to add to a review page on your website, your social media and even the testimonials section of your book.
