Step-by-Step Guide to Creating Facebook Ads
Facebook Marketing is a great way to get more leads and listings. In this training, I’ll break down the steps for Creating Your Facebook Business Page, Installing Tracking Pixels and Launching Ad Campaigns.
Need help crafting the perfect ad campaign?
Be sure to check out our full library of Social Media Ad Templates.
From images templates to text copy, we have everything you need to build a winning ad!
")
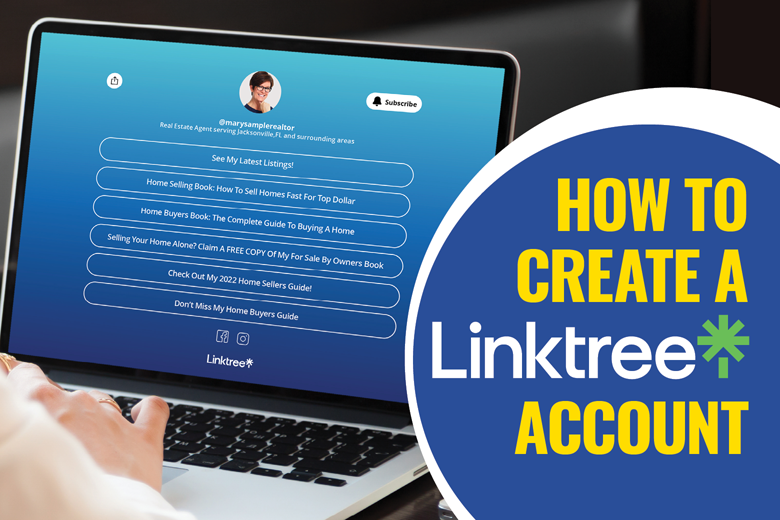
Step 1: Setting Up Your Account
The first three steps in this training are all about creating your Facebook Business Page and getting it ready to create ad campaigns.
Log in to your Facebook account.
Click the Menu button (top right on desktop or bottom right on mobile) and select Pages.
Click Create New Page.
Enter your page name, category, and a brief description of your business.
Click Create Page.
Upload a profile picture and a cover photo.
Fill out additional details in the About section, such as contact information, location, and hours of operation.
Save your changes and start posting content.
Go to Facebook Business Manager.
Click Create Account.
Enter your business name, your name, and your email address.
Click Submit.
Confirm your email address by clicking the link sent to your email.
Add your business details such as address, phone number, and website.
Once verified, you can add pages, ad accounts, and team members.
Access your Business Manager dashboard.
Navigate to Business Settings > Accounts > Ad Accounts
Click Add and choose Create a New Ad Account
Fill in the name of the ad account, time zone, and currency
Assign the ad account to your business and click Create
Grant permissions to yourself or other team members to manage the account
Setting Up the Payment Method for Your Facebook Ad Account
Choose Your Preferred Payment Method
A pop-up or screen will appear displaying available payment methods. Options may include:
Credit or debit card
PayPal
Direct bank transfer (depending on your location)
Select the option that works best for you.
Enter Payment Details
Provide the necessary details for your chosen payment method:
For Credit or Debit Card: Enter the card number, expiration date, and CVV code.
For PayPal: Log in to your PayPal account to authorize the connection.
For Direct Bank Transfer: Follow the instructions to link your bank account.
Set as Primary Payment Method
After entering your payment details, you’ll be prompted to decide if this should be your primary payment method.
Check the box labeled Set as Primary if this is your main payment source.
Save Your Payment Information
Review the information you entered to ensure it is accurate.
Click the Save button to finalize the setup.
Confirm Your Payment Setup
Once the payment method is saved, Facebook will display a confirmation message indicating that your payment information has been successfully added.
You are now ready to use this payment method for your ad campaigns.
Your Ads Manager is now ready to use.
Step 2: Installing Your Facebook Tracking Pixel and Creating Custom Conversion Events
For better optimization of your ad campaign, follow the steps below for adding your personal tracking pixel to your lead capture websites and setting up custom conversion events to track the success of your campaign.
Go to your Business Manager Panel Settings.
Click Data Sources and select Datasets.
Click the Add button and name your dataset.
Click Create.
Keep this window open as you will need it for the next step.
- Go to your Business Manager Panel Settings
- Click Data Sources and select Datasets
- Click the Add button and name your dataset
- Click Create
- Install the Pixel on your Lead Capture website using this method:
Choose Meta Pixel Only > Manually Add Pixel Code: Copy the Pixel base code and paste it into the form linked below.
Click Here to submit your pixel code
The Facebook Pixel allows you to track user interactions on your website, measure ad performance, and optimize campaigns for specific actions.
- Choose Meta Pixel Only.
- Select Manually Add Pixel Code.
- Copy the Pixel base code provided.
- Paste the code into the form below and click the submit button.
Once you have received confirmation from our team that you Facebook Tracking Pixel has been installed on you lead capture websites you can follow the steps below to verify that it is working properly.
Install Meta Pixel Helper Extension:
Install the Meta Pixel Helper extension in your browser. This is available for Google Chrome and can be found in the Chrome Web Store.
Navigate to the Lead Capture Page:
Open the lead capture page of your website where the Pixel code was installed.
Activate the Meta Pixel Helper:
After installing the Meta Pixel Helper extension, click the Meta Pixel Helper icon in the upper-right corner of your browser (next to the address bar).
The icon will show you the current status of any pixels on the page.
Verify Pixel Installation:
When you open the lead capture page, the Meta Pixel Helper will display the pixel's information (if installed correctly).
It will show if the Pixel is firing and tracking page events.
Ensure that the Pixel ID is correct and matches the one from your Meta Ads Manager.
Confirm Successful Tracking:
Once verified, the Pixel Helper will display a confirmation that the pixel is active and send data to your Meta Ads account. This confirms that your lead page is properly set up to track conversions and user activity.
- Go to Business Settings > Datasets
- Choose the correct Pixel > Click Events Manager
- Go to Settings > Scroll down and click the Event Setup Tool
- Enter your website URL or lead capture website
- Click Add Events > Click Track New Button
- Click the highlighted button to set up your event
- Choose Lead as the event type
- Select Don't Include Value
- Click Confirm
- The event is now live, and Facebook can track a Lead every time someone clicks the button and signs up
- Don't forget to Finish Setup > Click Finish > Click Skip > Click Done
Click Custom Conversion Event in Events Manager
Click Create Custom Conversion Event
Add your custom event name as: Your FB Page | Landing Pages
Set Data Source as your Pixel
Choose Action Source as Website
Select Event as Lead
Copy your website URL and choose URL Contains
Paste the copied URL into the field
Click Create to finalize your custom conversion event
Step 3: Launching Your Ads
Facebook ad campaigns are broken down into three levels: Campaign Level, Ad Set Level and Ad Level. In the steps below you will find best practices for each.
At this point, your Facebook Page and Ads Manager should be completely set up.
Important Note: All Real Estate-related ads MUST be placed into the Special Housing Category. However, if your Facebook Ads Manager is new, you will not likely see the option to place your ad into the Housing category.
Campaign Level Setup Checklist:
1. Name your campaign
- (Example Format: Books | Leads | MM/DD/YY)
2. Special Ad Categories:
- Select Housing
3. Campaign Details:
- Select Leads.
- Campaign Spending Limit: Leave blank.
4. Advantage Campaign Budget Setup:
- Set this to “On.”
- Set a Daily Budget of $5, or whatever is 1/30th of the client’s desired Monthly Ad Spend. ($5 X 30 Days per month = $150 Monthly Budget.)
- Campaign bid strategy. Leave as: “Highest volume.”
- Budget Scheduling. Leave the box unchecked for “Increase your budget during specific time periods.”
- Ad Scheduling: Run ads all the time.
5. A/B Test: Leave “Off.”
1. Name your Ad Set.
Use this Naming Format: MM/DD/YY | Book Type | Page Name for the Ad Sets. For example, 10/01/24 | Divorce Book | Jacksonville Homes By EXP Realty.
2. Conversion:
Select Website for the Conversion.
Performance Goal: Leave as “Maximize number of conversions.”
Select the Main Pixel, and then the Custom Conversion Event.
Cost per result goal: Leave empty.
3. Dynamic Creative:
Leave it toggled to On.
4. Audience:
- Skip the Custom Audiences.
- Audience Location. Select the Geographic Area. You have to select a minimum 15-Mile Radius around a specific location. If the agent doesn't know what to select, then tell them to select their city, or an address in the middle of their desired area.
- Audience: Other Settings. Leave these along. There is no reason to set criteria.
5. Placements:
Skip this. It’s not necessary to specify criteria.
Notes: Use this Naming Format: Book Type | Ad Name | Page Name for the Ad Sets. For example, Divorce Book | | 5 Secrets | Jacksonville Homes By EXP Realty.
You can add multiple ads in 1 ad set. So, if you want to test 3 ads for a specific book offer, then upload 3 different ads.
Ad Level Setup Checklist
Name your Ad:
Book Type | Ad Name | Page Name
Partnership Ad: Leave Off.
Identity: Select the Facebook & Instagram Pages.
Ad Setup:
- Select Manual Upload.
- Format: Single image or video.
- Multi-Advertiser Ads: Uncheck the box.
Ad Creative:
- Media: Add your images and/or video here.
- Primary Text: This is the largest amount of text. This is where the Body Copy goes.
- Headline: Insert your headlines here.
- Description: We often skip this. But, if the description copy is available, then add it here.
- Call to Action: Typically we leave this with the default “Learn more.”
Facebook Ad Templates and Ad Copy
Access the Facebook and Instagram Templates library to find all the additional ad copy to build out the campaign.
>> https://training.authorify.com/templates/ad-templates/
Destination:
- Website URL: Add the raw landing page url here.
- Display Link: Ignore.
- Browser Add-Ons: Select “None, Don’t add a button.”
Languages: Leave Off
Tracking:
- Offline Events: Leave unchecked.
- URL parameters: Add the following text in the box. utm_source=fb&utm_medium={{adset.name}}&utm_campaign={{campaign.name}}&utm_content={{ad.name}}
- View Tags: Ignore.