Uplevel Your Listing Presentation
Your listing presentation is crucial! It takes a lot of time, energy, and effort to secure a listing appointment. So, it pays off big to make sure your presentation is solid, so you win the listing!
This is our best listing presentation based on hundreds of different listing presentations. We’ve tested out lots of different presentations and strategies. And this one worked the best. We’ve tested it on dozens of different presentations and made little tweaks to perfect it.
")
Using a Free Canva.com account, you can quickly and easily customize our 46-page Easy Close Listing Presentation to fit your needs.
Linked below are six templates in total. You will see one fully customizable template that will allow you to add your brand colors and five templates with locked background colors. Be sure to check out the video tutorials below for Canva editing tips and a full roll-play of the presentation.

")


Not interested in using Canva? Download one of these options instead.
Before you start modifying your presentation, we recommend that you go through the entire presentation to familiarize yourself with it.
Sample Listing Presentation. In this Video, Charles walks you through the presentation as though you were a seller. Other members have found it helpful.
The Easy-Close Listing Presentation template has been designed to require minimal modifications. Simply add your headshot and logo to the first slide. Beyond that, the only other required modification comes on slides 44 and 45. Replace the placeholder testimonials with your own and you are all set.
With that being said, the templates are completely customizable, so you can add your own listing photos and case studies throughout.
Check on the video below for a quick editing tutorial.
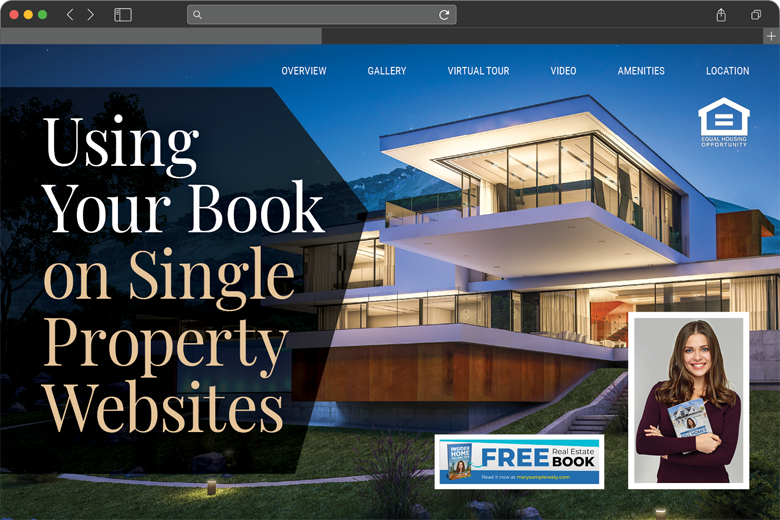
As you go through your presentation, you will find it helpful to refer to your book or other printed marketing materials.
We recommend bringing the Marketing Materials we provide in the Instant Trust Package. This applies even if you mailed this seller your Instant Trust Package. They may have forgotten the materials inside the package. So, if you reference one of those documents again, it’s helpful.
So, review our Instant Trust Package and use any of the Marketing Materials you think would be helpful. (We recommend using all of them. But, whether or not you do that is your choice!)
Open your presentation on your computer, start at the beginning and do a practice presentation as if you are meeting with a seller.
Imagine that you are sitting at the kitchen table in a seller's home and you are going to go through the whole presentation with them now.
Go through each slide one-by-one and explain the slides. Speak outloud as if you were talking to a real person. If you get stuck on a spot, then go back to the training video and watch it again to learn how to present that slide. Then go to the previous slide (one before the slide you got stuck on) and start again.
Keep doing this until you get through the entire presentation.
Objections are an inevitable part of a listing appointment, so we have resources to help you address some of the most common listing objections.
Review the How to Overcome Common Listing Objections and Win the Listing training. This will give you some simple responses to overcome most common listing objections.
Print out the Scripts for Overcoming Objections and keep them in your car.