How To Add A Broker Logo To Your Book
Need to add a brokerage logo to your book? Follow along with the video above or the step-by-steps instructions below.
Note: For best result, be sure upload a Transparent PNG image file.
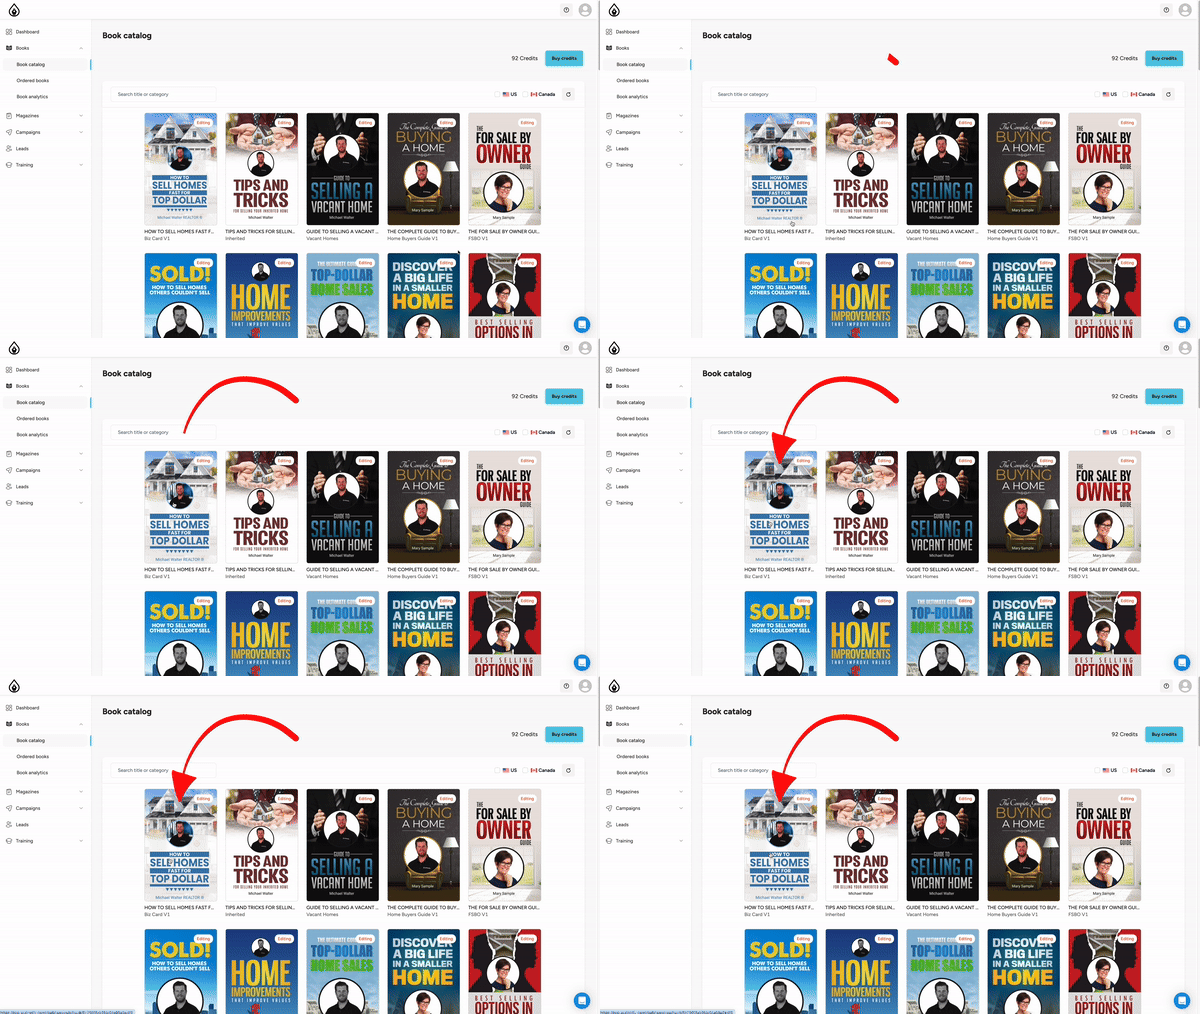
Step One:
After logging into your account, select the book you would like to personalize.
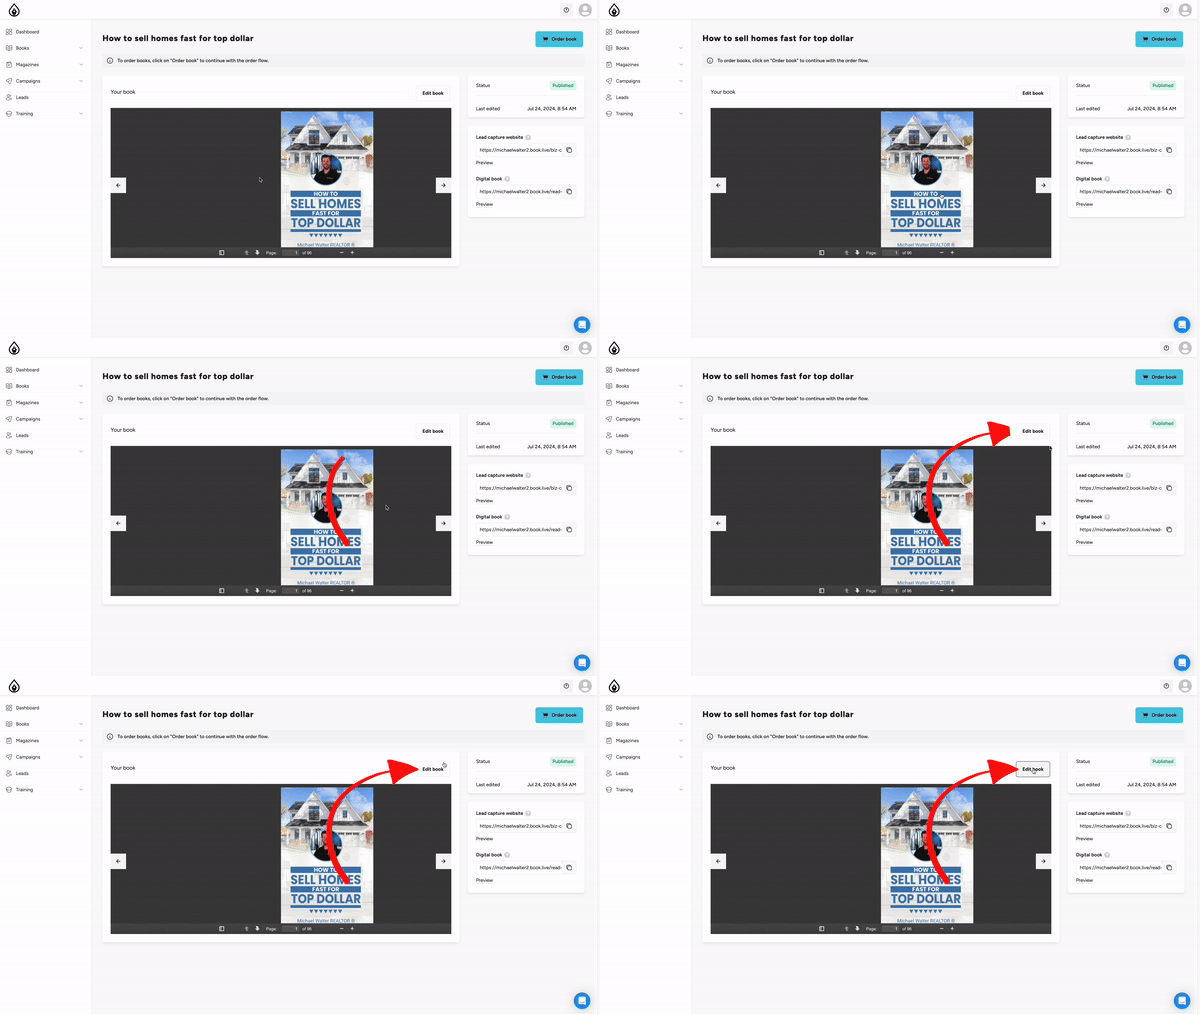
Step Two:
From the book preview page, click the Edit Book button above your book preview.

Step Three:
To enable the broker logo option, click the settings icon along the left side of the page. This will open a setting dialog box
Step Four:
Toggle on the Include My Brokerage Log option. A placeholder logo will appear on your back cover.


Step 5:
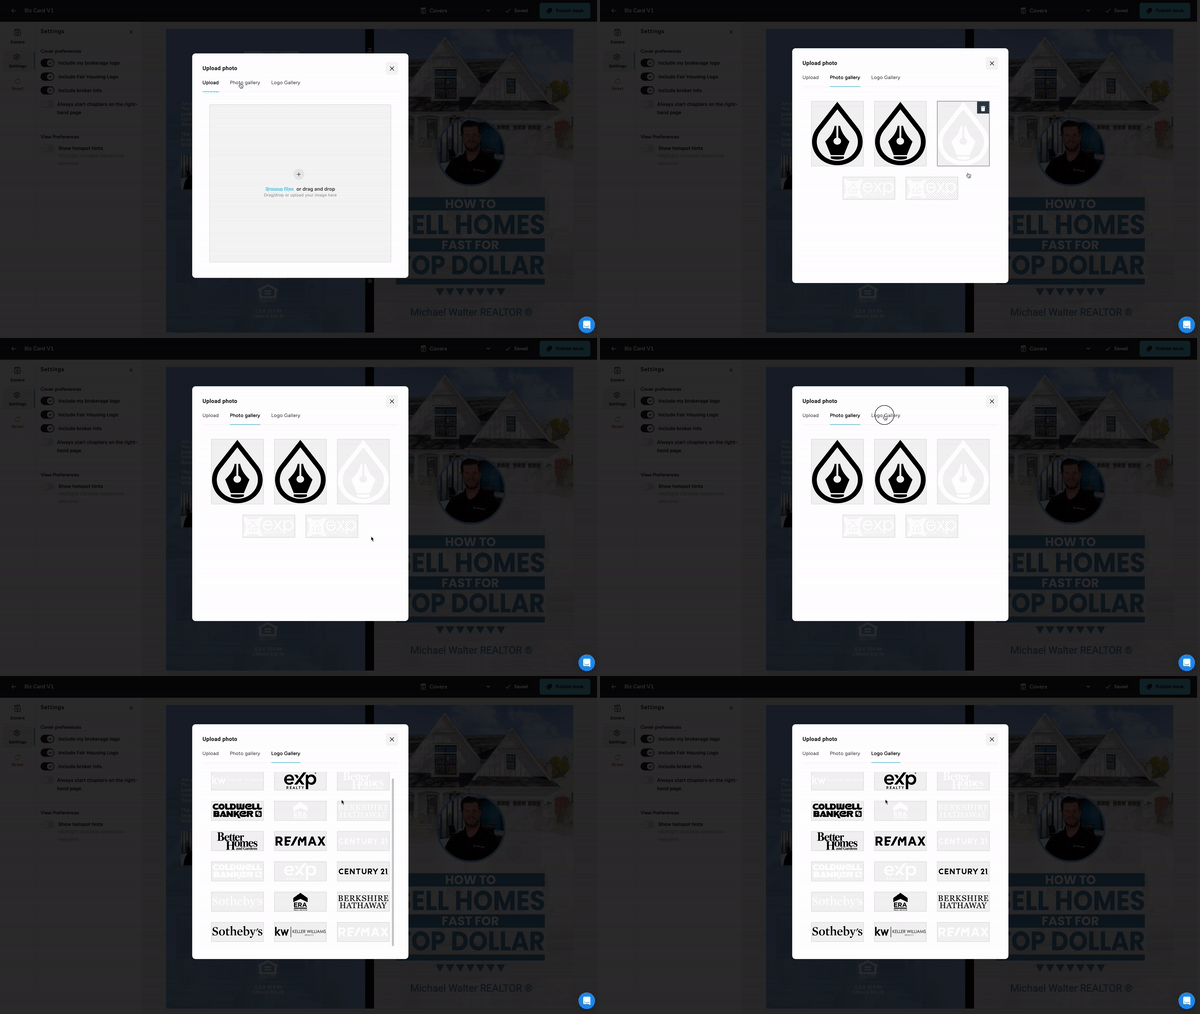
Click on the placeholder image. From the Upload tab, click Browse Files and find your brokerage logo file on your desktop.
Step Six:
Your logo will now appear in the resizing tool. Position the image to your liking and click Save Changes. Your new logo will appear on the back cover of your book.


Step Seven:
Once you are happy with the appearance of your book, click the Publish Book book in the top right of the screen to publish your new updates.
Note:
In addition to the Upload tab inside the logo image dialogue box, you will find two additional tabs. The Photo Gallery hosts any logos you have previously uploaded and Logo Gallery hosts a select amount of commonly requested brokerage logos.
